
Getting started
Workspace Tour
The True Robotics Design Playground workspace has five main areas. The purple bar holds your project name, the save status, units, undo, redo, Export, the ? help button and the menu. Below it, the toolbar shows the part tools, or the sketch tools while you draw. The left panel holds the feature list, and the 3D view with its view cube fills the rest.
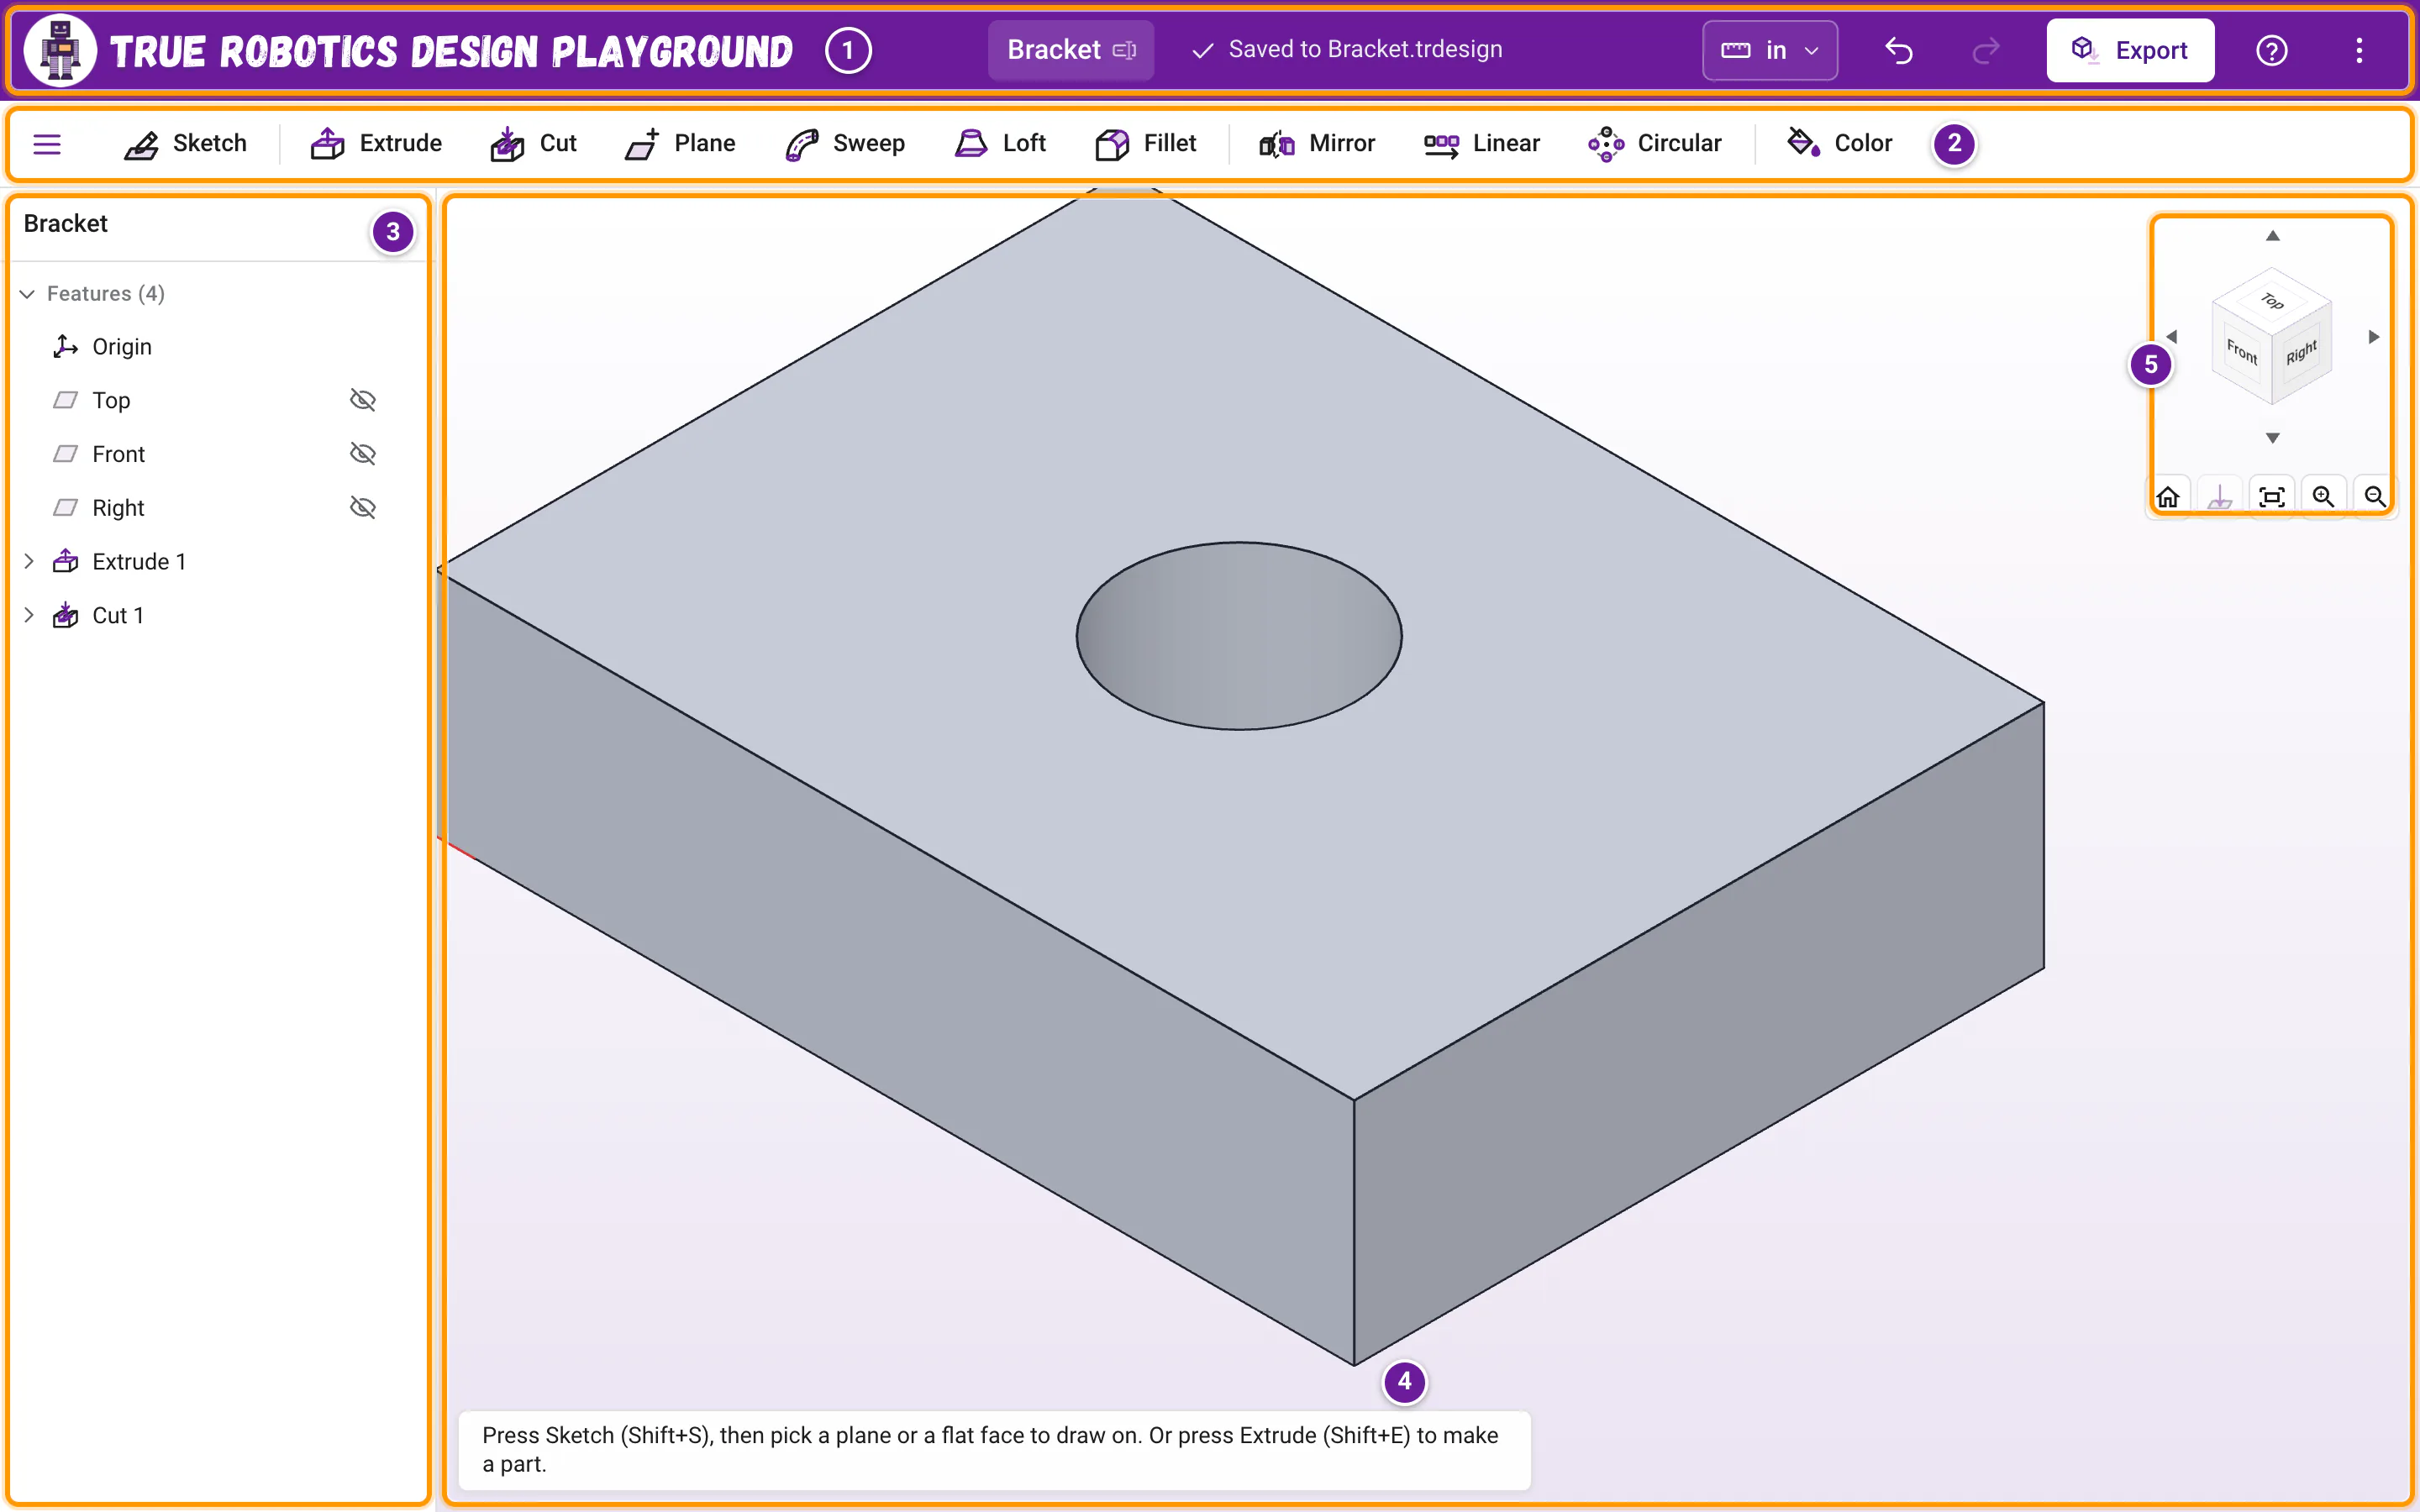
The numbers in the picture match the first five sections below. Hover over any button in the app to see its name and its keyboard shortcut.
Good to know: This is the Standard workspace
A Basic project has the same purple bar, with a shape toolbar, a shape catalog and a settings panel in place of the feature list. Basic mode gives its own tour.
1. The purple app bar#

- The logo and title take you back to your projects. Your work is saved first.
- Your project name sits in the middle. Click it to rename the project, then press Enter.
- The save status next to it tells you where your work is saved, or says Not saved with a Save button if you chose not to autosave. See Projects and saving.
- The units button (it shows
inorcm) opens Show sizes in, where you switch between Inches and Centimeters anytime. - Undo and Redo are the curved arrows. Hover over one to see exactly what it will undo, like Undo adding Sketch 1.
- Export downloads your parts as STL files for a 3D printer, or STEP files for other CAD programs. See Export STL and STEP.
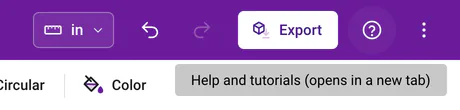
- The ? button opens these help pages in a new tab, right on the page for what you are doing, like the Line page while you draw lines, the Mirror page while Mirror is open or the Export page while that window is open. Your project stays open in its own tab.
- The three dots open the menu: Save to a new file... (in Chrome, Edge and on Chromebooks), Download a copy, Help and tutorials, Keyboard shortcuts, Settings and Back to projects.
2. The toolbar#
The white row under the purple bar holds the part tools in five groups, set apart by thin lines, in the order you usually reach for them:
- Sketch comes first, because almost every part starts with one.
- Extrude, Cut, Revolve, Loft, Sweep and Fillet build and shape the part.
- Plane and Axis make the references you sketch on and turn around.
- Mirror, Linear and Circular copy what you built.
- Color paints it.
Each tool opens its panel on the left. Point at a button to see its name, and use the keys shown here to start it from the keyboard:
- SketchShortcut: Shift+SDraw on a plane or a flat face.
- ExtrudeShortcut: Shift+EPull sketch regions or faces straight out into 3D.
- CutShortcut: Shift+CCut material away, ready for a hole all the way through.
- RevolveShortcut: Shift+VSpin sketch regions around an axis into wheels, knobs and pulleys.
- LoftShortcut: Shift+LBlend from one profile to the next.
- SweepShortcut: Shift+WCarry a profile along a path of lines, arcs and splines.
- FilletShortcut: Shift+FRound the edges of a part, or switch to Chamfer to cut them off flat.
- PlaneShortcut: Shift+PMake a new plane to sketch on: offset, midway or at an angle.
- AxisShortcut: Shift+XPlace a line to turn around, like the middle of a hole or an edge.
- MirrorShortcut: Shift+MCopy features or parts to the other side of a plane.
- LinearShortcut: Shift+RRepeat features or parts in a row or a grid.
- CircularShortcut: Shift+ORepeat features or parts around an axis.
- ColorShortcut: Shift+APaint whole parts or single faces with the paint bucket.
While you are sketching, the row turns into the sketch toolbar with every drawing tool, Trim, Fillet, Chamfer, Mirror, the two patterns, Dimension, Construction, the ten constraints, and Undo, Redo and Delete. Sketching basics walks through them. On a narrow window, the row scrolls sideways to reach the rest.

3. The left panel and the feature list#
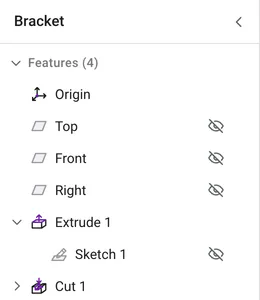
The panel on the left starts with your project name, then lists everything in your project under Features: the Origin, the Top, Front and Right planes (with an eye to show or hide each one), and every feature in the order you made it. Click a row to select it, double-click a feature to edit it, and use the three dots or a right-click for more. The Feature tree page covers it all.
- Sketches tuck in under their features. Once an extrude, cut, revolve, sweep, loft, plane or axis uses a sketch, the sketch moves under that feature, folded away. Click the little arrow next to the feature to see it, and double-click it to edit. A sketch nothing uses yet stays at the top level.
- Your parts live on the model. There is no Parts list. Point at a face to see which feature made it, and pick parts in the Export window.
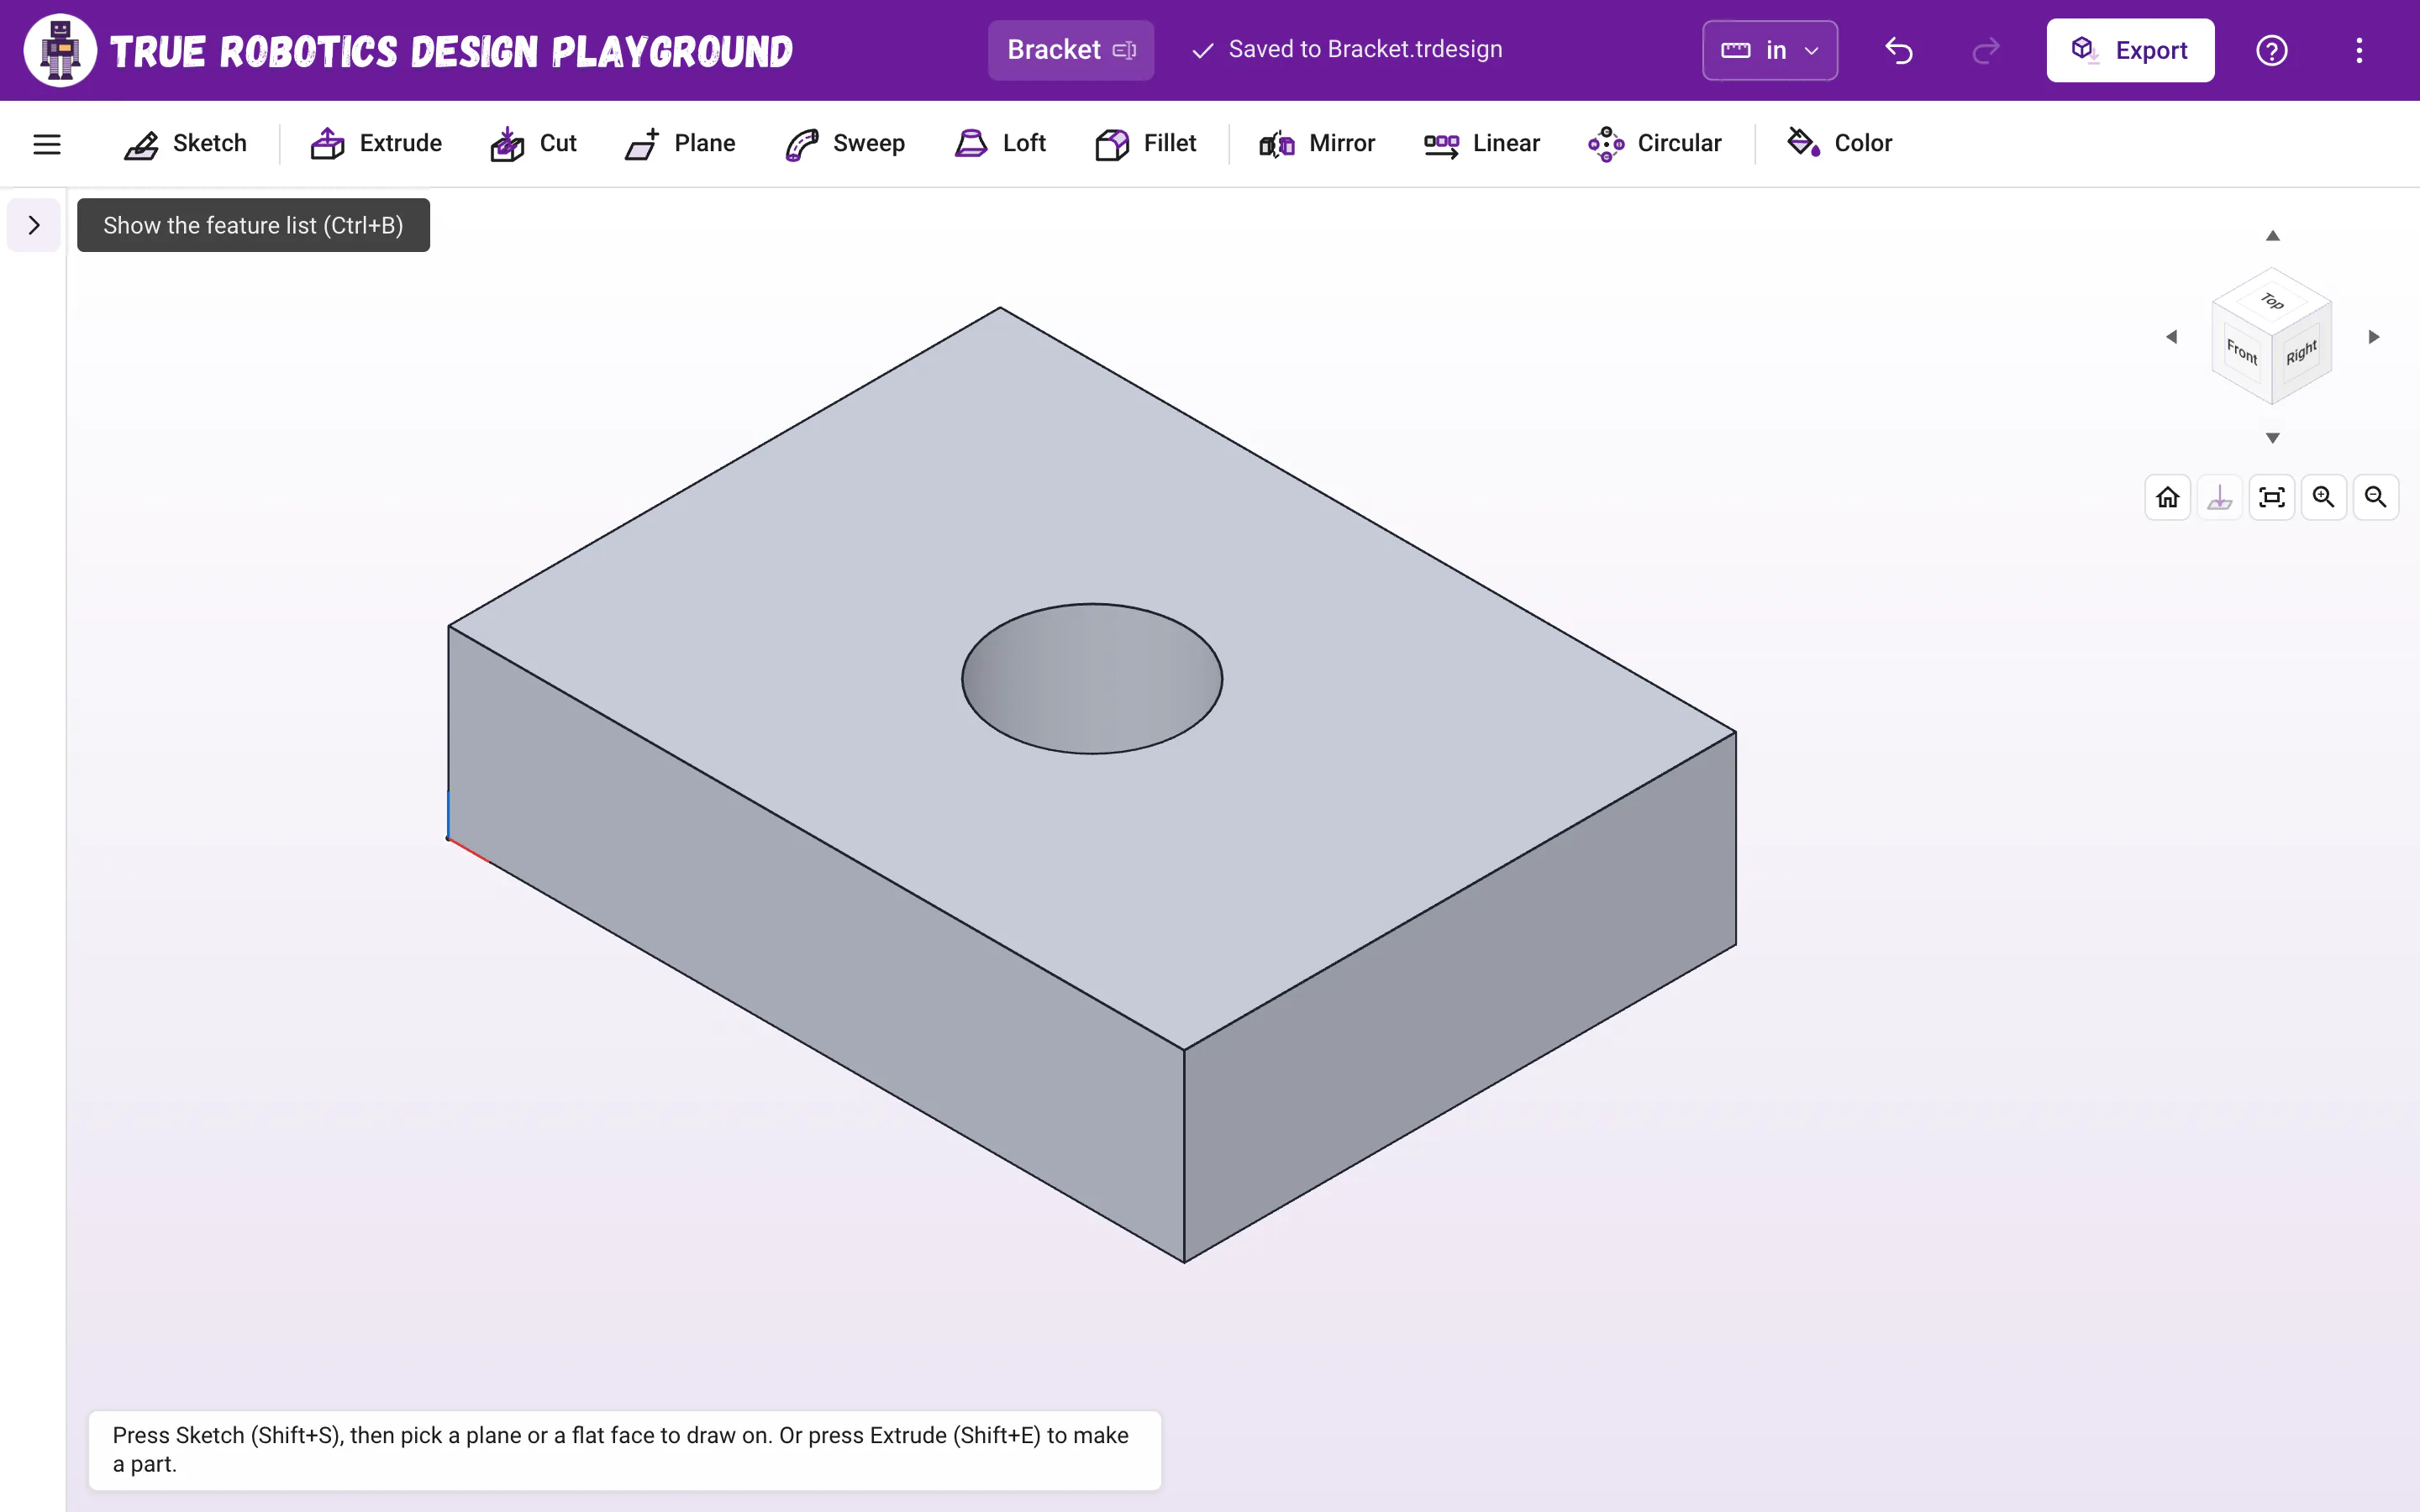
- Fold the panel away with the arrow next to your project name at the top of the panel, or Ctrl+B (Cmd+B on a Mac). It shrinks to a thin strip with a button to bring it back, and your browser remembers your choice.
4. The 3D view#
The big area in the middle is where your design lives. Parts are light gray with dark edges, and the Top, Front and Right planes stay hidden until something asks you to pick one (see Planes). Anything under the pointer lights up orange, and anything you select turns purple. A small hint at the bottom left always tells you what to do next, like Click a plane or a flat face to sketch on. Friendly messages pop up at the bottom of the screen when something needs your attention.
5. The view cube#
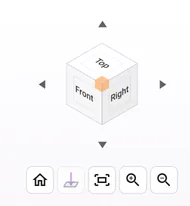
In the top right corner, the view cube shows which way you are looking. Click a face, edge or corner to turn the view there. The four arrows around it turn the view 90 degrees, and the buttons under it are Home, Look straight at the selection, Zoom to fit everything, Zoom in and Zoom out. Moving around the 3D view has every trick.
6. Feature panels#
When you sketch, extrude, cut, revolve, loft, sweep, fillet, make a plane or an axis, mirror, pattern or color, that feature's options fill the left panel, the way engineers see them in SolidWorks. The top row shows the feature's icon and name (click the name to rename it), a green check to accept and a red X to cancel. Enter accepts and Esc cancels. The box waiting for a pick from the view is outlined in purple with a Picking tag, and the hint at the bottom of the view says what to click next.
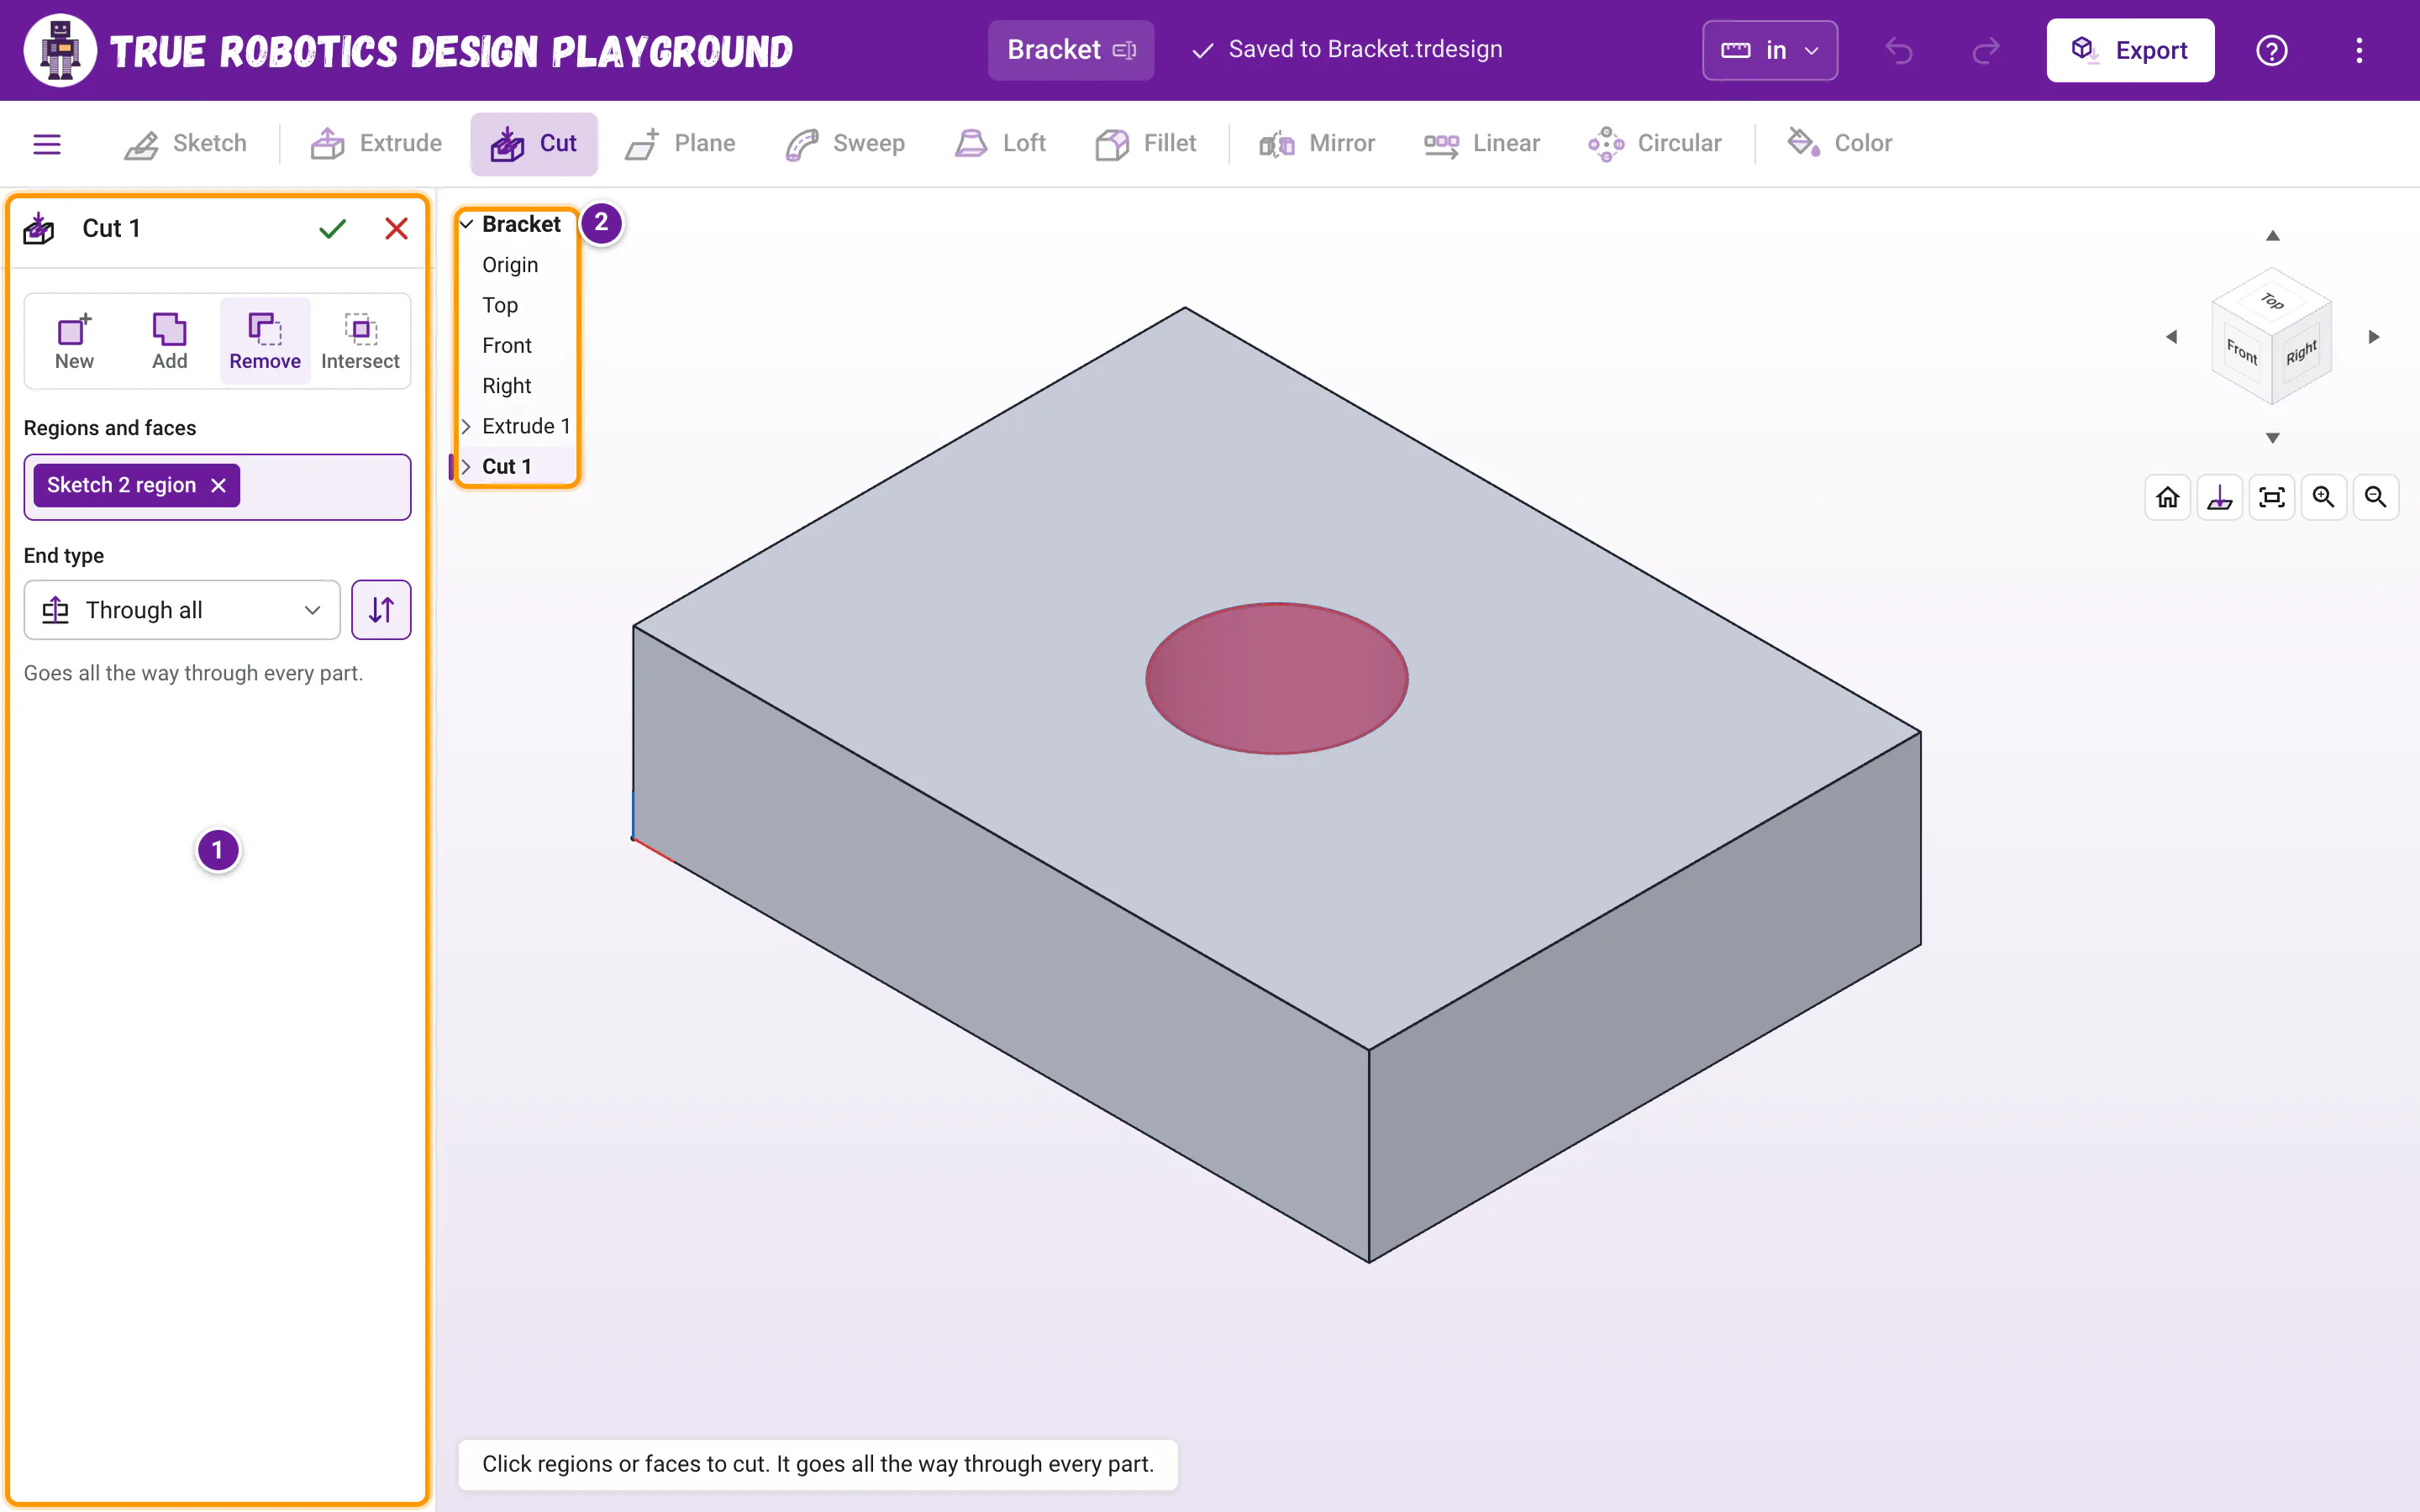
While a feature is open, the feature list hops out of the way into the top left corner of the 3D view, as a short list of names. You can still click its rows to pick planes, sketches and features for the open panel. Click your project name at the top of that list to fold it away, or press Ctrl+B. When you accept or cancel, the list goes back into the panel. If you had folded the panel away, it opens for the feature and folds again after.
7. The sketch tool panel#
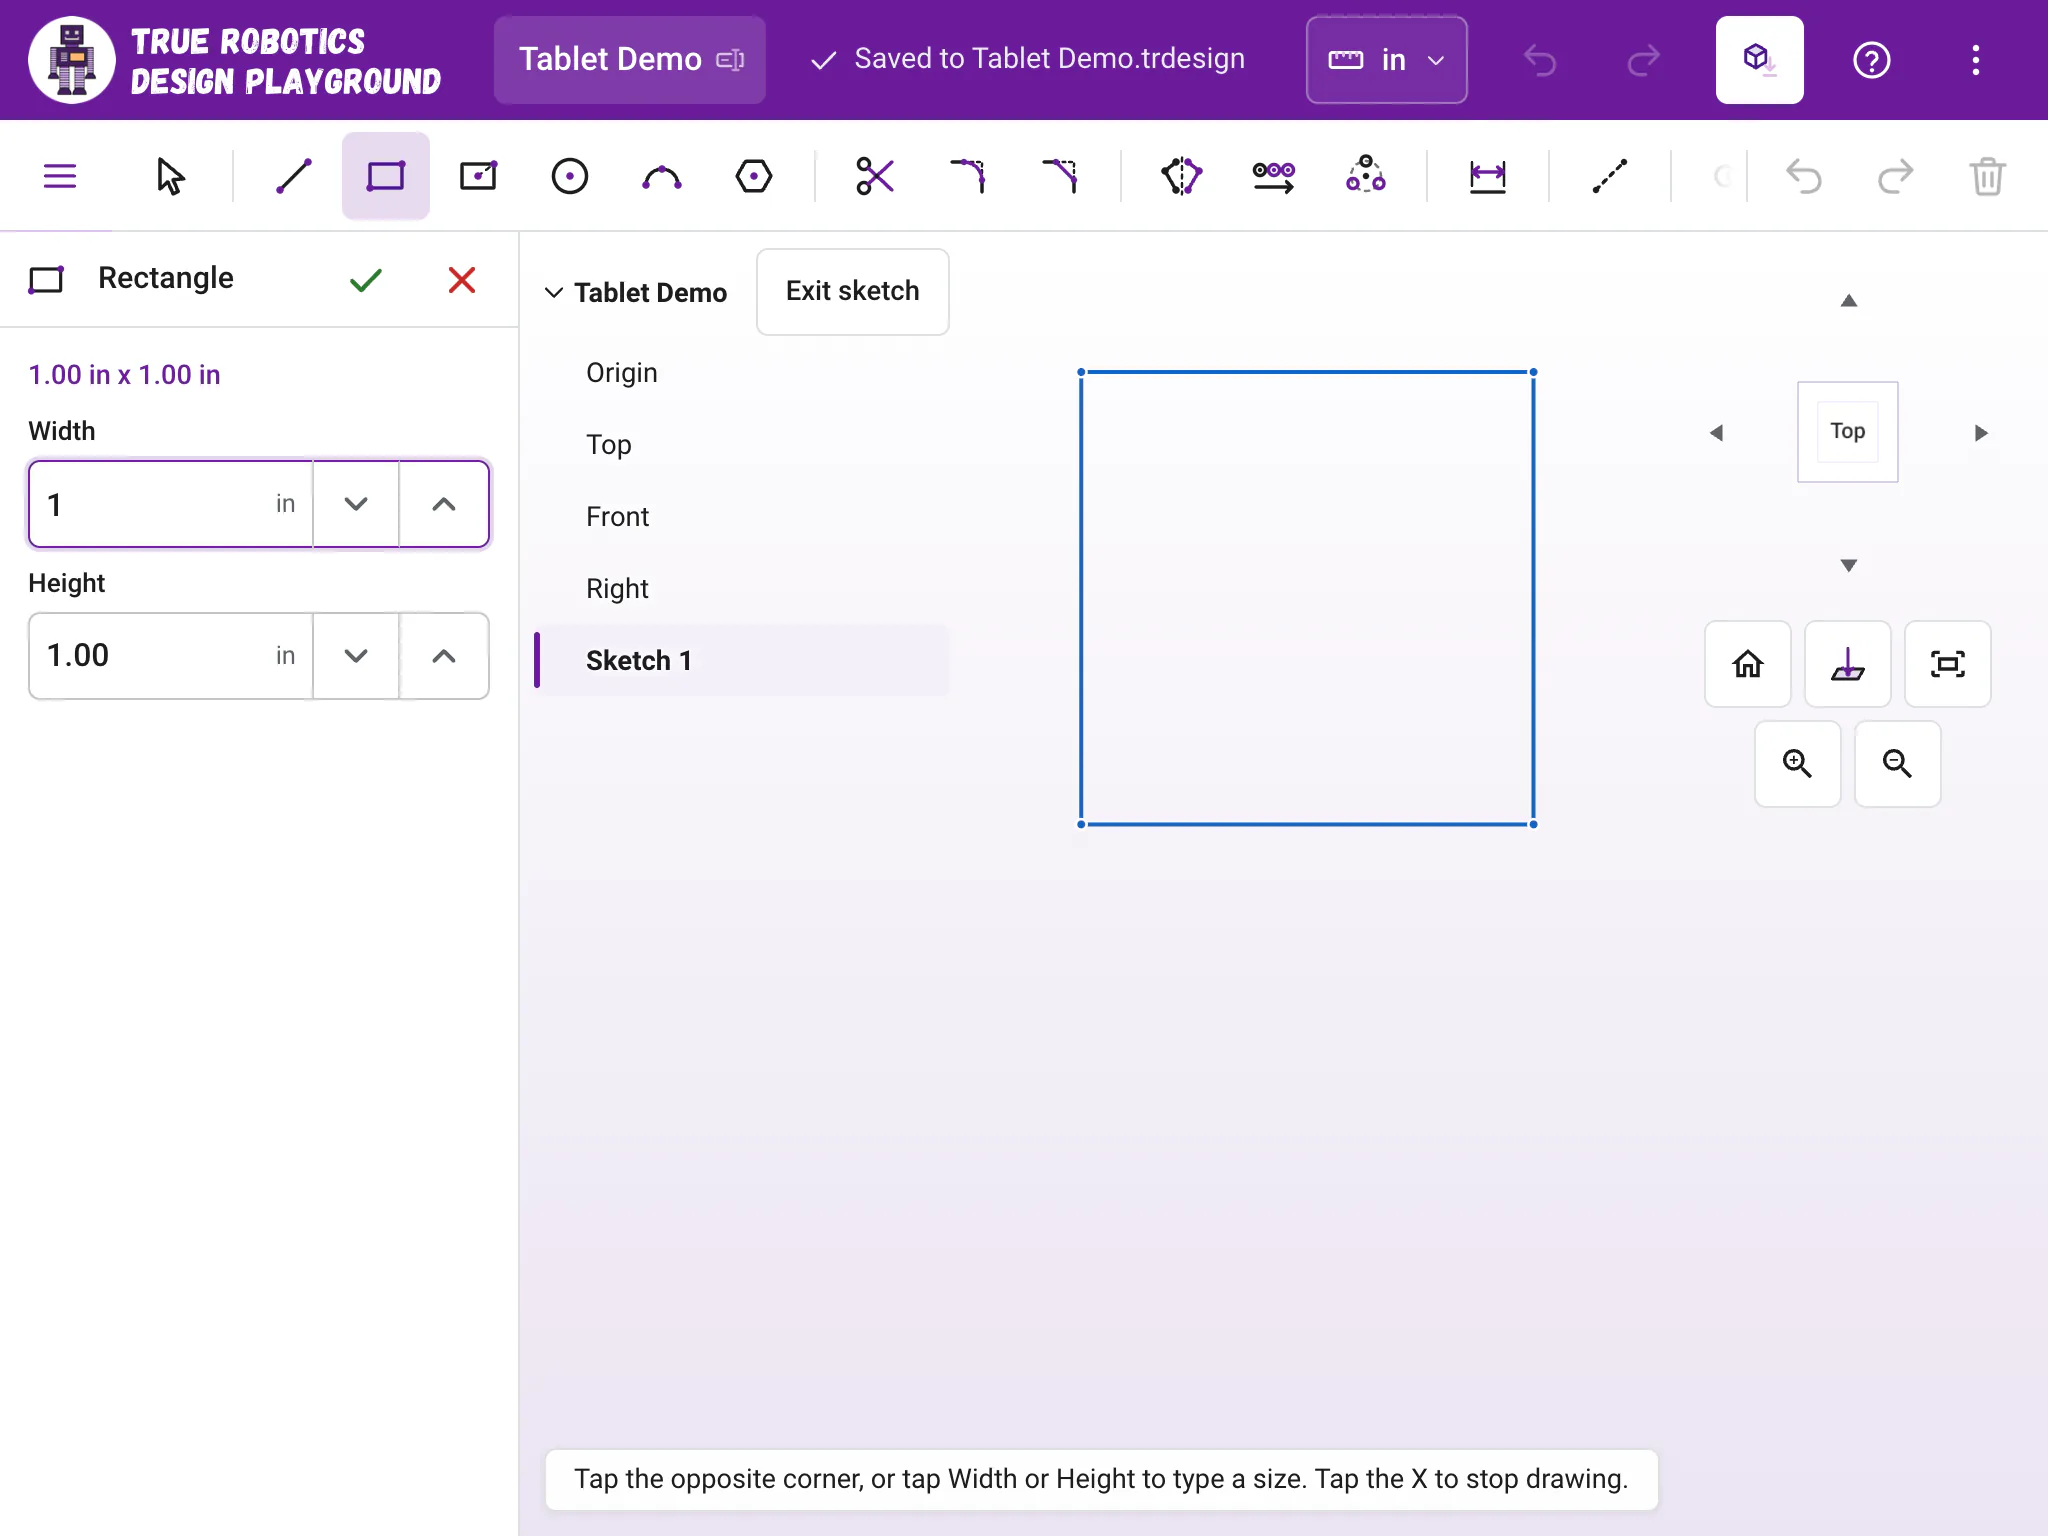
While a sketch tool is on, the left panel shows that tool: its name, the next step, like Click to place the first corner, and its size boxes, like Width and Height for a rectangle. Type a size there and press Enter to change the shape you just drew. The green check finishes what you are drawing and goes back to Select, and the red X cancels it. Put the tool away, and the Sketch panel comes back.
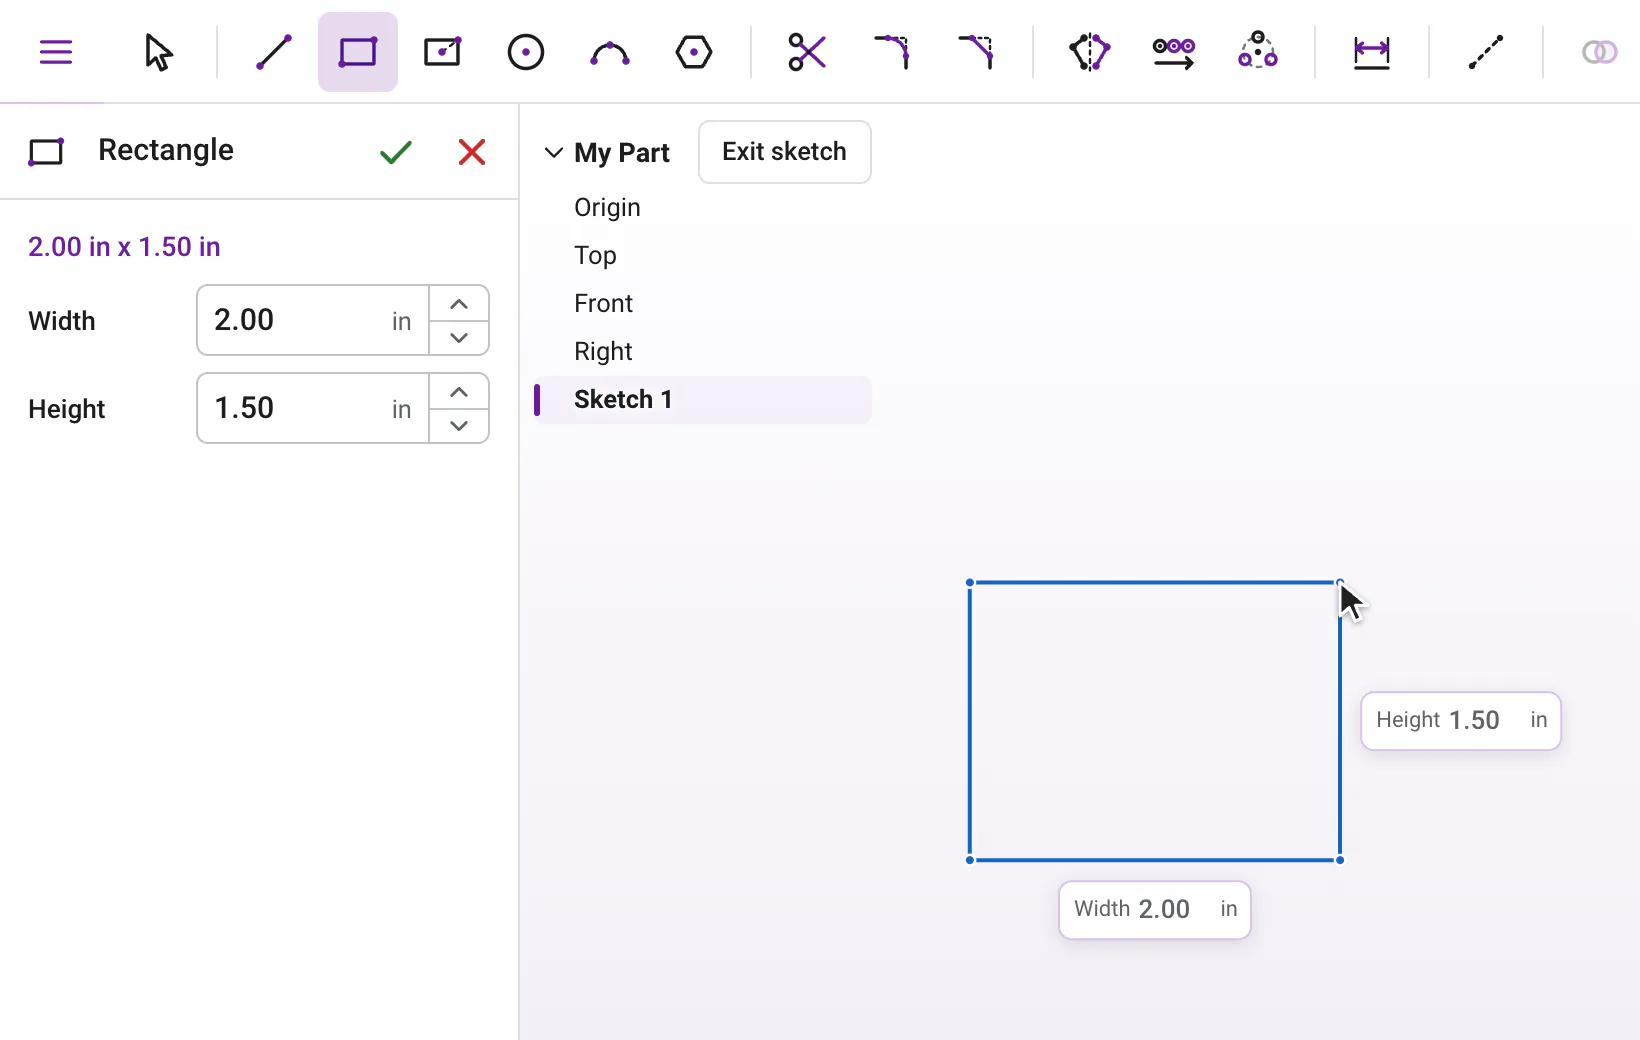
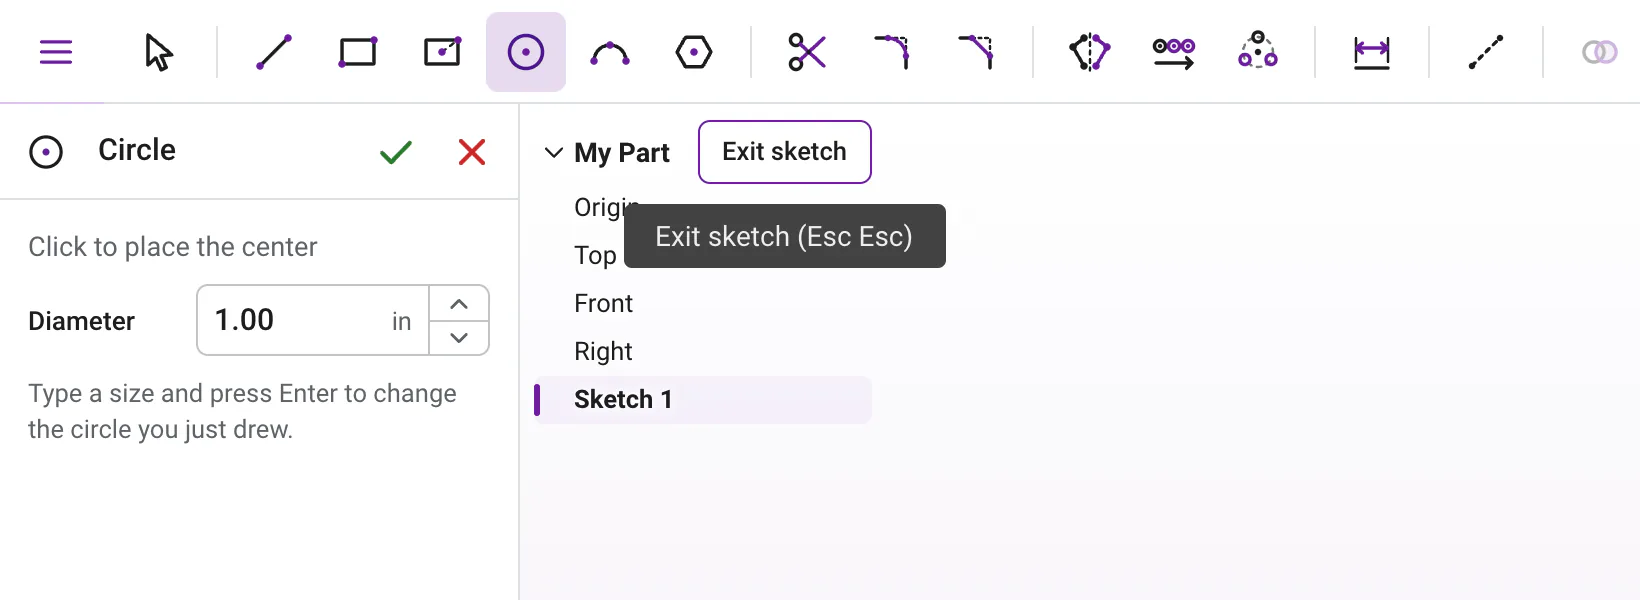
Next to your project name at the top of the view, a small Exit sketch button saves the sketch and closes it in one click, even with a tool still on. Pressing Esc until nothing is left does the same thing.
Do the number boxes have arrows?#
Yes. Every number box, like an extrude Depth, a plane Distance or a pattern Count, has small up and down arrows. Each click steps by 1 in your units (or 1 degree, or 1 for a count, or 0.1 for a fillet or chamfer size), Shift makes each step 10 times bigger and Alt a tenth as big, and holding an arrow keeps going. Numbers show 2 decimals, or 3 when the third one matters, like 0.125 in. Units and typing math has the details.
How does it look on a tablet?#
On a tablet held sideways, the workspace looks just like it does on a computer, with buttons, tree rows and view cube buttons grown to finger size. On screens narrower than about 900 pixels, like a tablet held upright, the feature list becomes a drawer: tap the feature list button, the three short lines at the start of the toolbar, to slide it open, and tap beside it to close it. That button only shows on these narrow screens and on phones, where the drawer needs it. Wider screens fold the panel with the arrow next to your project name instead. Feature panels still take the left side of the screen. The sketch toolbar scrolls sideways, and the title in the purple bar gets shorter to make room for your controls.
Can I use it on a phone?#
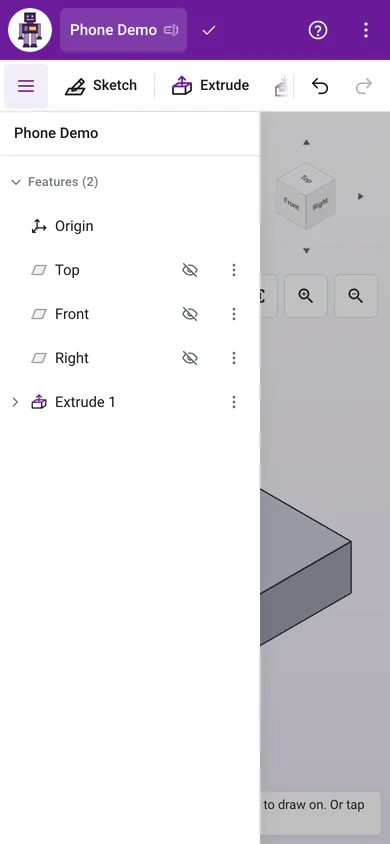
Yes, and it is perfect for a quick demo. On a phone, held upright or sideways, everything shuffles a little so your part gets the room:
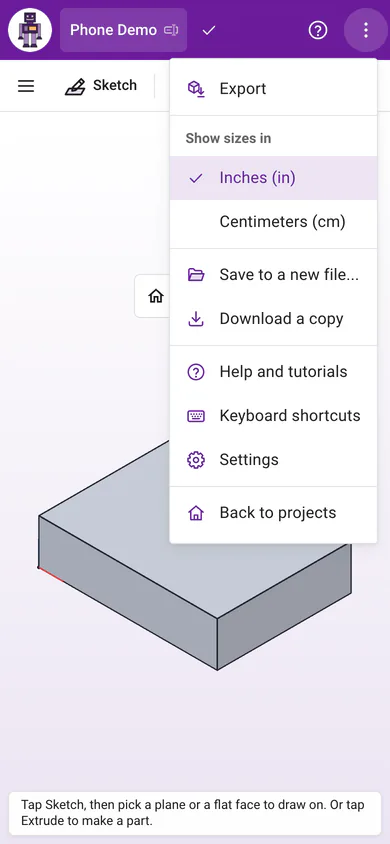
- The purple bar keeps the logo, your project name, the save status as a small icon, the ? button and the three dots.
- Export and the units (Inches or Centimeters) move into the three dots menu.
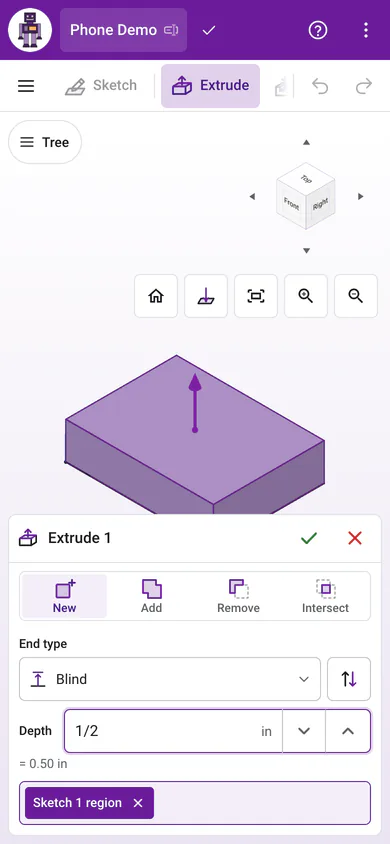
- Undo and Redo move down to the toolbar row, next to the part tools. That row scrolls sideways to reach every tool.
- The feature list is a drawer behind the feature list button, the three short lines at the start of the toolbar, and it closes on its own once you pick a row.
- Feature panels dock along the bottom of the screen held upright (or at the top left held sideways), so the part stays in view. A small Tree button at the top of the view opens the feature list for picks.
- The view cube gets a little smaller.
Where are the settings?#
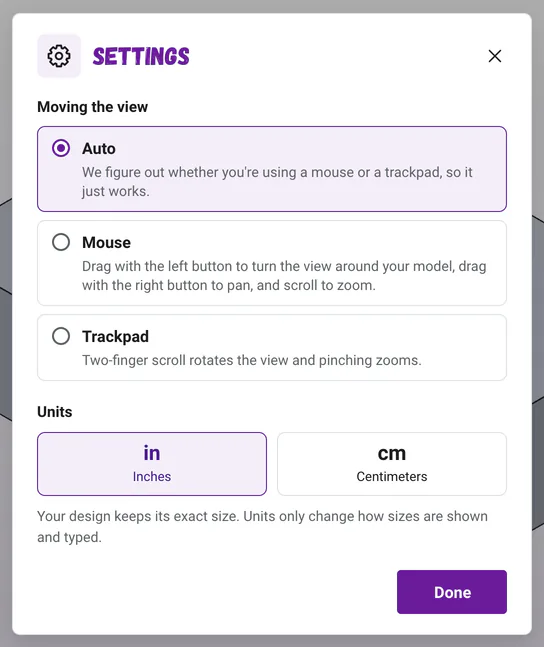
Open the three dots menu and choose Settings. Moving the view picks how the view reads your scroll wheel or trackpad: Auto, Mouse or Trackpad. Units switches between inches and centimeters. Changes apply right away, so click Done when you are happy.
Now that you know your way around, try your first part in five minutes.
Questions and answers#
Where did the Parts list go?
The feature list shows features only. Your parts are right on the model: point at a face to see which feature made it, and pick parts to save in the Export window.
How do I hide the feature list?
Click the arrow next to your project name at the top of the left panel, or press Ctrl+B (Cmd+B on a Mac). The panel folds to a thin strip, and the button on that strip or the same key brings it back. On a phone or a narrow screen, the feature list is a drawer instead, opened and closed with the three short lines at the start of the toolbar.
Where did my sketch go after I extruded it?
It tucked in under the extrude in the feature list. Click the little arrow next to the extrude to see it, and double-click the sketch to edit it.