
Sketching
Sketch Constraints
Constraints in the True Robotics Design Playground are rules between parts of a sketch, like keep this line level or make these circles the same size. Select the geometry with the Select tool, and the toolbar lights up only the constraints that fit. Press the button, or a shortcut such as H, V, E, I or T, and a small badge shows where the rule lives.
Read what happens in this video
We select two lines and click Parallel, and the second line turns to match the first. Pressing E makes them the same length. A circle and a line become tangent with T, so the line just touches the circle. Finally, clicking the Equal badge and pressing Delete removes that rule.
The steps in the video:
- Press L and draw two lines, pressing Esc after each one.
- Press C and draw a circle. Press L, draw a line beside it and press Esc.
- Press F to zoom to fit everything.
- Click the first line, then hold Shift and click the second line.
- Click Parallel in the toolbar. The second line turns to match.
- Select both lines again and press E for Equal. Now they match in length.
- Click the circle, Shift + click the new line, and press T for Tangent.
- Click the Equal badge on a line, then press Delete to remove that rule.
How do I add a constraint?#
With the Select tool, click the first item. Hold Shift (or Ctrl, or Cmd on a Mac) and click the others.
Look at the toolbar: the constraint buttons that fit your selection light up, and the rest stay gray.

Only the constraints that fit your selection light up. Click a lit button, or press its shortcut key. The geometry moves to obey the rule, a badge appears next to it, and the selection clears.

If you press a constraint key with the wrong things selected, a message tells you what that constraint needs, like Select two or more lines, then press Parallel.
Coincident#
- CoincidentShortcut: IPuts two points in the same spot, or puts a point on a line or curve.
Select: two points, or one point and one line, circle, arc or spline. Use it to join two loose line ends so a shape closes, or to put a corner on a line. A point held on a line can sit anywhere along that line, even past its end. Coincident is the one rule a whole spline takes; for everything else, put the rules on its points.
Horizontal#
- HorizontalShortcut: HMakes lines level, or lines up two points side by side.
Select: one or more lines, or two points. Lines turn perfectly level. Two points end up at the same height, which is handy for lining up two hole centers.
Vertical#
- VerticalShortcut: VMakes lines stand straight up, or lines up two points one above the other.
Select: one or more lines, or two points. Lines stand straight up and down. Two points end up directly above each other.
Parallel#
- ParallelMakes lines point the same direction.
Select: two or more lines. Every line turns to match the first one you picked. Great for the two long sides of a slot or a tilted bracket.
Perpendicular#
- PerpendicularMakes two lines meet at a right angle.
Select: exactly two lines. They turn to form a perfect 90 degree angle, even when neither one is level.
Equal#
- EqualShortcut: EMakes lines the same length, or circles and arcs the same size.
Select: two or more lines, or two or more circles and arcs. Every one matches the first you picked. Make four holes equal, dimension just one, and all four change together.
Tangent#
- TangentShortcut: TMakes a curve meet a line or another curve smoothly, with no corner.
Select: a circle or arc, plus a line or another circle or arc. Use it for the rounded ends of a slot, or to run a line along the side of a circle.
Midpoint#
- MidpointHolds a point at the exact middle of a line.
Select: one point and one line. The point moves to the middle of the line and stays there, which is perfect for centering a hole along an edge.
Concentric#
- ConcentricGives circles and arcs the same center.
Select: two or more circles or arcs. They share a center, like a washer, a ring or a hole in the middle of a round boss.
Fix#
- FixLocks points exactly where they are now.
Select: one or more points. They stay put no matter what you drag. Dimensions from the origin are usually a better habit, because they say exactly where things go, but Fix is a quick way to pin something down.
Which constraints get added for me?#
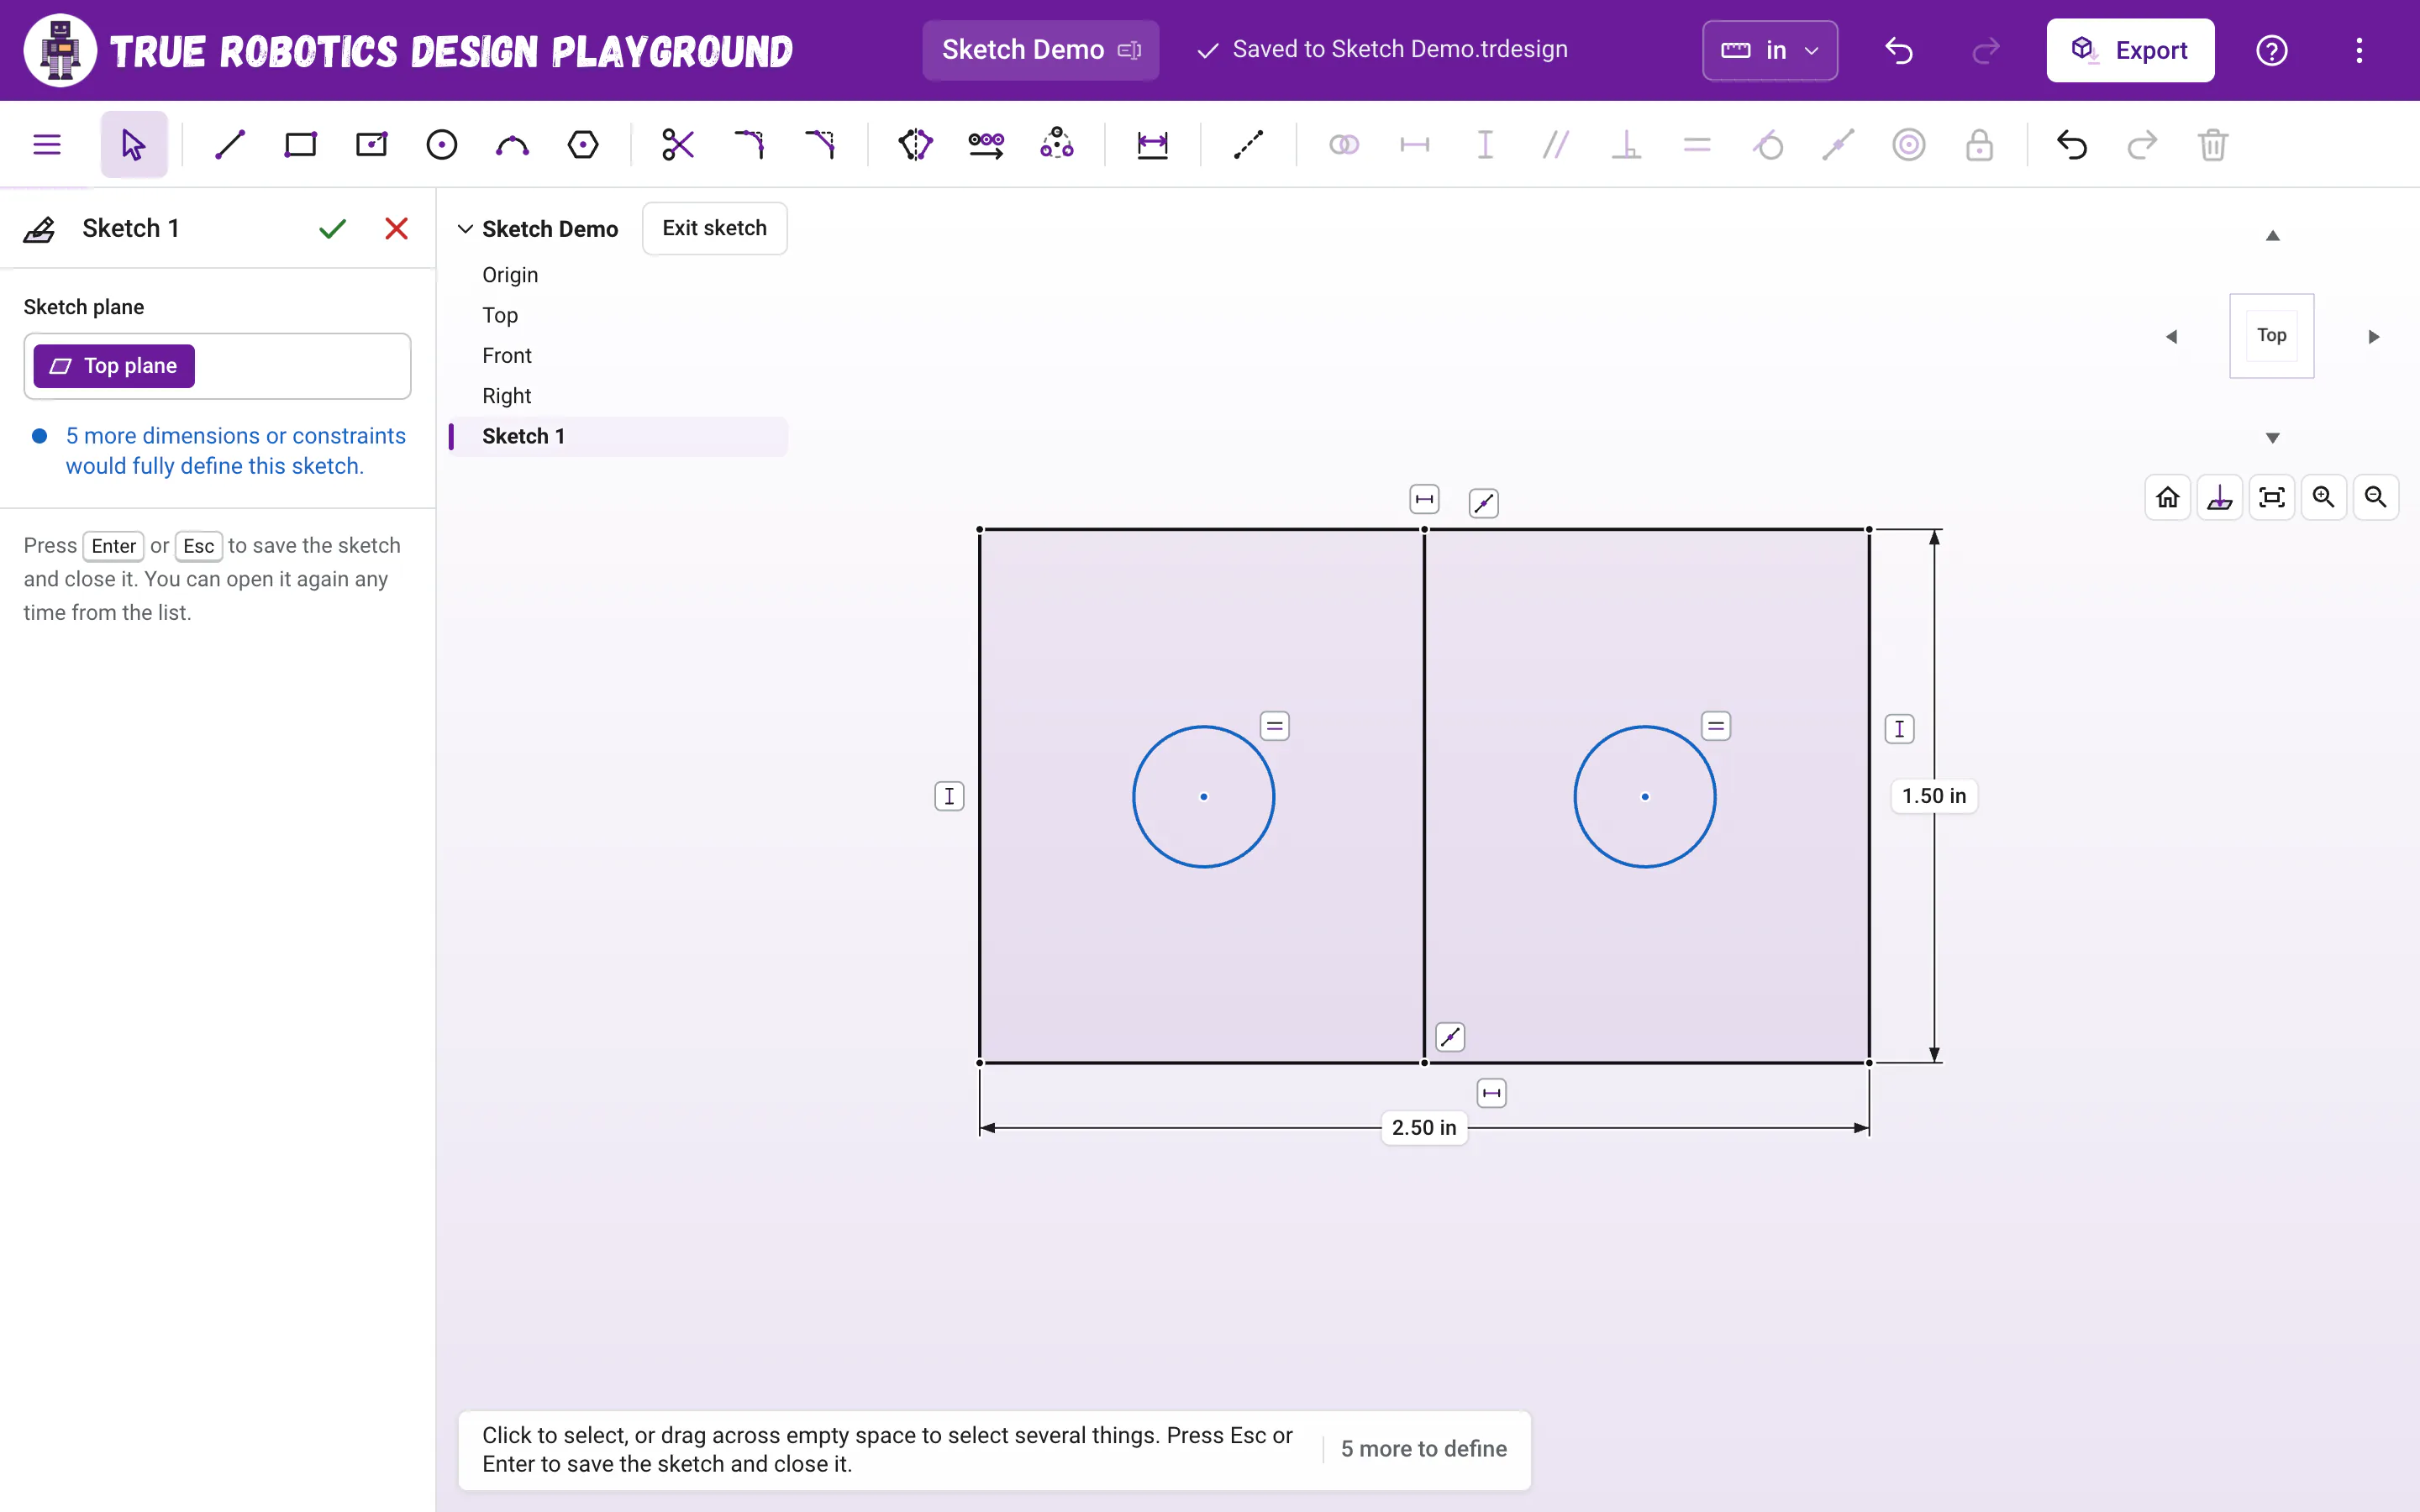
- Snapping while you draw: ending on a point adds Coincident, a nearly level or upright line gets Horizontal or Vertical, and landing on the middle of a line adds Midpoint.
- Rectangles come with Horizontal and Vertical on their sides. A center rectangle also holds its center at the Midpoint of a dashed diagonal.
- Polygons come with Equal sides, with every corner held on a dashed circle.
- Fillets come with Tangent arcs, and fillets made together are Equal to the first one, which carries the radius.
- Mirror, Linear pattern and Circular pattern tie every copy to its original, so copies follow when you change the original.
- Trim holds each new end on the line or curve it was cut against, so trimmed shapes stay closed.
How do I remove a constraint?#
Hover over its badge to see which geometry it controls, click the badge to select it, and press Delete or Backspace. Badges of the same kind on the same line share one badge, and clicking it selects them all.
Why was my constraint refused?#
- That's already set by your other dimensions and constraints. The rule is already true because of others, so nothing was added.
- That would fight with your other dimensions. Try changing one of them instead. The new rule disagrees with one you already have, so your sketch stays as it was. Remove or change the old one first.
Constraints plus dimensions are how a sketch turns from blue to black. Give them a try on your next shape!
Questions and answers#
What is the difference between a constraint and a dimension?
A dimension sets a size, like 1 1/2 inches or 30 degrees. A constraint sets a relationship with no number, like level, parallel or equal. Together they decide exactly where everything in a sketch goes.
Why is a constraint button gray?
Constraint buttons only light up when your selection fits them. For example, Perpendicular needs exactly two lines and Concentric needs two or more circles or arcs. Change your selection and the right buttons light up.