
Sketching
3 Point Arc Tool
The 3 point arc tool in the True Robotics Design Playground draws a curve through three clicks. Press A, click where the arc starts, click where it ends, then click a point the curve should pass through. Start and end on the ends of existing lines so the shape closes, then add a Tangent constraint and a radius dimension for a smooth, exact curve.
- 3 point arcShortcut: ARounded ends and curved edges, like the ends of a slot. The tool panel calls it Arc.
How do I draw an arc?#
In a sketch, press A or click the 3 point arc button. The tool panel on the left says Click to place the start.
Click where the arc starts. Clicking the end of a line snaps there, so the arc and the line stay joined.
Move to where the arc ends, with a dashed line following from the start, and click. Ending on the end of another line joins them too.
Move the pointer to bend the arc, and click a point it should pass through. The tool panel shows the live Radius while you move.
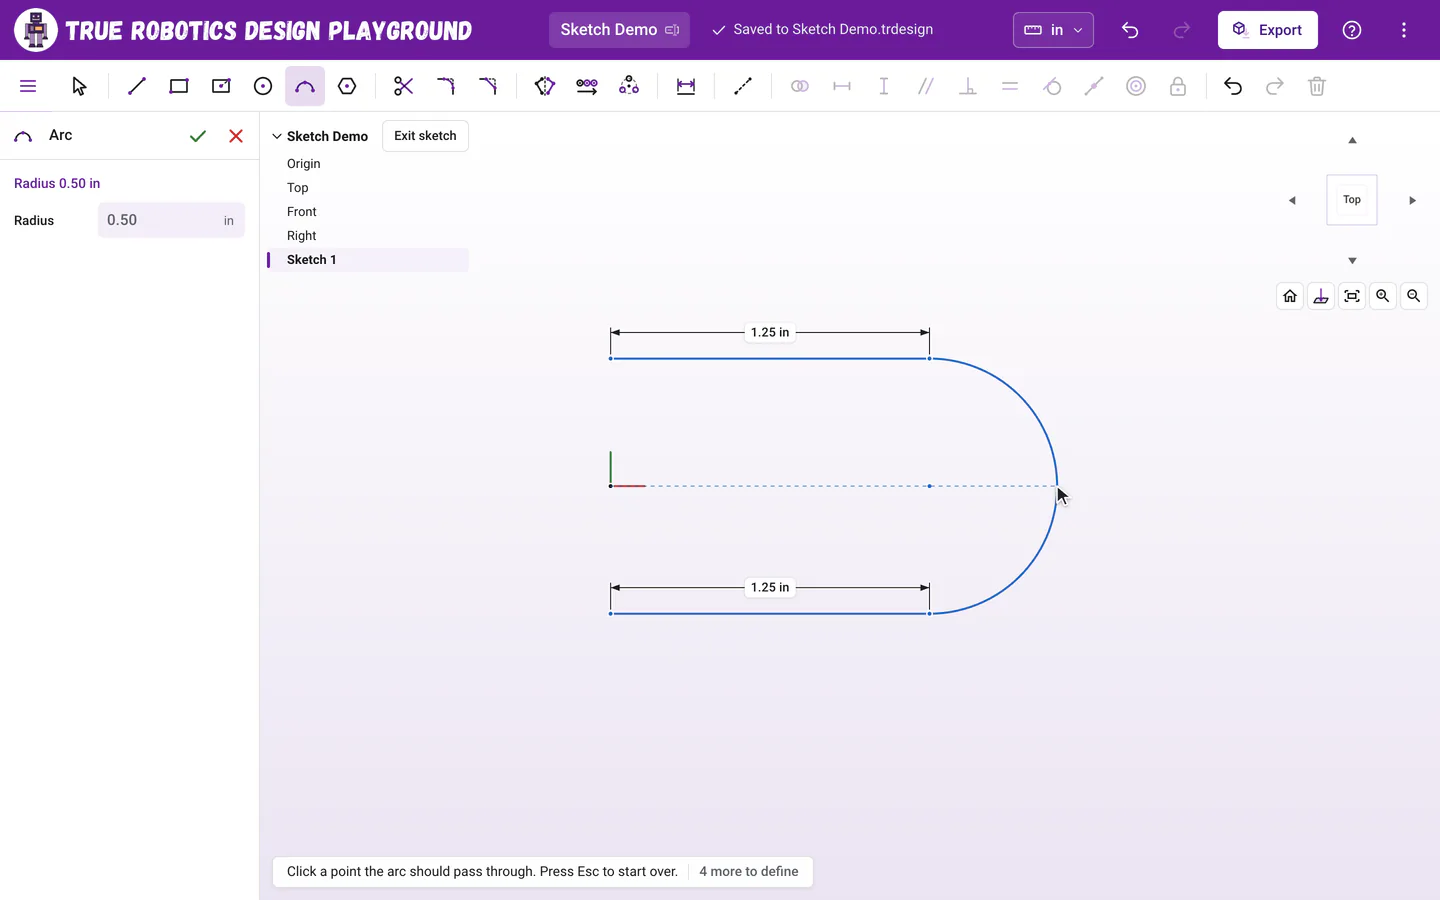
The third click sets how far the arc bends.
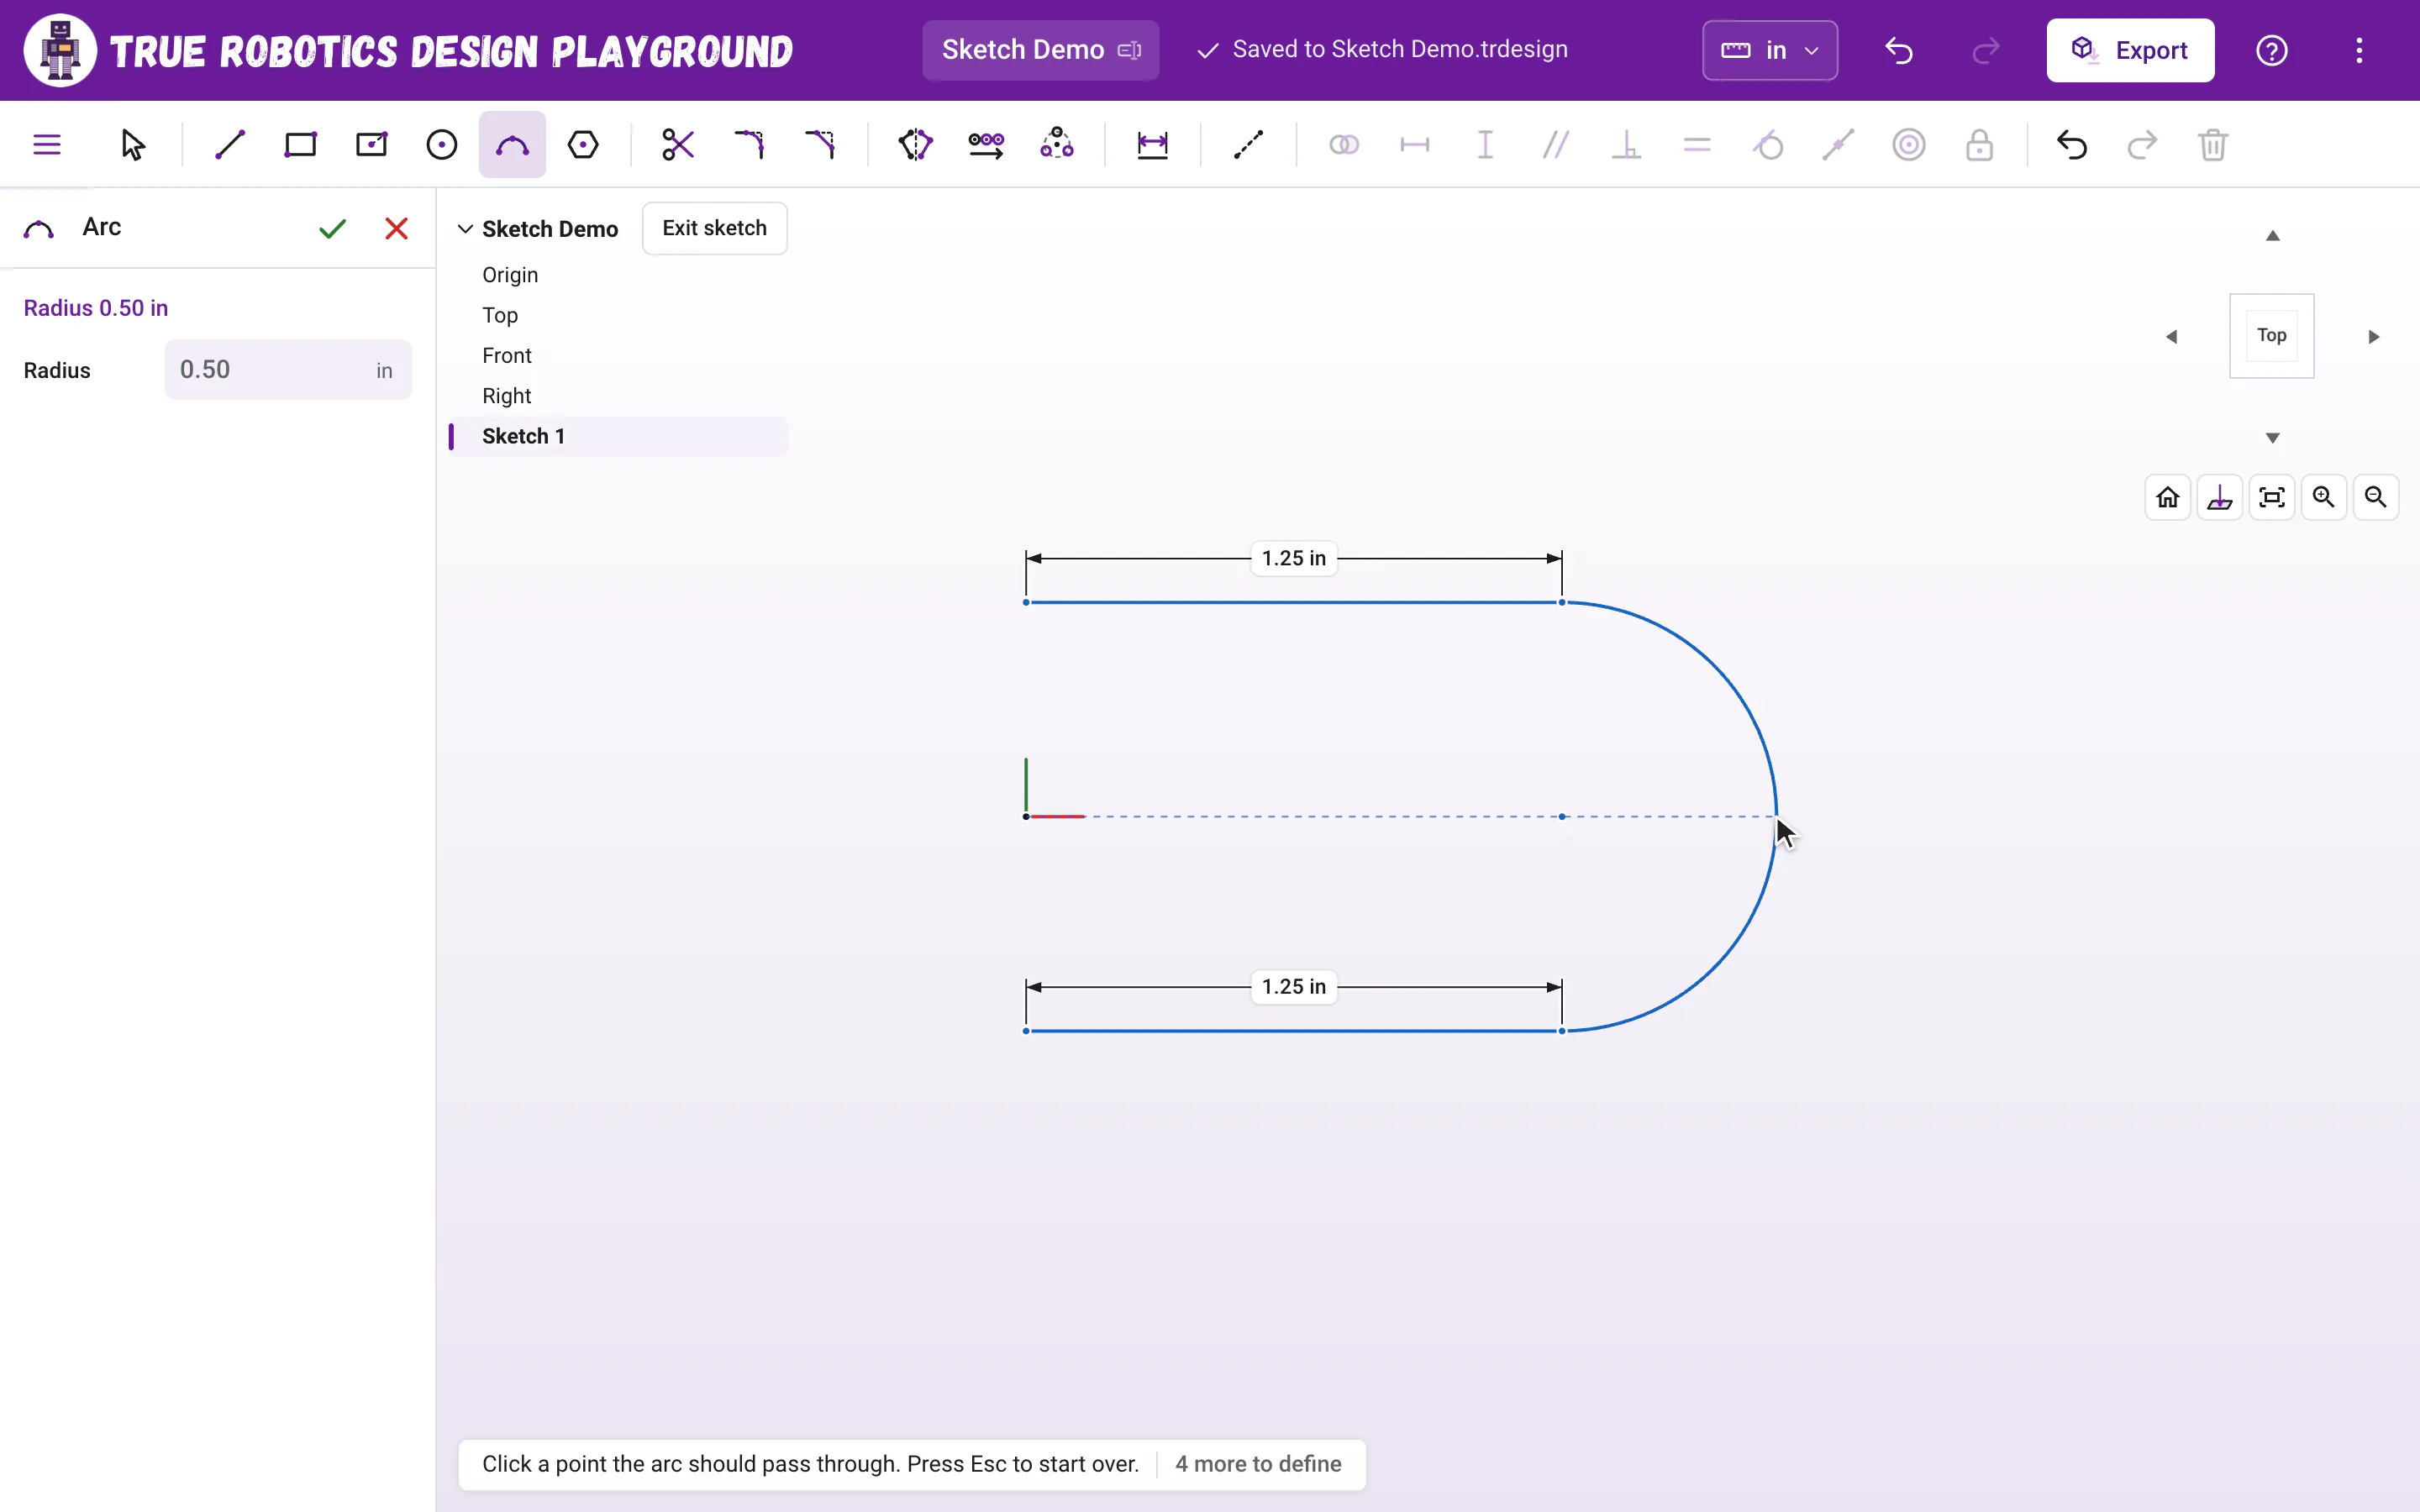
The tool stays on for the next arc. Press Esc to go back to Select.
How do I make a smooth rounded end?#
Draw the arc from the end of one line to the end of another, then make it Tangent to each line: click the arc, hold Shift and click a line, and press T. Tangent means the curve meets the line smoothly with no corner. Two straight lines joined by two tangent arcs make a slot, which you can build step by step in the slot tutorial.
How do I set the arc's size?#
While you draw, the Radius box in the tool panel only shows the size. Once the arc is placed, type a radius in that box and press Enter to set the arc you just drew. You can also size it with the Dimension tool: press D, click the arc, click to place the label and type the radius. Arc labels start with R, like R 0.50 in. You can dimension from the arc's center to a point or a line too.
Good to know: A full circle?
For a whole circle, the Circle tool is faster and lets you type the diameter.
Arcs take a little practice, and they make your parts look polished. Give the slot tutorial a try!