
Tutorials
Make a Phone Stand
You can make a phone stand in Basic mode of the True Robotics Design Playground in about ten minutes. Drag in a box for the base, a wedge for the sloped back and a thin box for the front lip, type their exact sizes and positions, add a box hole as a cable notch, then group everything into one part and export an STL file.
Read what happens in this video
The base, the sloped back and the front lip are in place. We drag in a box hole and type its size and position in the settings panel, so it sits in the middle of the lip. Ctrl and A selects every shape, and Ctrl and G groups them into one part with a notch for the charging cable.
The steps in the video:
- Drag a Box hole from the catalog onto the workplane.
- In the settings panel, type 1/2 for W, 3/4 for D and 1 for H.
- Type 1 3/8 for X, 0 for Y and 1/4 for Z, so it sits in the lip.
- Click empty space, then press Ctrl + A to select every shape.
- Press Ctrl + G to group them into one part with a cable notch.
- Press Esc to see the finished stand.
You will learn: dragging shapes in, typing exact sizes and positions in the settings panel, using a hole, and grouping. Time: about 10 minutes. Size: 3 inches wide, 3 inches deep and 3 inches tall.
How do I make a phone stand?#
Start a Basic project Click New Project, then the Basic picture on the left. Click Yes, autosave and save the file as
Phone Stand. The Basic workspace opens in inches.Make the base Drag a Box onto the middle of the workplane. In the settings panel on the right, type
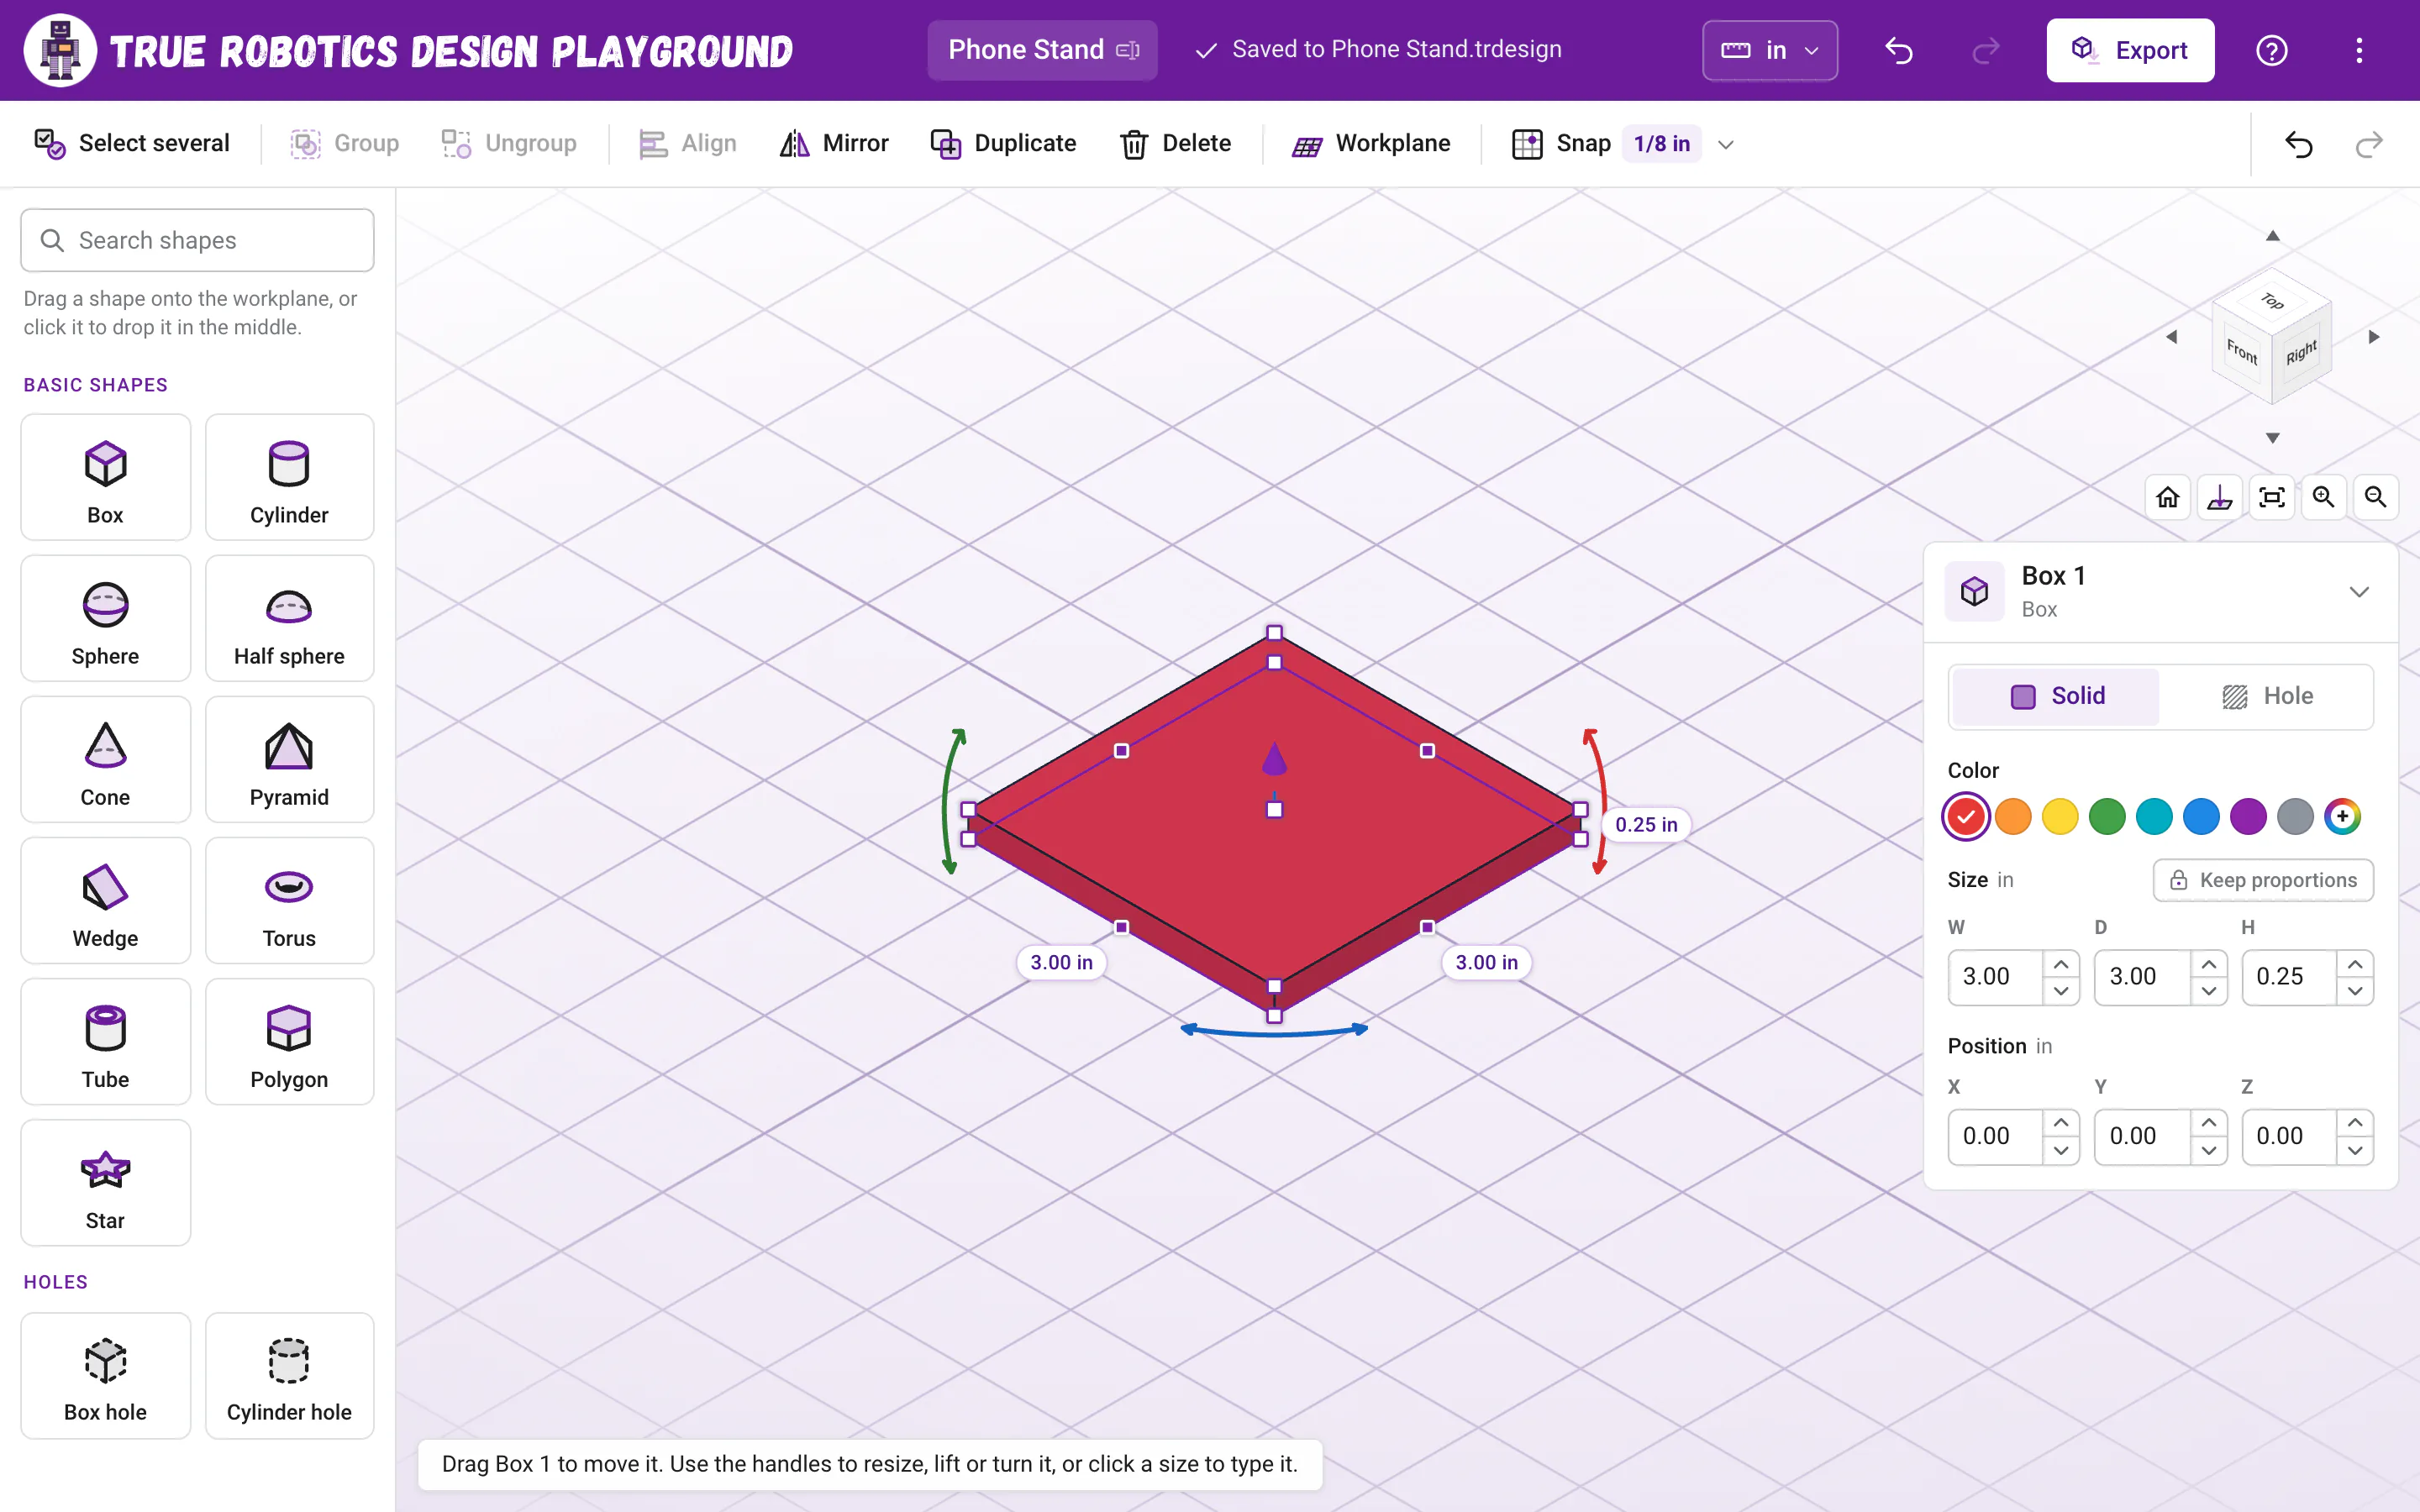
3in W,3in D and1/4in H, pressing Enter after each one. That is a flat base 3 inches square.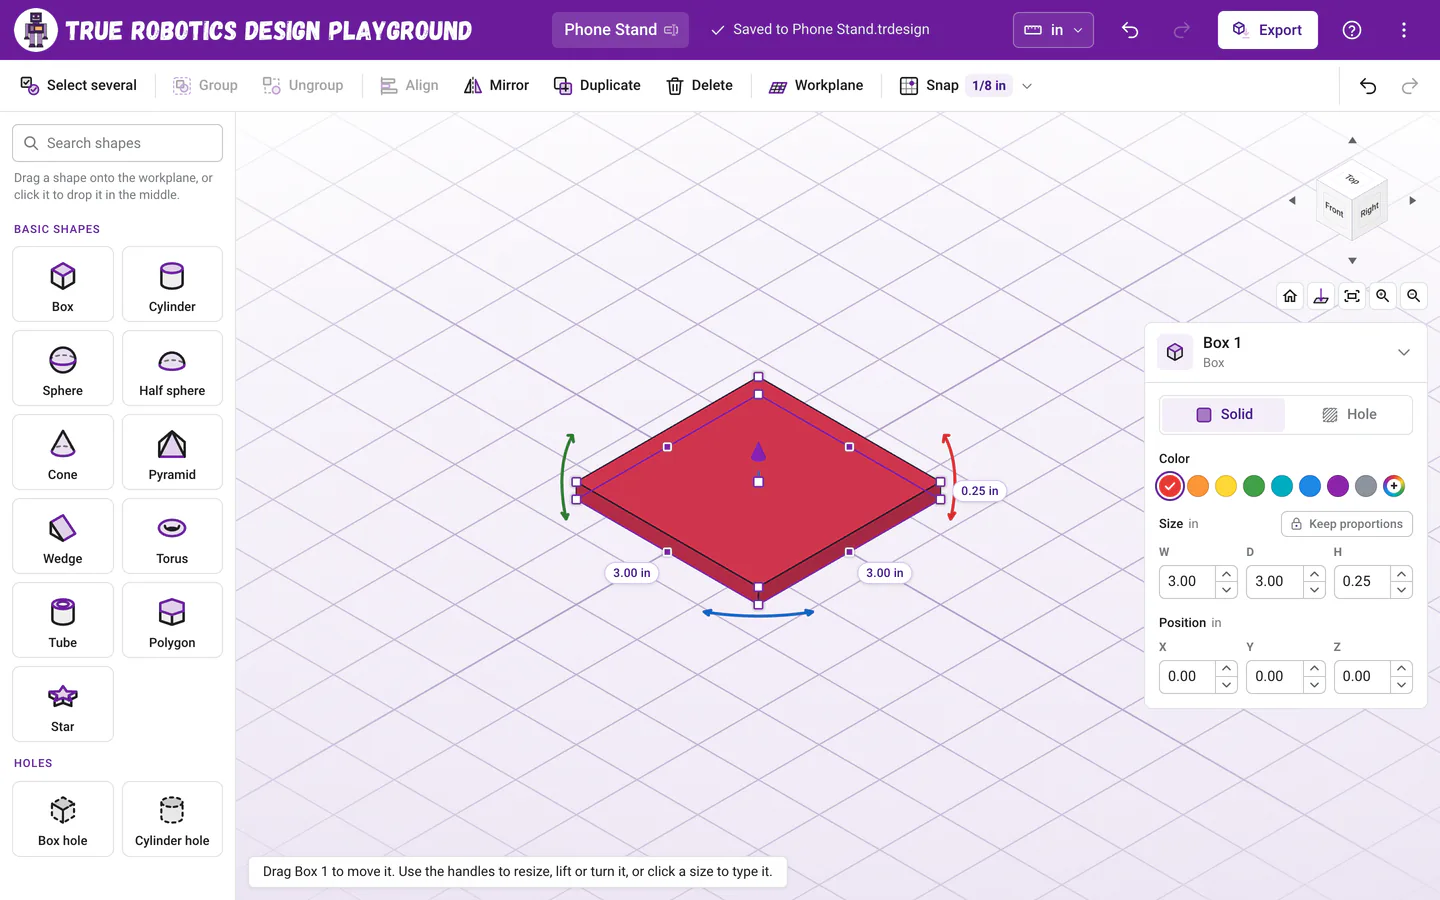
The base: a box 3 inches square and 1/4 inch tall. Add the sloped back Drag a Wedge onto an empty spot of the workplane, beside the base. Type W
2, D3and H3, then Position X-1/2, Y0and Z0. The wedge moves onto the base, tall at the back and sloping down toward the front, where your phone will lean.Add the front lip Drag another Box onto an empty spot. Type W
1/4, D3and H3/4, then X1 3/8, Y0and Z0. The lip stands along the front edge of the base and keeps your phone from sliding off.Cut a notch for the cable Drag a Box hole onto an empty spot. Type W
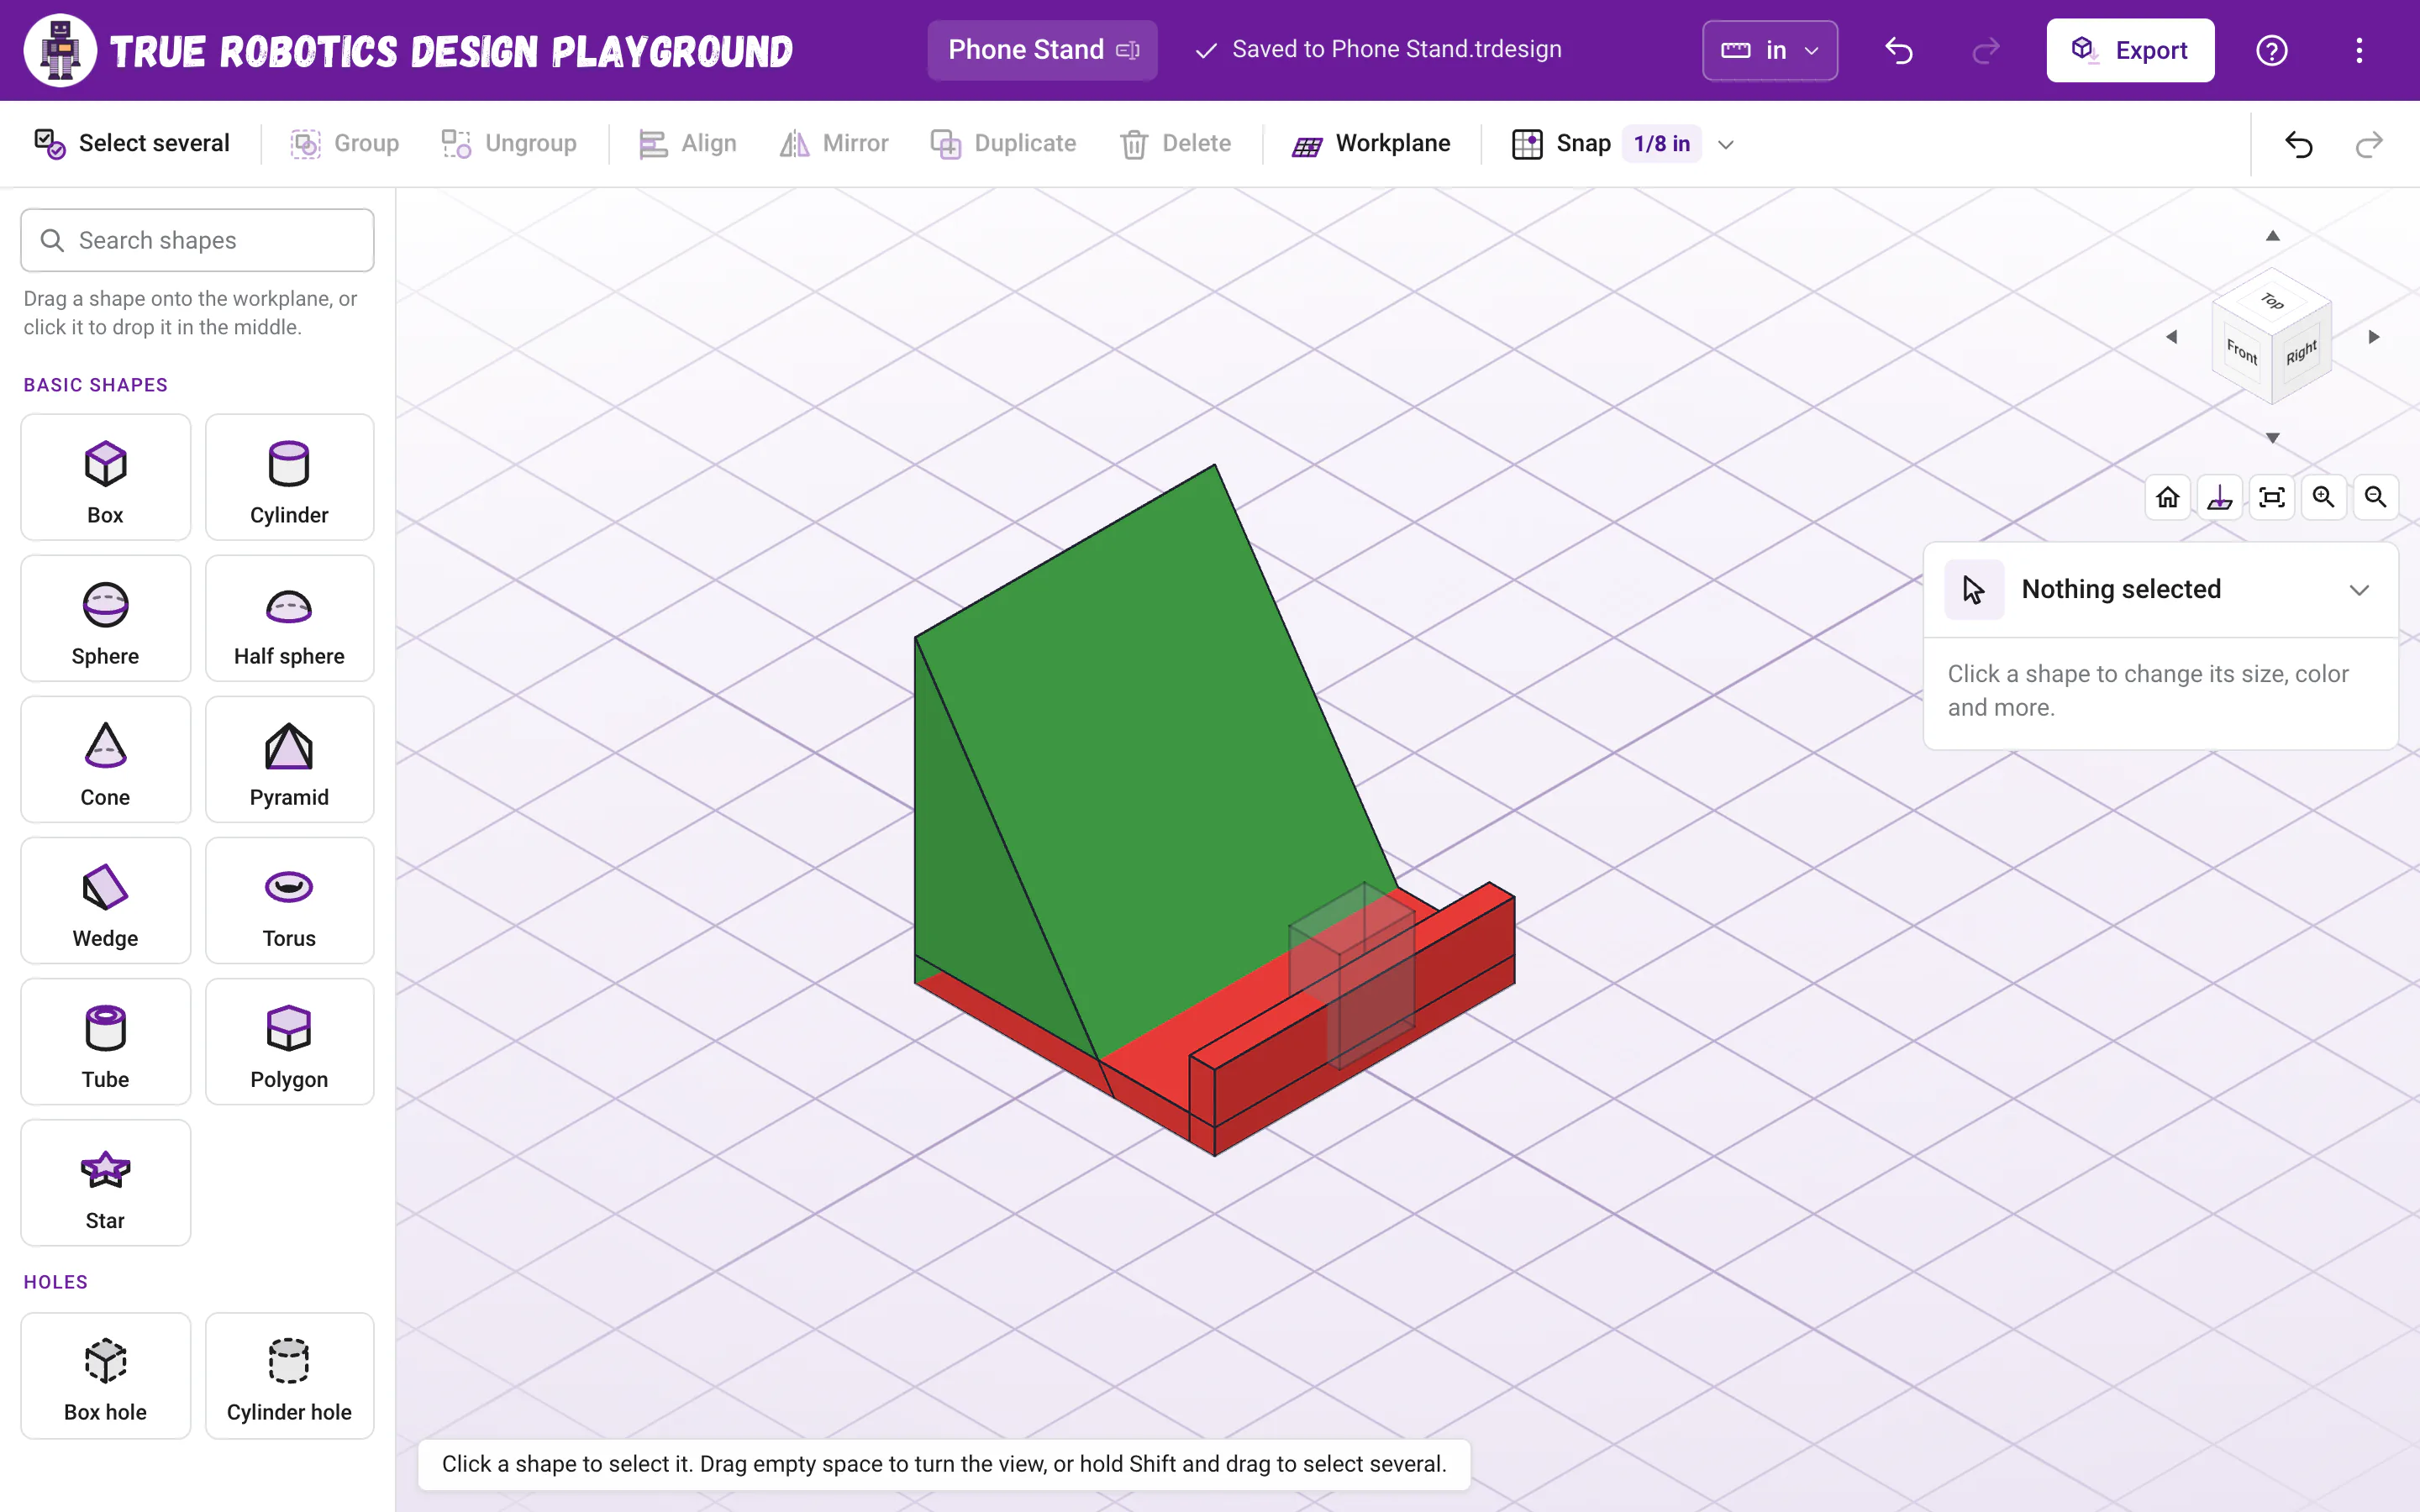
1/2, D3/4and H1, then X1 3/8, Y0and Z1/4. The see-through hole sits in the middle of the lip, right where a charging cable plugs in.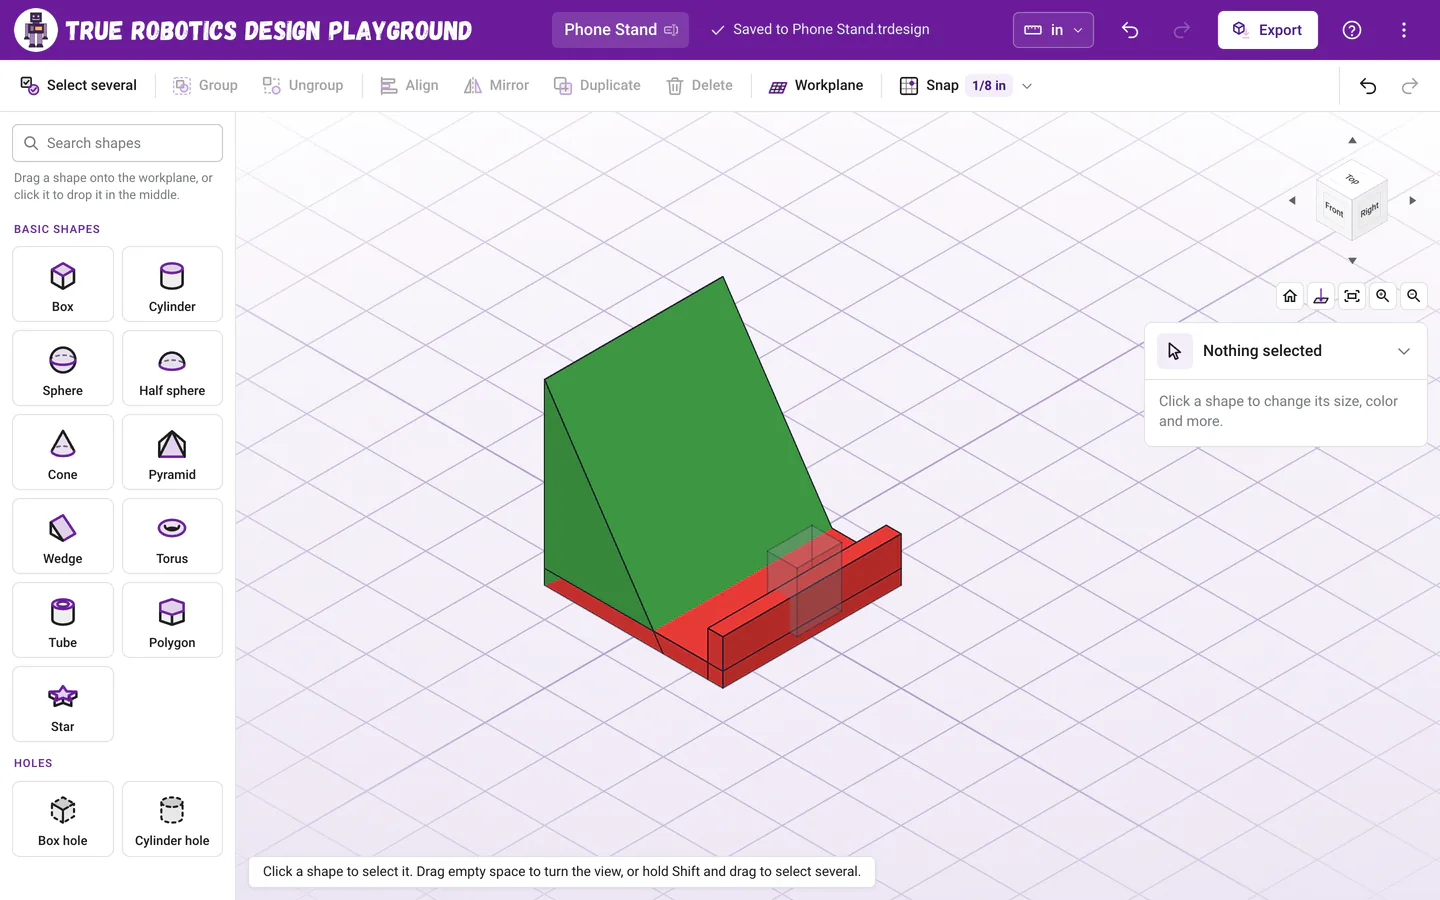
All four shapes in place, ready to group. Group everything Click an empty spot in the view, press Ctrl+A to select all four shapes, then press Ctrl+G. The base, back and lip join into one part, Group 1, and the hole cuts the notch.
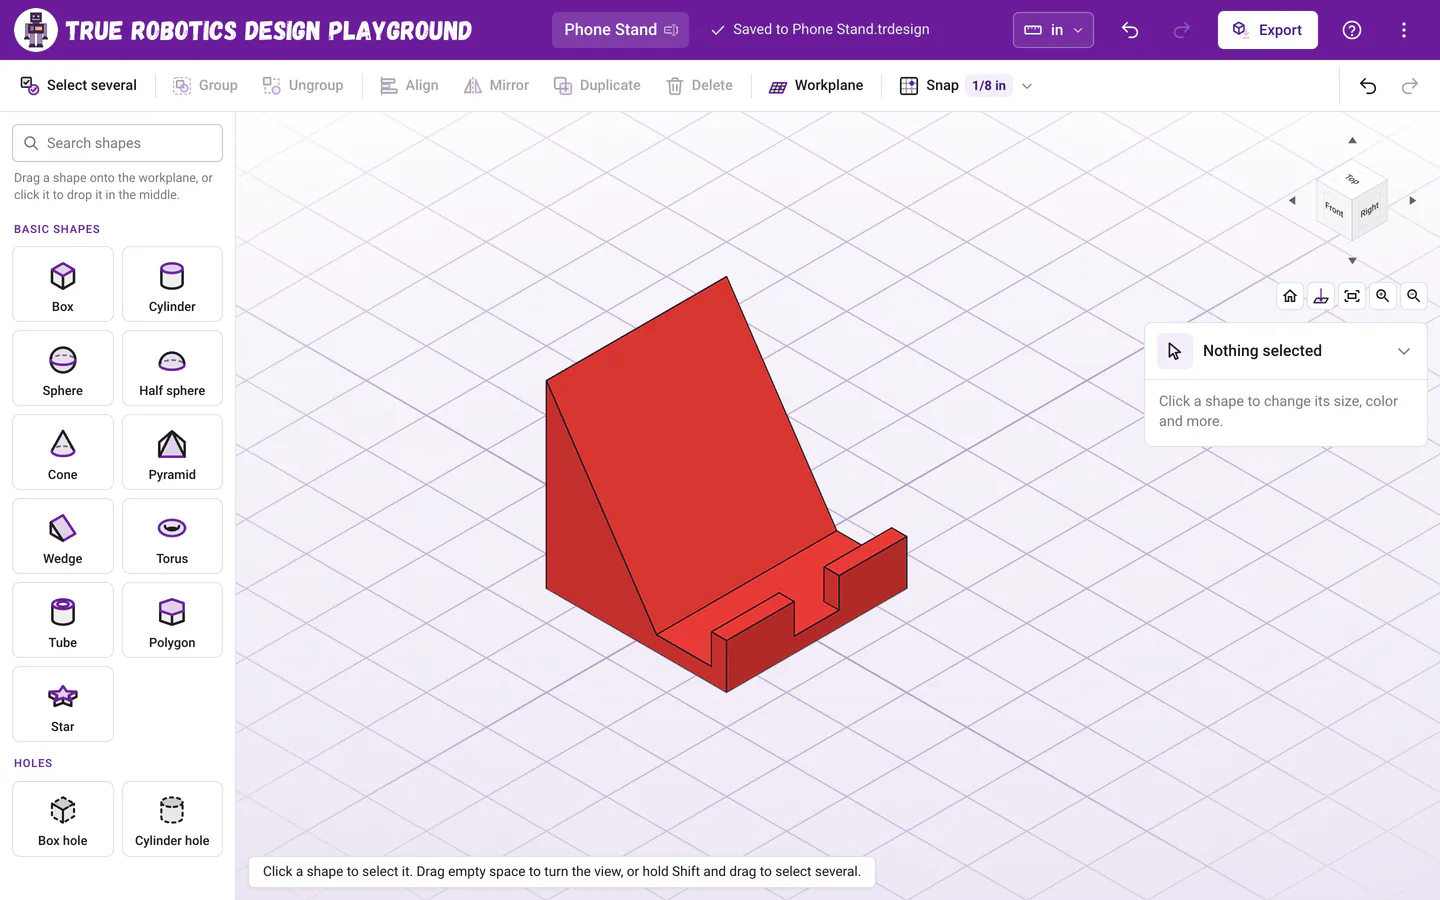
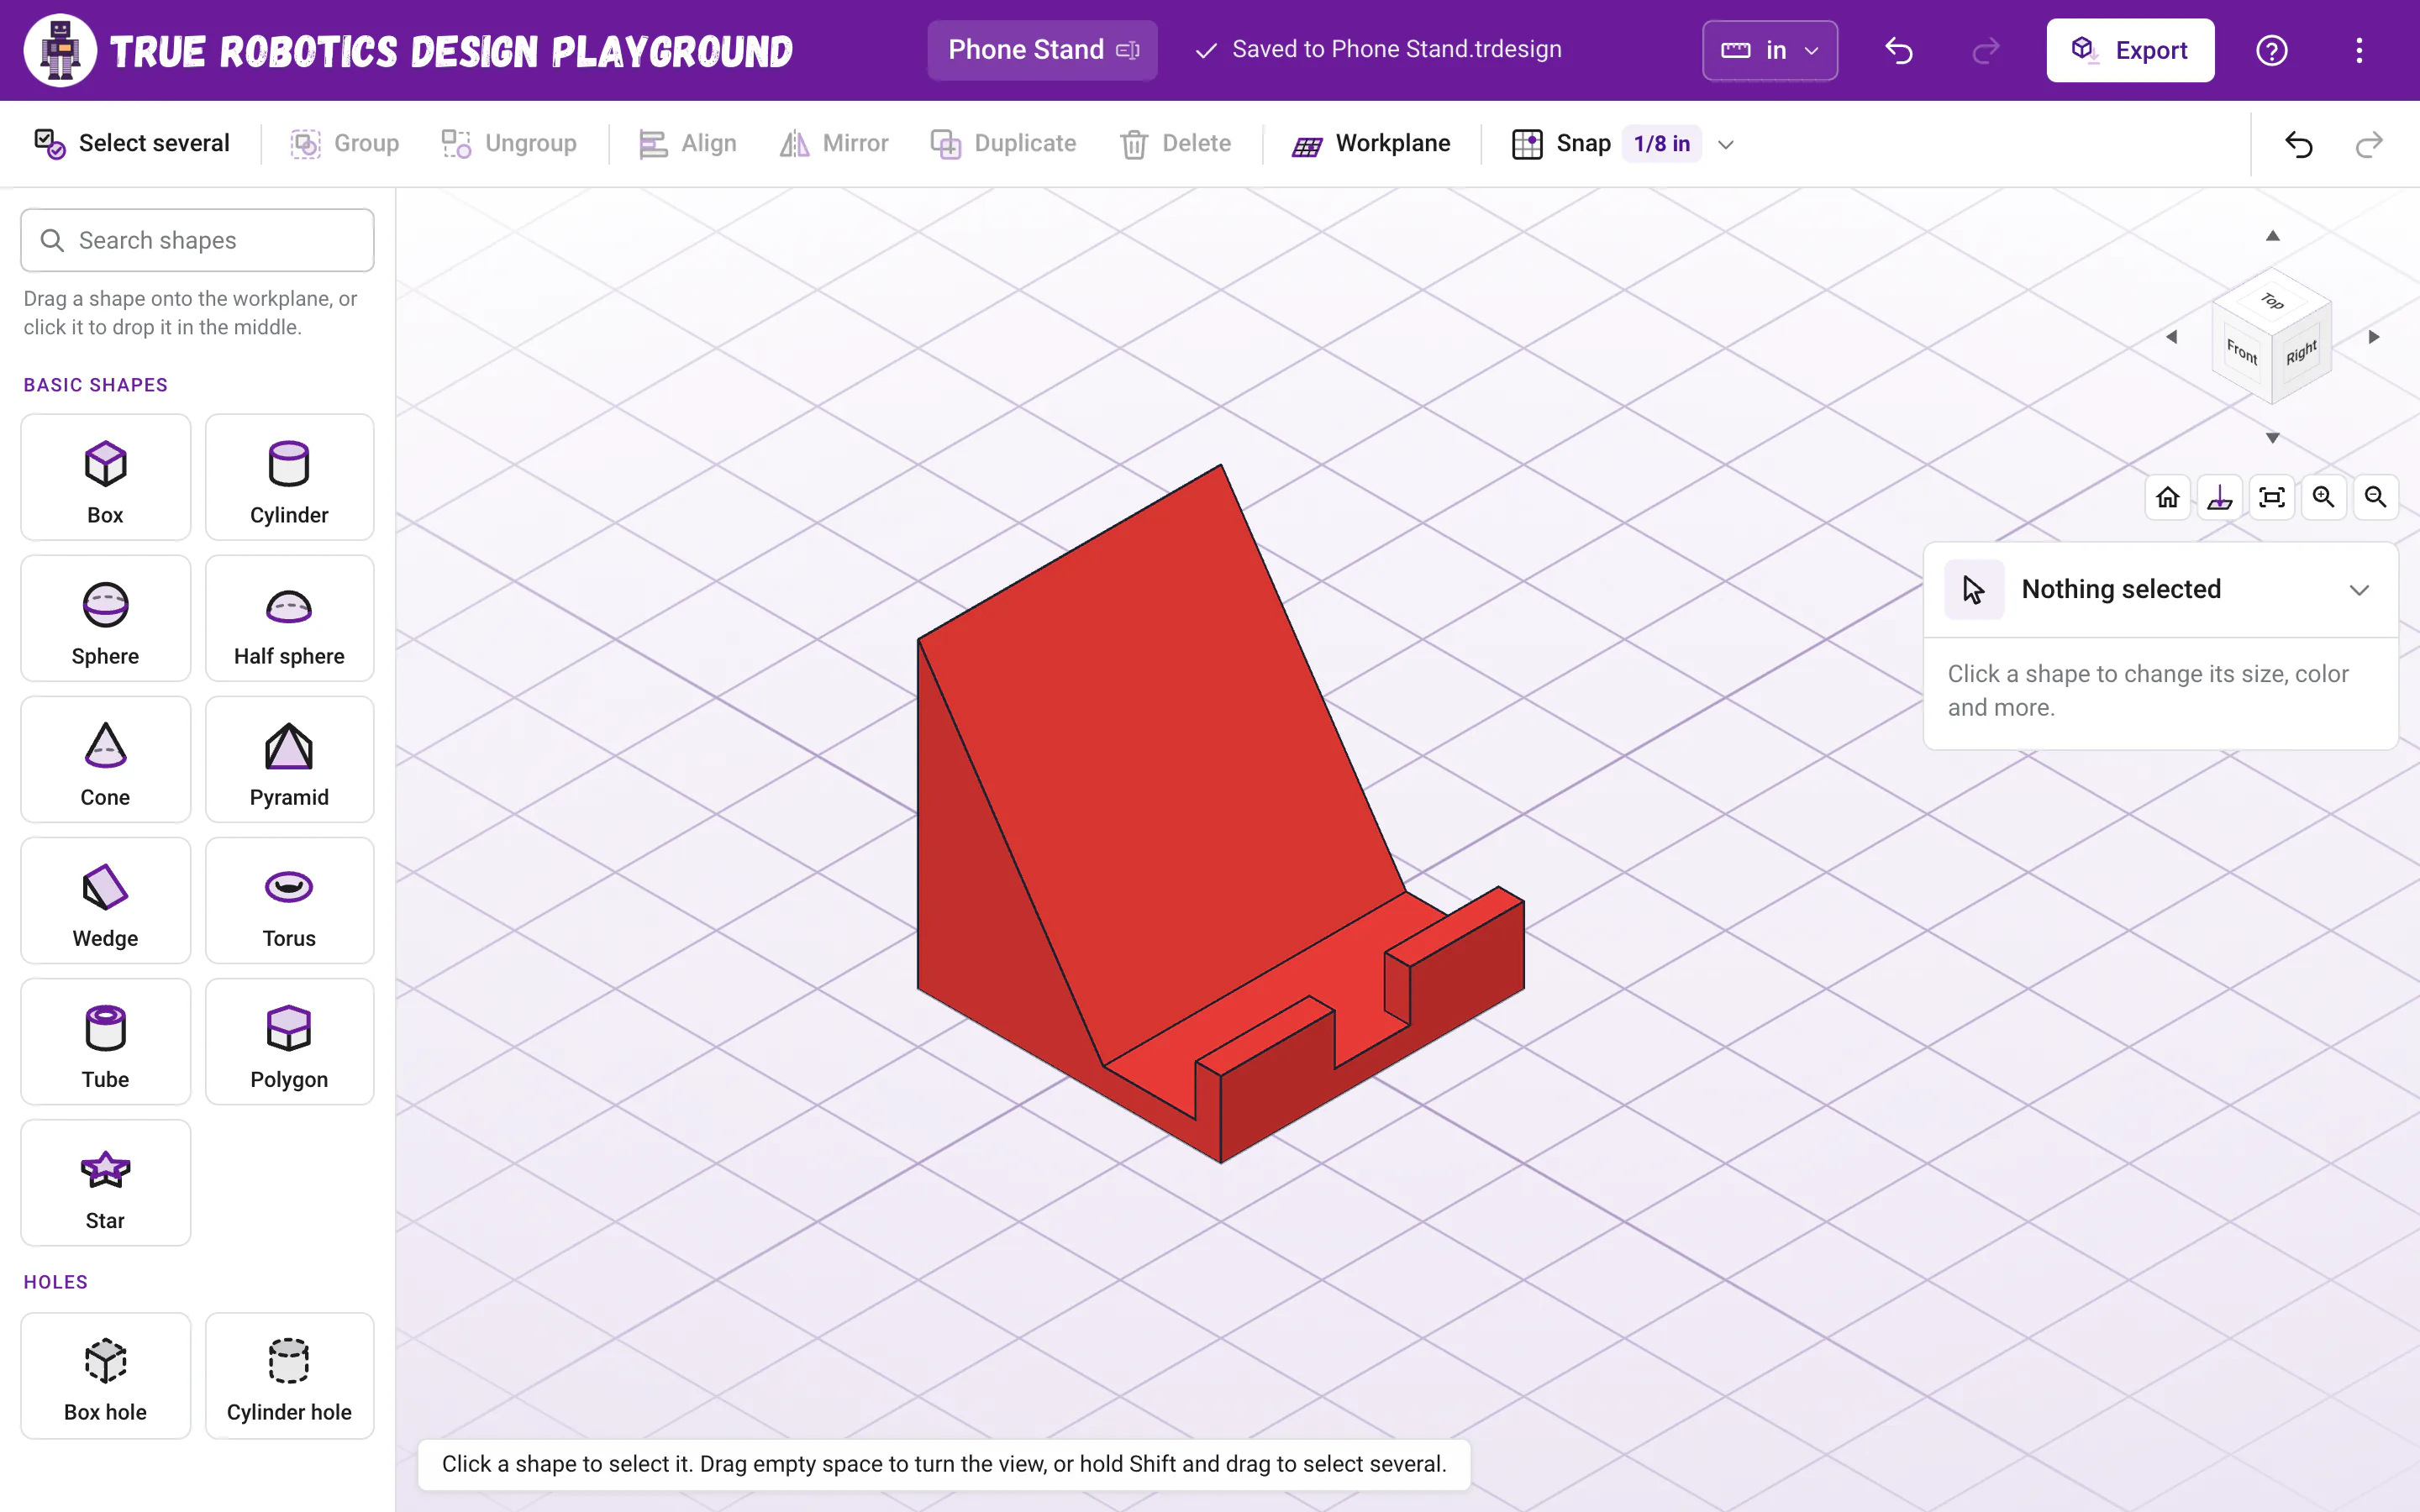
Your phone stand, ready to export and print. Export it Click Export in the purple bar, keep STL, and click Export.
Phone Stand.stllands in your Downloads folder, ready for your slicer.
How do the positions work?#
X and Y in the settings panel place the middle of a shape's footprint, and Z is how high its bottom sits. The base is centered on the middle of the grid, 3 inches each way, so its front edge is at X 1 1/2. The lip is 1/4 inch thick, so its middle is at 1 1/2 minus 1/8, which is 1 3/8. The wedge is 2 inches deep, and X -1/2 lines its tall back up with the back edge of the base. Move, resize and rotate has more on placing shapes.
Tip: Make it yours
Phone in a thick case? Give the wedge a smaller W, like 1 3/4, and set its X to -5/8, so the slope stands a little farther from the lip. Holding a tablet? Type a bigger D, like 6, for the base, the wedge and the lip (the notch can stay as it is). Then click a color swatch to match your robot team.
How do I print it?#
Lay it in your slicer with the base flat on the bed, which is how it comes out of the app. It prints with no supports, because every face either stands straight up or looks toward the sky. Export STL and STEP has more slicer tips.
Nice work! Next, make a real robot part: a wheel hub.