
Tutorials
Make a Hex Standoff
A hex standoff is a six sided spacer that holds one part a set distance above another. In the True Robotics Design Playground you can make one in about five minutes: draw a hexagon centered on the origin, dimension it 3/8 inch across the flats, add a 1/8 inch hole in the middle, and extrude it 1/2 inch tall.
Read what happens in this video
We press P for the Polygon tool, click the origin and place a level corner, which makes a hexagon with flat top and bottom. With the Dimension tool we click the top and bottom sides and type 3/8, so it measures 3/8 inch across the flats. A 1/8 inch circle at the center makes the hole, and the sketch turns fully defined. A 1/2 inch extrude finishes the standoff.
The steps in the video:
- Press P for the Polygon tool and click the origin.
- Move straight to the right and click to place a corner. You get a hexagon.
- Press Esc, then press F to zoom in on the hexagon.
- Press D for Dimension. Click the top side, then the bottom side.
- Click to place the label, type 3/8 and press Enter.
- Press C, click the origin, type 1/8 and press Enter to make the hole.
- Press Esc and F. The sketch is black now, so it is fully defined.
- Press Enter to finish. Press Shift + E, type 1/2 and press Enter.
- Click the Home button under the view cube, then press F to zoom to fit.
You will learn: the Polygon tool, snapping a level corner, the across the flats dimension and a centered hole. Time: about 5 minutes.
How do I make a hex standoff?#
Start a new project Click New Project, then Standard. Click Yes, autosave and save the file as
Hex Standoff. The project opens in inches.Sketch on Top Click Top in the feature tree, then click Sketch (or press Shift+S).
Draw a hexagon on the origin Press P for Polygon. The tool panel on the left says Click to place the center (6 sides). Click the origin.
Place a level corner Move the pointer straight to the right of the center until it snaps level, then click. Your hexagon has flat sides on the top and bottom.
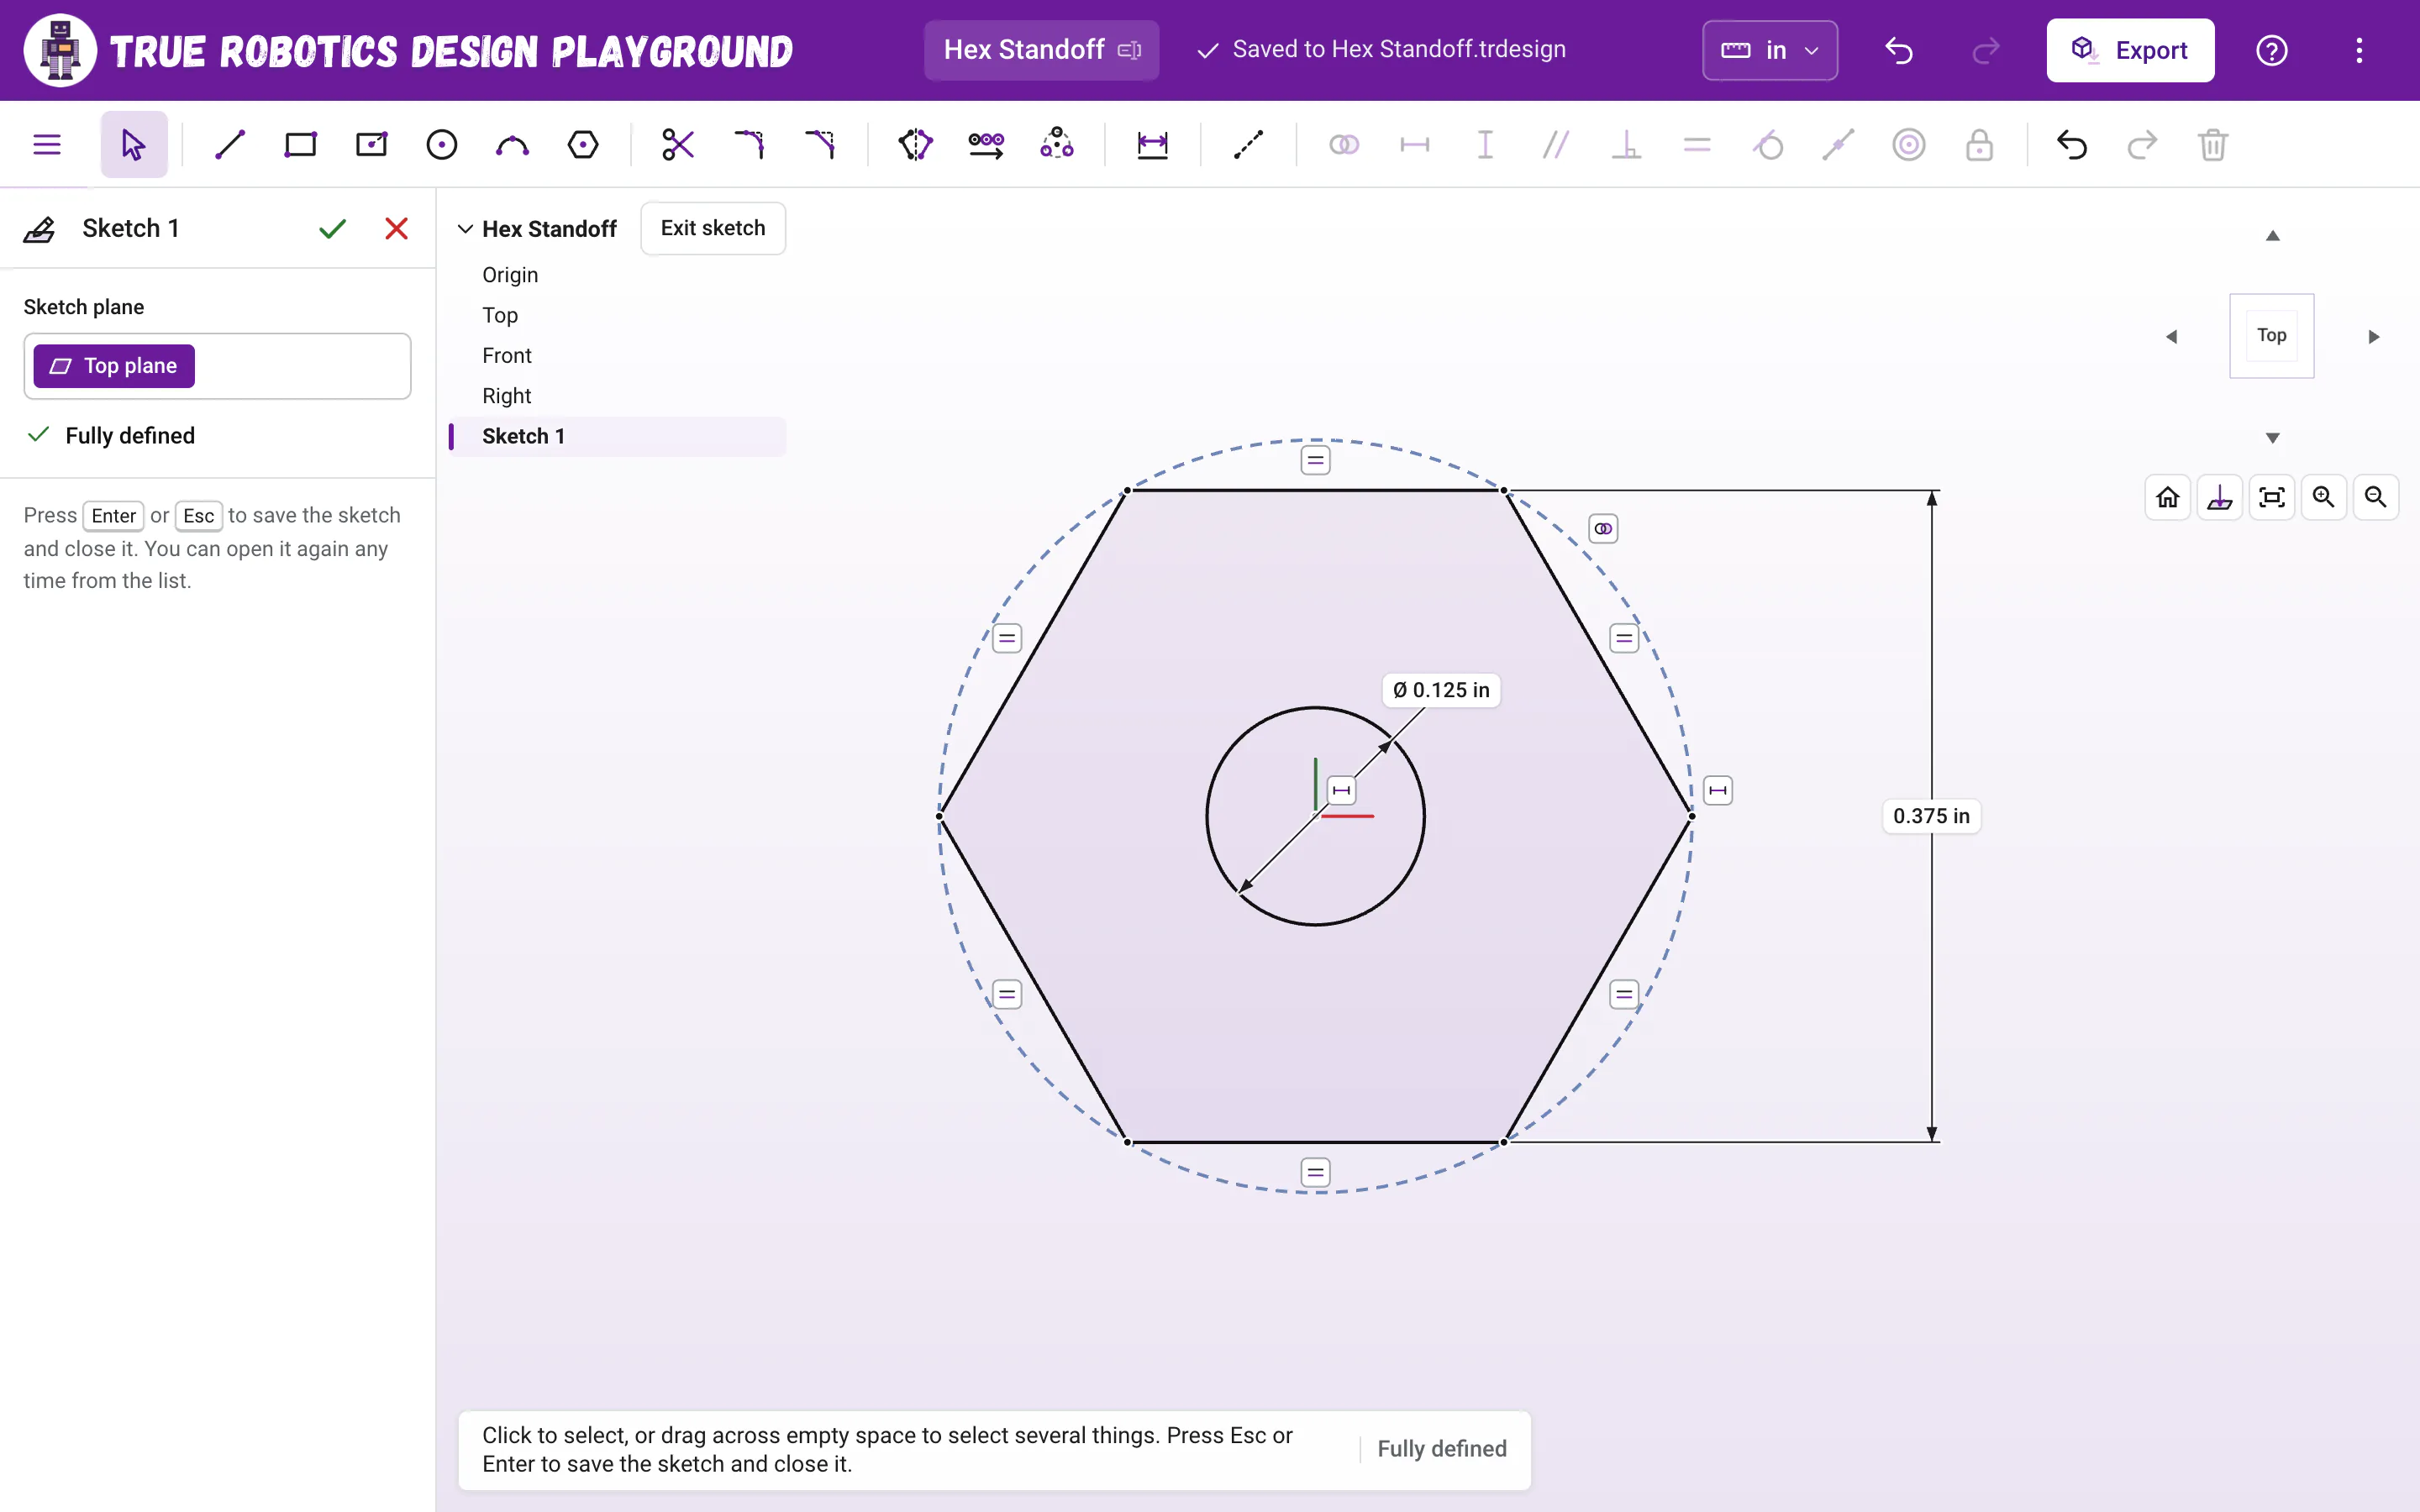
Size it across the flats Press D for Dimension. Click the top side, then the bottom side, click to the right of the hexagon to place the label, type
3/8and press Enter. The hexagon is now 3/8 inch across the flats.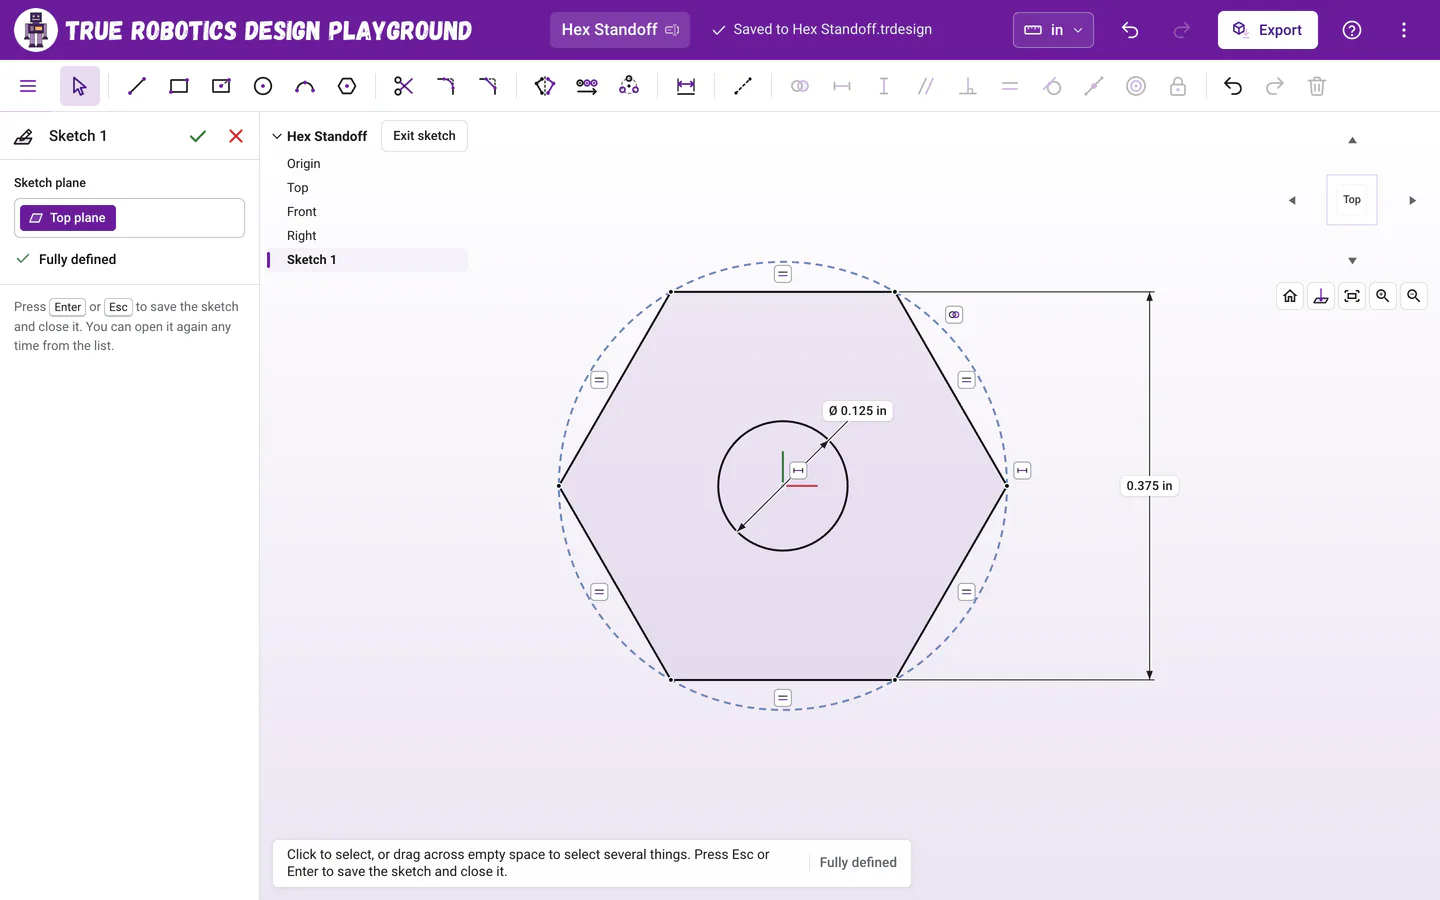
Dimension two opposite sides to size a hexagon across the flats. Add the center hole Press C for Circle, click the center of the hexagon (it snaps there), type
1/8and press Enter. Press Esc to put the Circle tool away. Everything is black, and the Sketch panel says Fully defined.Finish and extrude Press Enter to finish the sketch, then Shift+E. Type
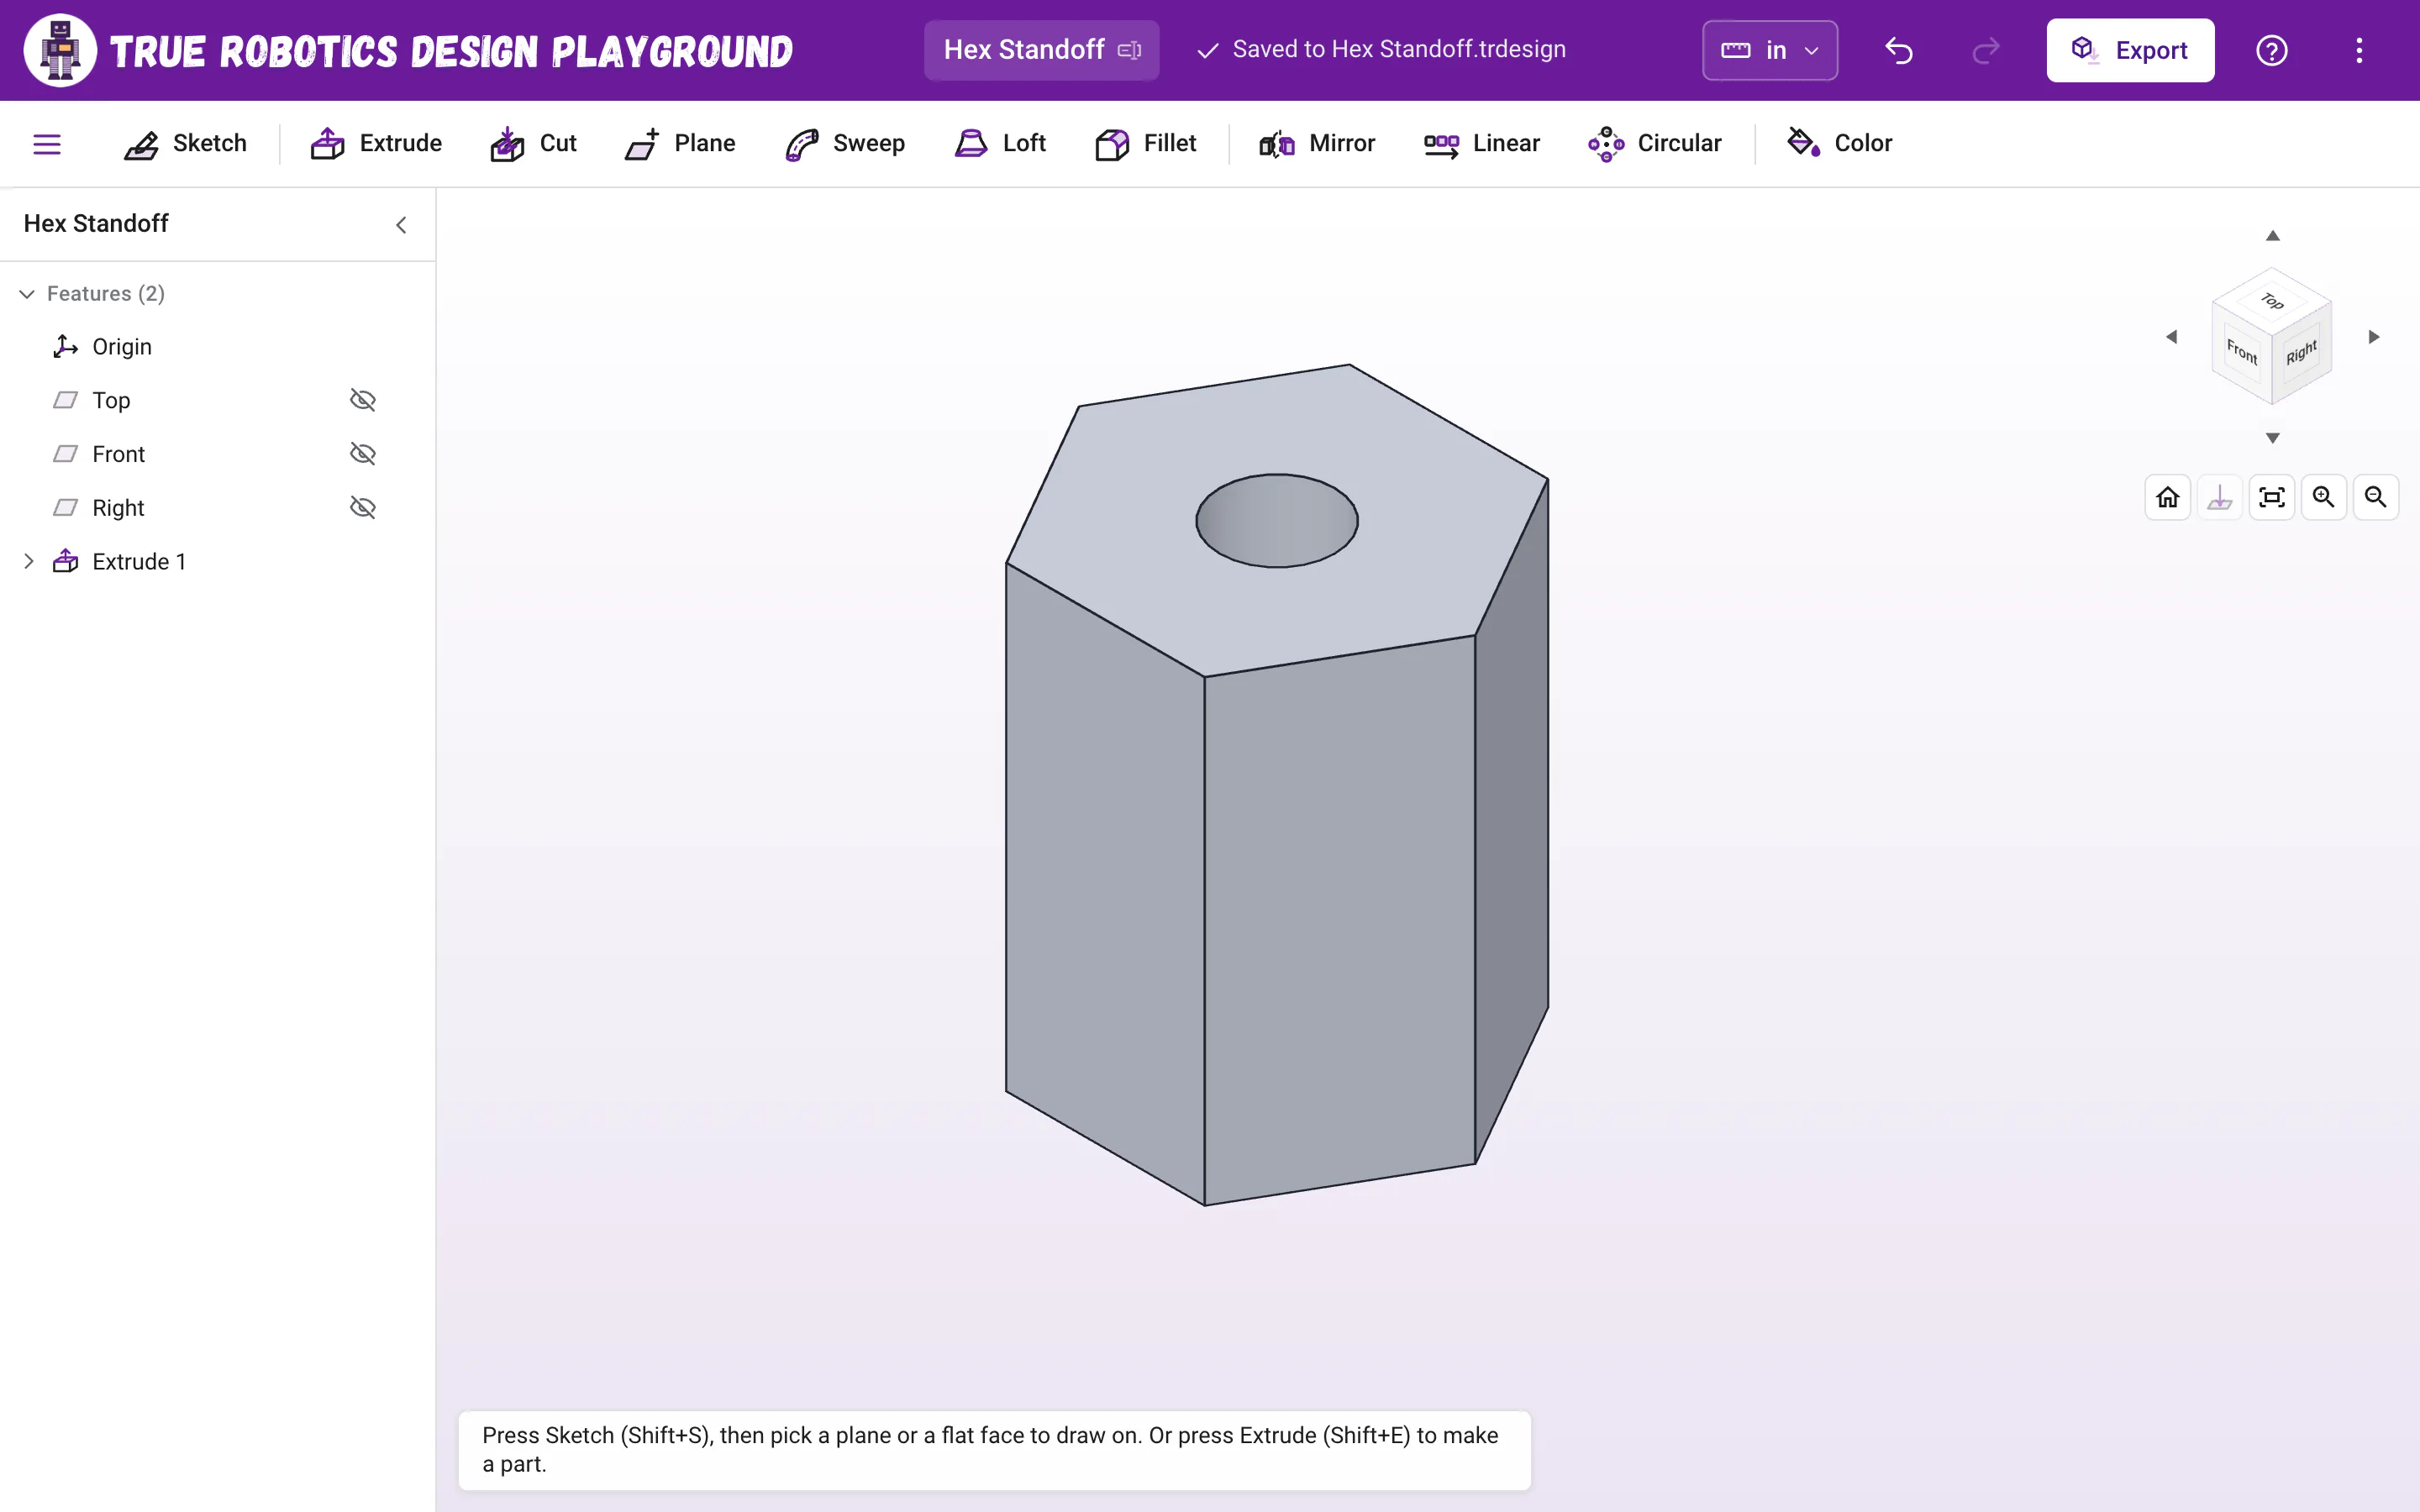
1/2for the depth and press Enter. Your standoff, half an inch tall, is done.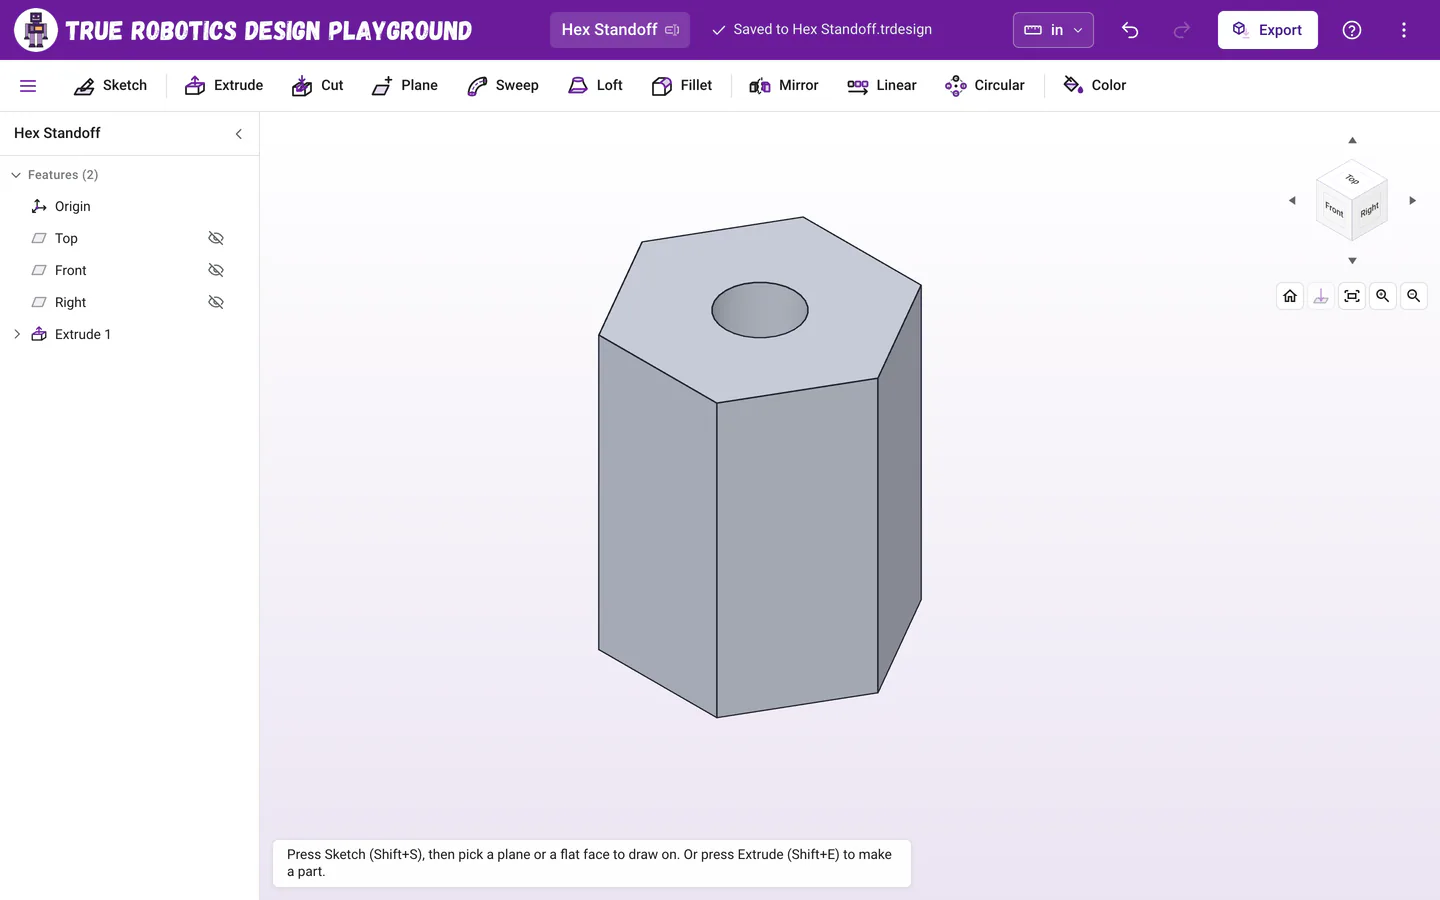
A hex standoff in about five minutes. Export it Click Export, choose Fine so the hole prints round, and click Export.
Why measure across the flats?#
Wrenches and nut drivers grip the flat sides of a hexagon, so hex parts are sized across the flats. When you type a diameter while drawing a polygon, it measures across the corners instead, which is why we add a dimension between two opposite sides. A hexagon 3/8 inch across the flats is about 0.433 inch across the corners. The Polygon page has a handy size table.
How do I change the size later?#
Double-click Extrude 1 in the feature tree to change the height, or click the little arrow next to it, double-click Sketch 1 and then double-click a dimension to change the width or the hole. Need a set of standoffs in different heights? Change the depth, export, and repeat.
Tip: Print it standing up
Your standoff comes out of the app standing on one end, with the hole pointing straight up. Keep it that way in your slicer, and the hole prints nice and round.
Standoffs are perfect for lifting a mounting plate above your robot. Next up: cut a slot through a plate.