
Tutorials
Make a Funnel with Loft
A funnel is a hollow cone, and the True Robotics Design Playground makes one with two lofts. You make a plane 2 inches above Top, sketch a 3 inch circle on it and a 3/4 inch circle on Top, and loft between them for the outside. A second loft between slightly smaller circles, set to Remove, carves out the inside.
Read what happens in this video
With the Top plane selected, Shift+P opens Plane, and typing 2 makes Plane 1 two inches above Top. We sketch a 3 inch circle on Plane 1 and a 3/4 inch circle on Top. Shift+L opens Loft with the small circle already listed, and clicking the big circle adds it. Enter turns the preview into a solid cone.
The steps in the video:
- Click Top in the feature list, press Shift + P for Plane, type 2 and press Enter.
- Click Home under the view cube and press F. Plane 1 is 2 inches above Top.
- Click Plane 1 in the list, then click Sketch.
- Press C, click the origin, type 3 and press Enter. Press Enter again to finish.
- Click the Top plane in the list, then click Sketch.
- Press C, click the origin, type 3/4 and press Enter. Press Enter again to finish.
- Click Home and press F. Then press Shift + L for Loft.
- The small circle is already listed. Click inside the big circle to add it.
- Press Enter to make the cone. Then click Home and press F.
You will learn: making an Offset plane, sketching on it, Loft with profiles in order, picking a profile from the feature tree, and hollowing a part with Remove. Time: about 10 minutes.
How do I make a funnel?#
Start the project Click New Project, then Standard. Click Yes, autosave and save the file as
Funnel. The project opens in inches.Make a plane up top Click Top in the feature tree on the left, then press Shift+P for Plane. Offset is already chosen and the Distance box is ready, so type
2and press Enter. Plane 1 floats 2 inches above Top.Draw the top of the funnel Click Plane 1 in the feature tree, then click Sketch. Press C, click the origin, type
3and press Enter, then press Enter again to finish. That is a 3 inch circle, the wide top.Draw the bottom of the funnel Click Top in the feature tree, then click Sketch. Press C, click the origin, type
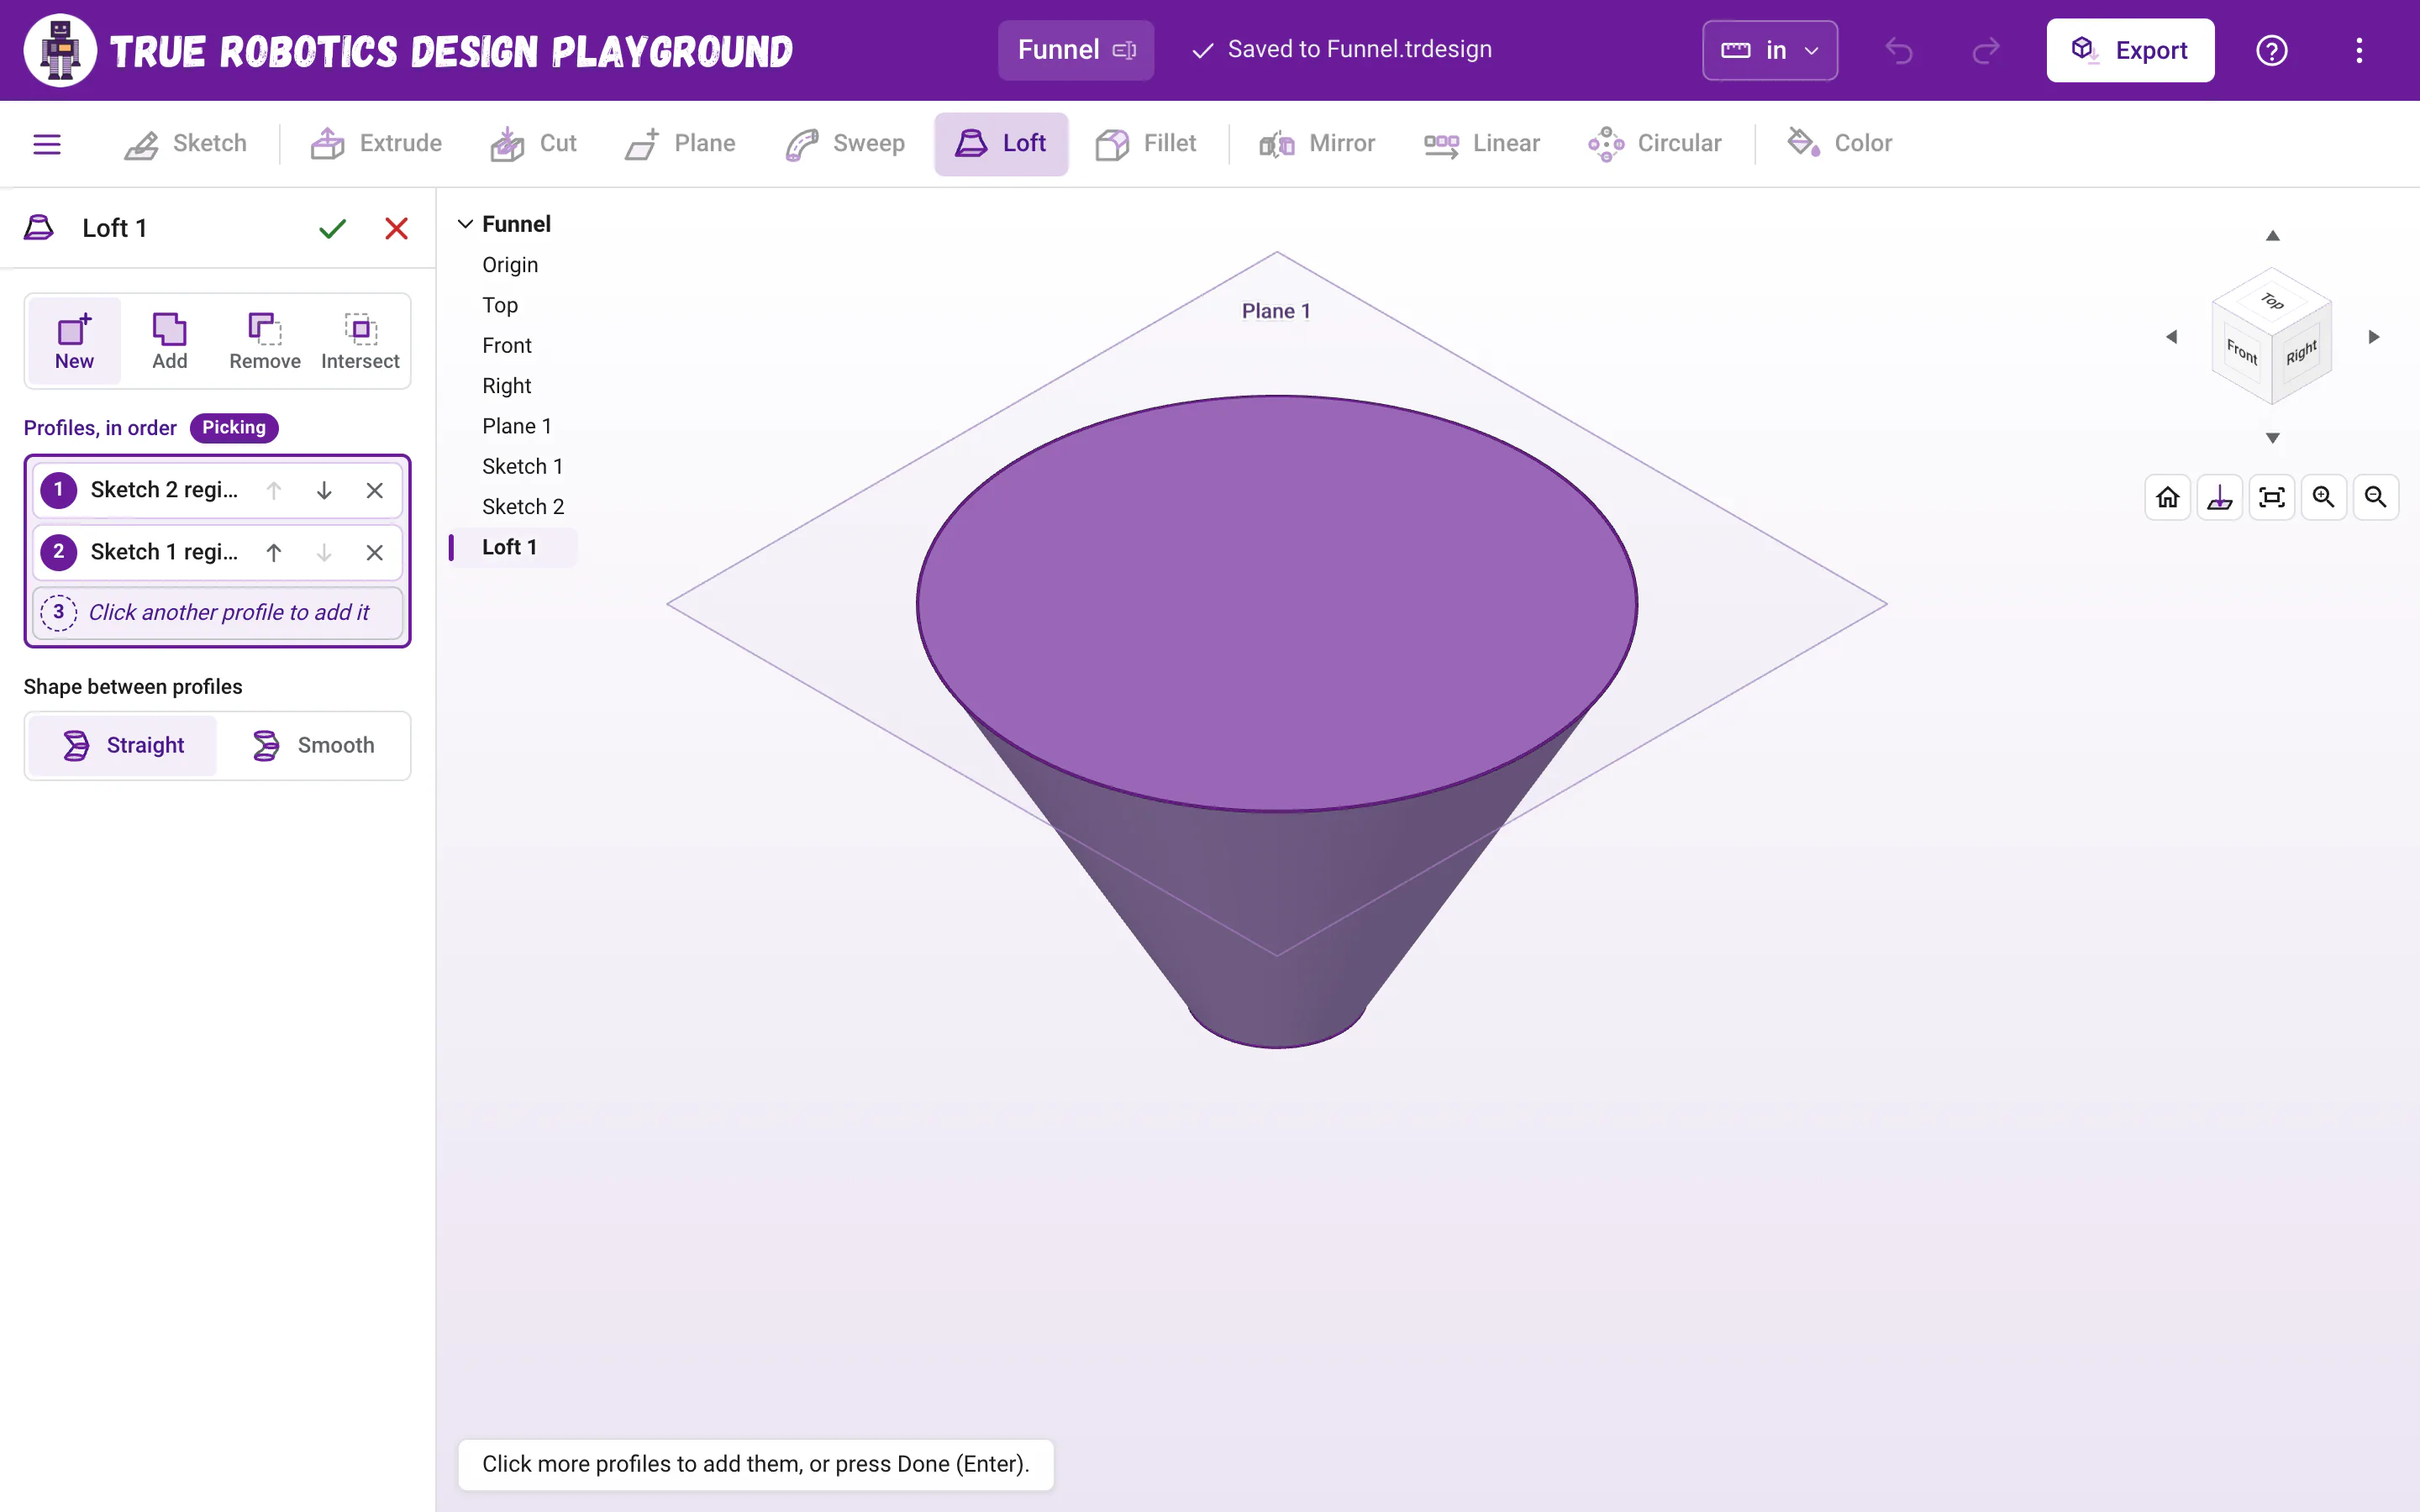
3/4and press Enter, then Enter again. That is the spout.Loft the outside Press Shift+L for Loft. The small circle is already profile 1. Click inside the big circle up on Plane 1, and a purple cone joins the two. Keep Straight and New, and press Enter.
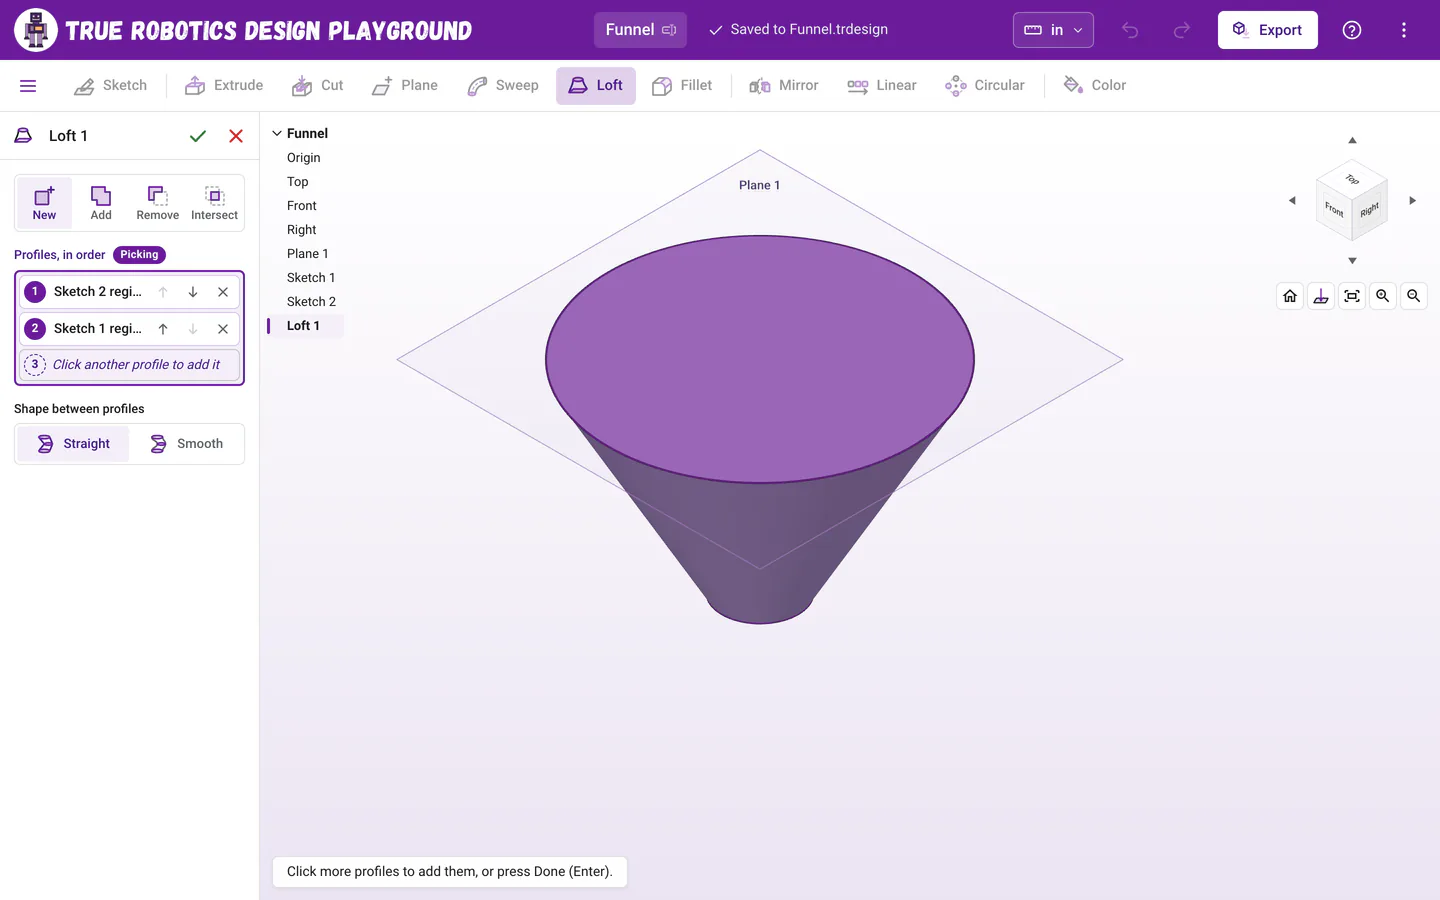
Loft joins your profiles in the order they are listed. Draw the inside top Click Plane 1 in the tree, click Sketch, press C, click the origin, type
2 3/4and press Enter, then Enter again. The inside is 1/4 inch smaller, so the wall will be 1/8 inch thick.Draw the inside bottom Click Top in the tree, click Sketch, press C, click the origin, type
1/2and press Enter, then Enter again.Hollow it out Press Shift+L again. The 1/2 inch circle is already listed, so click Sketch 3 in the feature list at the top left of the view to add the 2 3/4 inch circle. Click Remove, and the red preview shows what will be carved away. Press Enter.
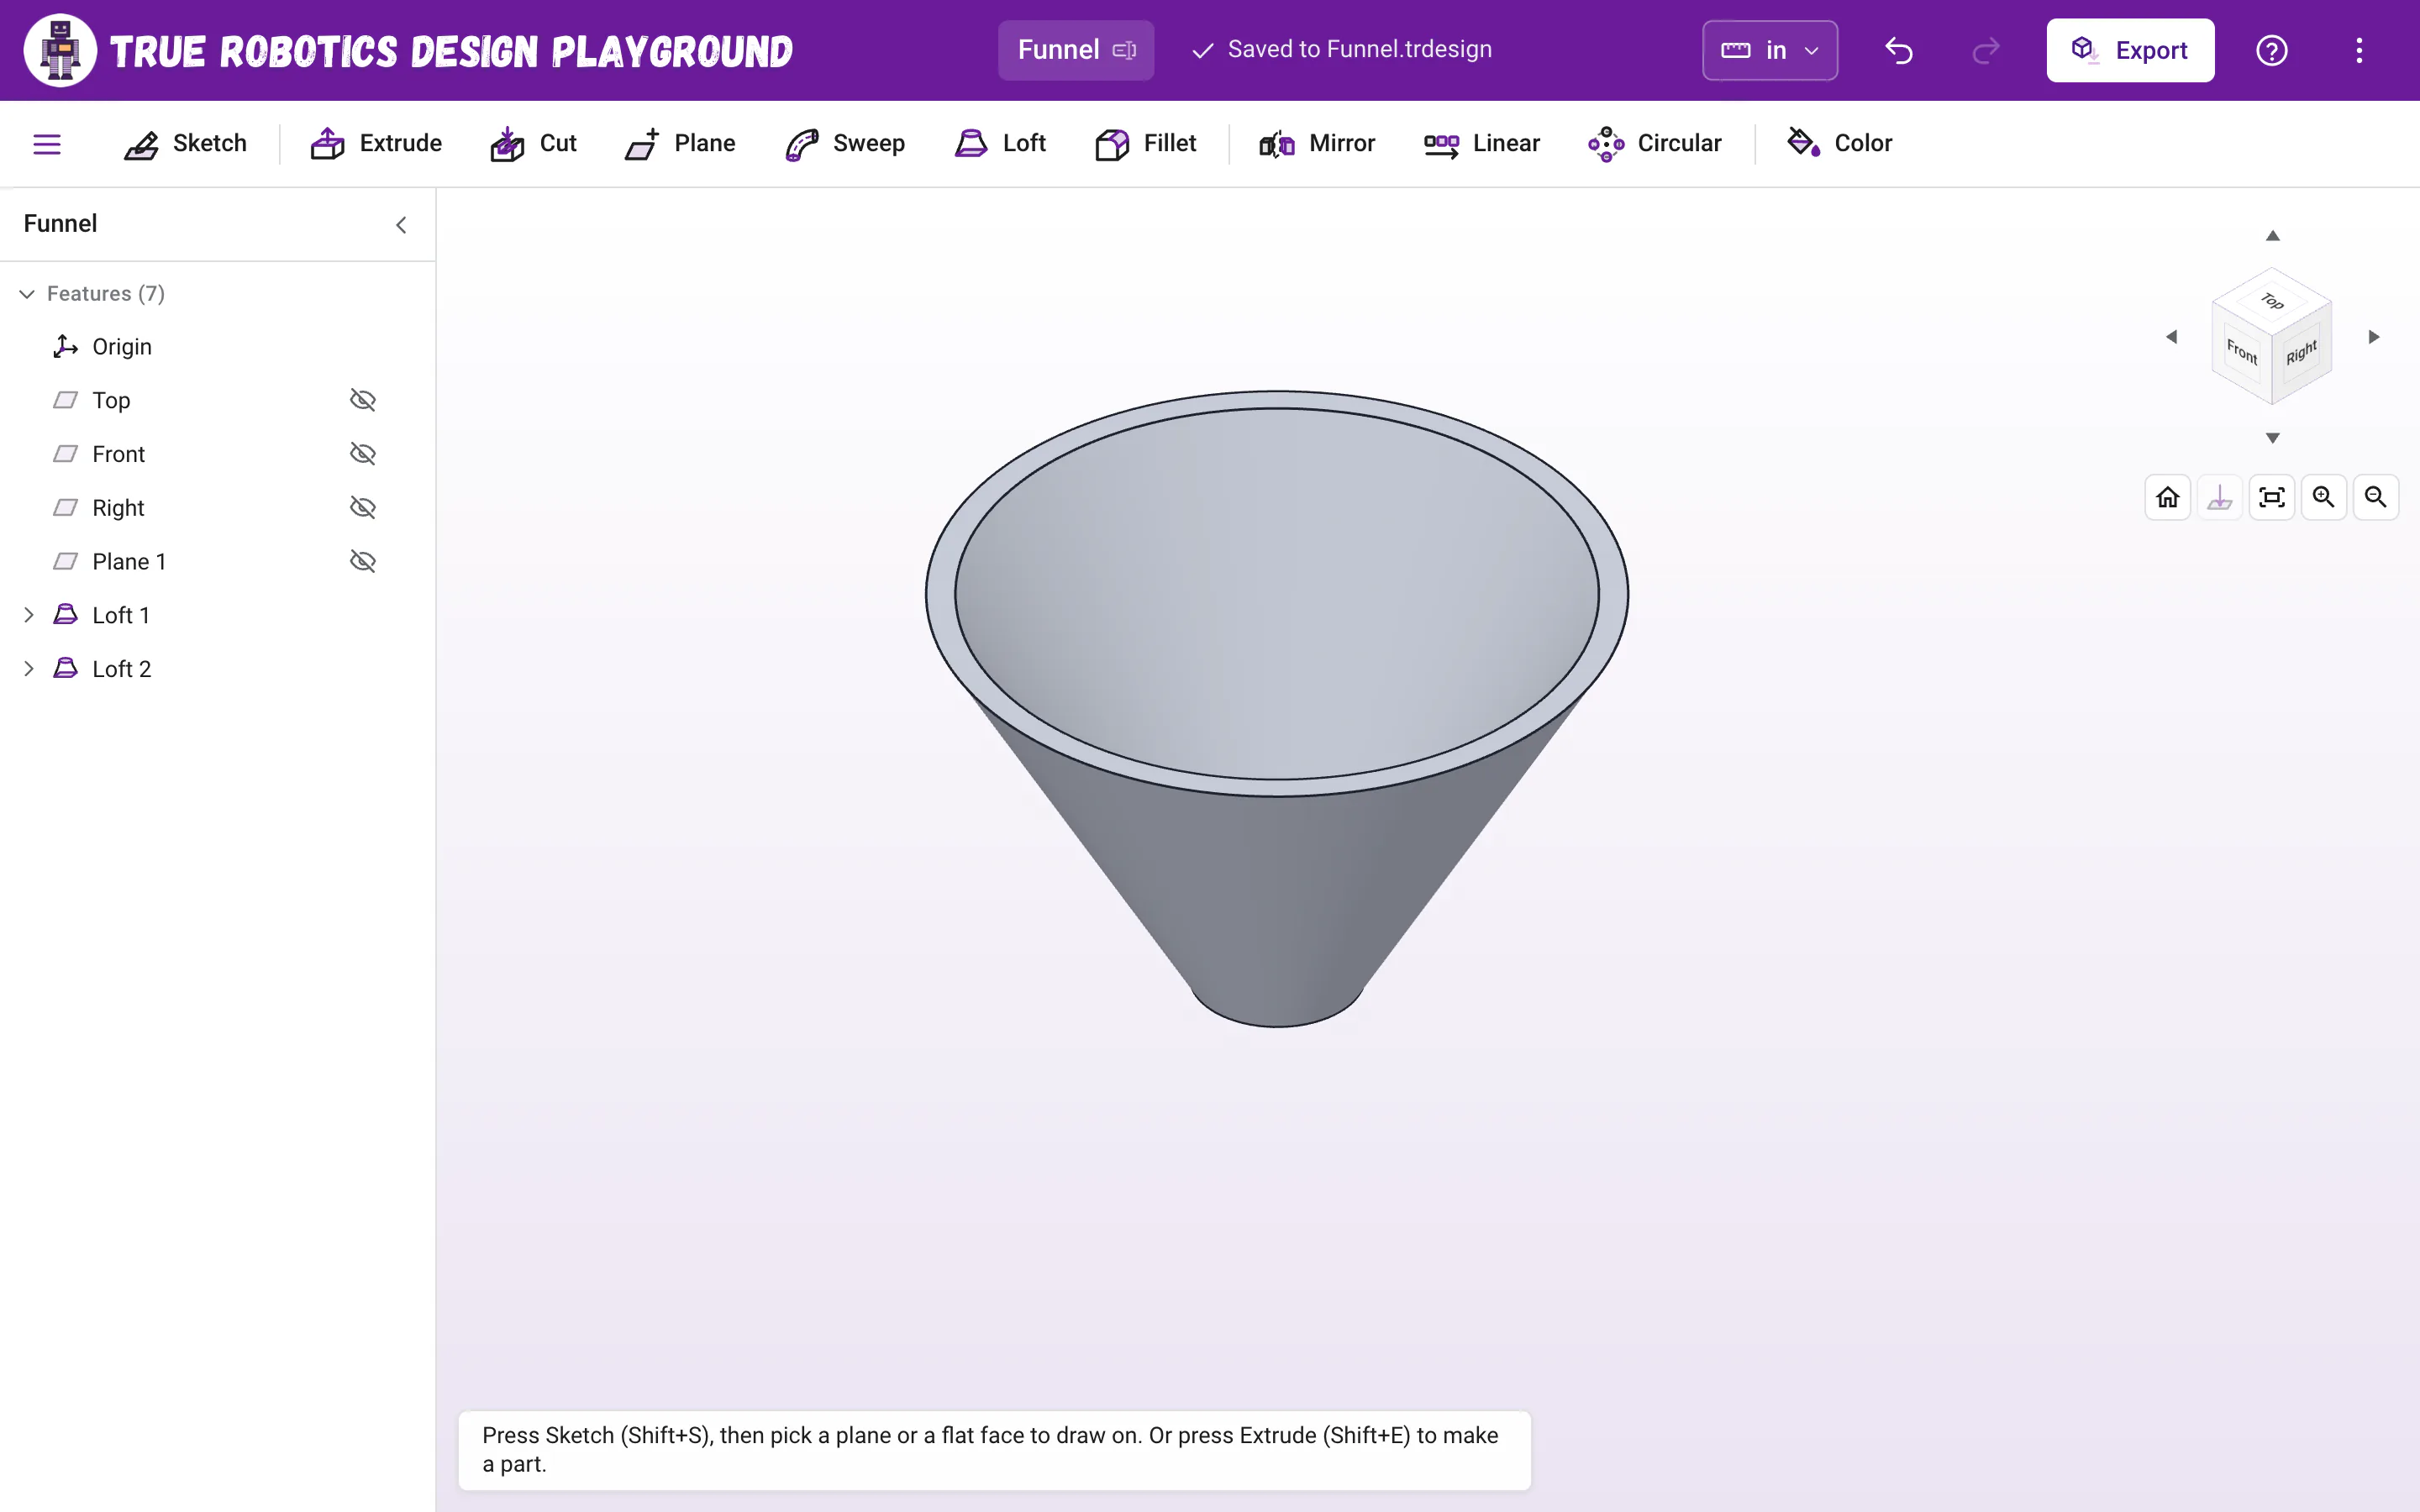
Tidy up and export Point at Plane 1 in the tree and click its eye to hide it. Your funnel is one hollow part, open at both ends. Click Export in the purple bar, then Export in the window.
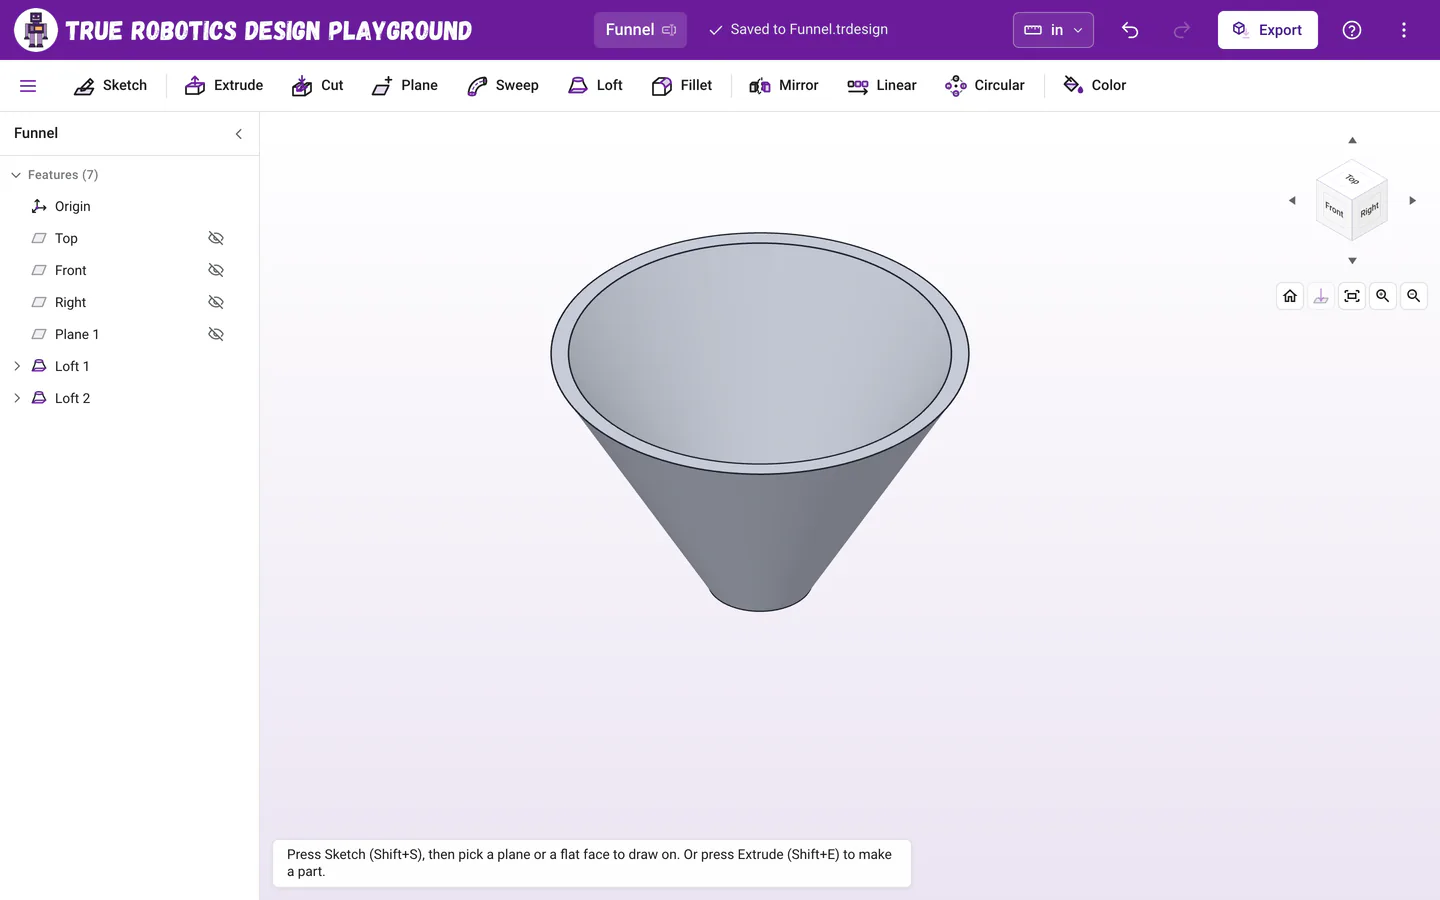
Two lofts make a funnel: one adds the cone, the other hollows it out.
Why two lofts?#
Each loft profile is one closed shape with no holes, so a loft always comes out solid. The first loft makes a solid cone. The second loft uses circles 1/4 inch smaller on the same two planes, and Remove carves that smaller cone out of the first, leaving a wall 1/8 inch thick and an opening at both ends.
How do I change the funnel later?#
Double-click Plane 1 and change the distance from 2 to 3. All four circles that sit on Plane 1 and on Top stay put on their planes, so both lofts rebuild and the funnel grows taller in one step. To change the spout, click the little arrows next to Loft 1 and Loft 2 to see the sketches tucked inside them, then double-click Sketch 2 and Sketch 4 and give the circles new sizes.
Tip: Printing your funnel
Print it upside down, standing on its wide rim, so every wall leans in gently and needs no supports. A wall of 1/8 inch prints strong on most printers.
Wonderful! You have built with planes and lofts. Keep exploring with Loft and Plane, or make a curved handle with Sweep.