
Building parts
Export STL and STEP Files
To export from the True Robotics Design Playground, click Export in the purple bar. Pick STL for a 3D printer or STEP for another CAD program, check the parts you want, choose one file or a file for each part, pick Standard or Fine, and click Export. It works the same for parts and assemblies, and the file lands in your Downloads folder, in millimeters.
Read what happens in this video
We click Export, keep STL, and both parts are checked with their sizes. Choosing A file for each part and Fine resolution gives every part its own smooth STL file. Clicking Export saves both files to the Downloads folder, in millimeters.
The steps in the video:
- Click Export. Both parts are checked, with their sizes.
- Under Files, click A file for each part.
- Under Resolution, click Fine for smooth curves.
- Click Export to save the files to your Downloads folder.
How do I export my parts?#
Open Export Click Export in the purple bar (on a phone, open the three dots menu and choose Export). The Export window opens with every part checked, or just the parts you had selected. In an assembly, every part copy is listed.
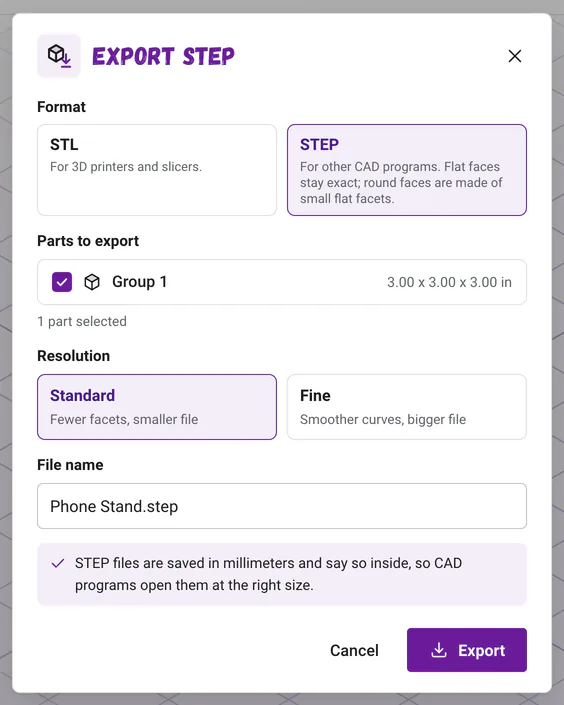
Pick a format Under Format, keep STL for a 3D printer, or pick STEP to open your part in another CAD program. The window's title and the file name follow your choice.
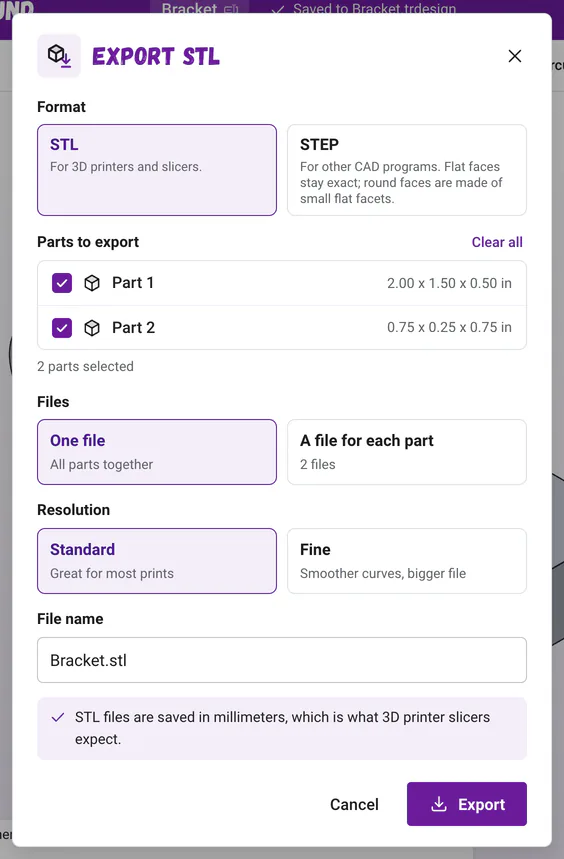
Pick parts, files and resolution. STL files are always in millimeters. Choose your parts Under Parts to export, uncheck any part you don't want. Each part shows its size in your units, like
2 x 1.5 x 0.5 in. With two or more parts, Select all and Clear all help.Pick one file or one per part With two or more parts checked, choose One file (all parts together) or A file for each part.
Pick a resolution Choose Standard, great for most prints, or Fine, for smoother curves and a bigger file.
Name the file and export The file name starts as your project name, like
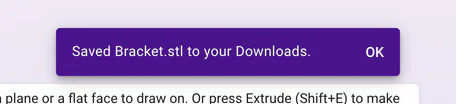
My Part.stlorMy Part.step. Change it if you like, then click Export (or press Enter in the name box). A message says Saved My Part.stl to your Downloads.
STL or STEP: which should I pick?#
| Format | Pick it when | What is inside | Opens in |
|---|---|---|---|
| STL | You want to 3D print your part. | Your part's surface as lots of tiny flat triangles, with no color. | Slicers like Cura, PrusaSlicer and Bambu Studio. |
| STEP | You want to keep working on your part in another CAD program, or share it with someone who uses one. | A real solid with faces and edges, and the colors you gave it with Color. Flat faces stay exact; round faces are made of small flat facets. | CAD programs like Onshape, Fusion and FreeCAD. |
Good to know: Round faces in a STEP file
In a STEP file, every flat face is one exact face, with its holes and outlines just as you made them. Round faces, like the inside of a hole or the side of a cylinder, come through as many small flat facets, so another CAD program sees a hole as a many-sided shape rather than a perfect circle. It measures and prints at the right size; you just can't click it as one round face over there.
Tip: Keep STEP files small
Standard is the best choice for STEP. Fine gives round shapes many more facets, which can make a STEP file many times bigger. For a big design with lots of round shapes, choose A file for each part.
Good to know: Always millimeters
The window says it too. STL files are saved in millimeters, which is what 3D printer slicers expect, and STEP files are saved in millimeters and say so inside, so CAD programs open them at the right size. Your part is designed in inches or centimeters, and it still arrives at exactly that size: a 1 inch cube arrives in the slicer as 25.4 mm, which is exactly 1 inch.
Painted a part with Color? STL files have no color, so when a part you checked is painted, the STL note adds They have no color, so pick STEP to keep the colors you painted. STEP files keep every part and face color.
One file or a file for each part?#
| Choice | What you get | Good for |
|---|---|---|
| One file | Every checked part in one file, in the same places as in your design. | Printing everything together on one build plate. |
| A file for each part | One file per part, named like My Part - Part 1.stl. | Printing parts separately, or in different colors. |
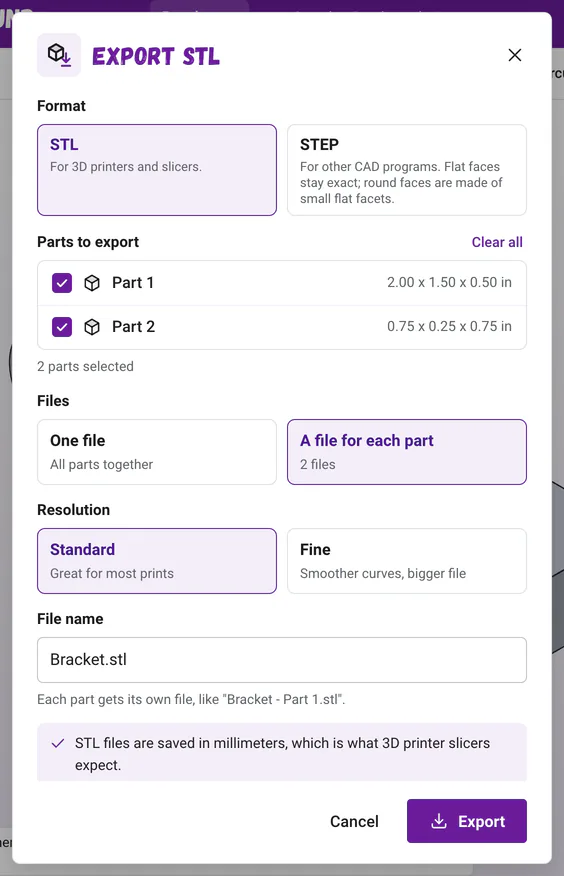
Each file is named after your project and the part, like Robot Plate - Part 1.stl in a Standard project or Phone Stand - Group 1.stl in a Basic one. In an assembly, each file is named after the part copy, like Standoffs - Standoff 1.stl.
What gets exported from a Basic project?#
Every solid shape or group at the top level is one part, named after it, like Box 1 or Group 1. Holes are never exported: a hole only cuts the solids it is grouped with. If the window says everything is a hole, select a shape and pick Solid in the settings panel. Holes and groups explains how it all fits together.
How do I export an assembly?#
Click Export in your assembly, the same as in a part. Every part copy is listed by its name, like Plate <1> and Standoff <2>, with its size, and it exports exactly where it sits in the assembly. STL files you inserted export too.
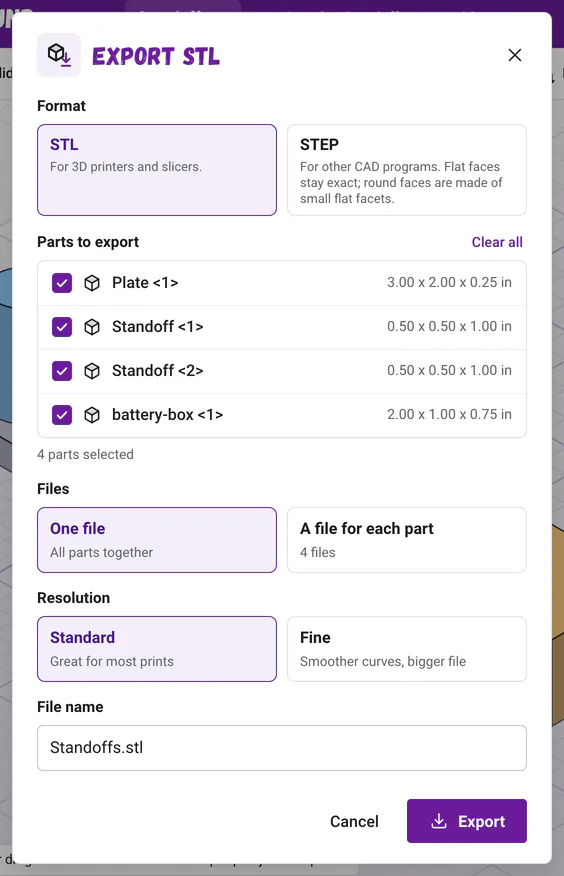
- One file puts the whole build in one file, all in place. In STEP, that is a great way to show your assembly in another CAD program.
- A file for each part is usually best for printing, so each part can lie flat on the build plate. The files are named after the parts, like
Standoffs - Standoff 1.stl. - Hidden parts are left out. Show them first with the eye in the list if you want them.
- Explode only changes the view, so the export always has the parts put together.
- Mates don't go into STL or STEP files. Keep your
.trassemblyfile to keep the mates.
Select some parts in the list or the view before you click Export, and only those start checked. Assemblies covers everything else about them.
Standard or Fine?#
Round shapes are made of many small flat pieces in an exported file. Standard is great for most prints. Fine uses more, smaller pieces for smoother holes and curves, and makes a bigger file. Choose Fine for small round holes, wheels and anything that needs a snug fit.
Can I export just one part?#
Yes. Uncheck every other part under Parts to export, or click Clear all and check just the one you want. In a Basic project or an assembly, select the shape or part before you click Export, and the window opens with only it checked.
Where did my file go?#
Into your browser's Downloads folder, the same place any download goes. Open your browser's downloads list to find it fast. With A file for each part, the files arrive one after another, and Chrome may ask once whether the site can download several files. Click Allow.
How do I print my STL?#
- Open your slicer, the program that prepares prints for your printer, such as Cura, PrusaSlicer or Bambu Studio, and import or open the STL file.
- If the slicer asks which units the file uses, choose millimeters. Check that the size it shows matches your part's size.
- Lay a big flat face down on the build plate. Most slicers have a tool to place a face on the bed.
- Slice, then send the print to your printer or save it to the printer's card or drive.
Tip: Tips for parts that fit
Printed holes usually come out a little small, so add about 0.01 inch (0.2 to 0.4 mm) to holes that a screw or an axle should slide through. Print one test part first, measure it, then adjust your sizes. A change is just one new number.
There is nothing like holding a part you designed yourself. Happy printing!
Questions and answers#
Can I export in inches?
STL and STEP files from the True Robotics Design Playground are always in millimeters. Slicers expect millimeters, and STEP files say so inside, so your part arrives at the right size even when you design in inches.
Can I open an STL or STEP file in the True Robotics Design Playground?
The True Robotics Design Playground opens its own .trdesign and .trassembly project files. STL files can come into an assembly with Insert, where you can mate them to your parts but not edit their shape. STEP files can not be opened. Keep your project files to make changes later.
Which programs open STEP files?
Almost every CAD program, including Onshape, Fusion and FreeCAD. STEP keeps your part as a solid with real faces, which is what those programs need to keep editing it.
Why is the Export window empty?
There are no parts yet. In a Standard project, sketch a shape and extrude it. In a Basic project, drag a shape onto the workplane, and make sure it is a solid, not a hole. In an assembly, insert a part first, or show a hidden one. Then click Export again.