
Getting started
Your First Part in Five Minutes
To make your first part in the True Robotics Design Playground, click New Project, pick Standard and say Yes to autosave. Click the Top plane and press Sketch, draw a rectangle from the origin and type its width and height. Press Enter to finish the sketch, press Extrude, type a depth and press Enter. Then click Export to download an STL file for your 3D printer.
Read what happens in this video
We click New Project and pick the Standard picture, then say Yes to autosave and name the file My First Part. We pick the Top plane, press Sketch, choose the Corner rectangle and click the origin. Typing 3, Tab, 2 and Enter makes an exact 3 by 2 inch rectangle, and Enter again finishes the sketch. Extrude with a depth of 1/2 makes the block, and Export saves My First Part.stl to the Downloads folder.
The steps in the video:
- Click New Project, then click the Standard picture.
- Click Yes, autosave. Name the file My First Part and click Save.
- Click Top in the list on the left, then click Sketch.
- Press G for the Corner rectangle and click the origin.
- Move up and to the right, type 3, press Tab, type 2 and press Enter.
- Press Enter again to finish the sketch.
- Click Extrude and type 1/2 for the depth.
- Press Enter to make the block.
- Press F to zoom to fit your new part.
- Click Export, then click Export in the window to save your STL file.
What is on the home screen?#
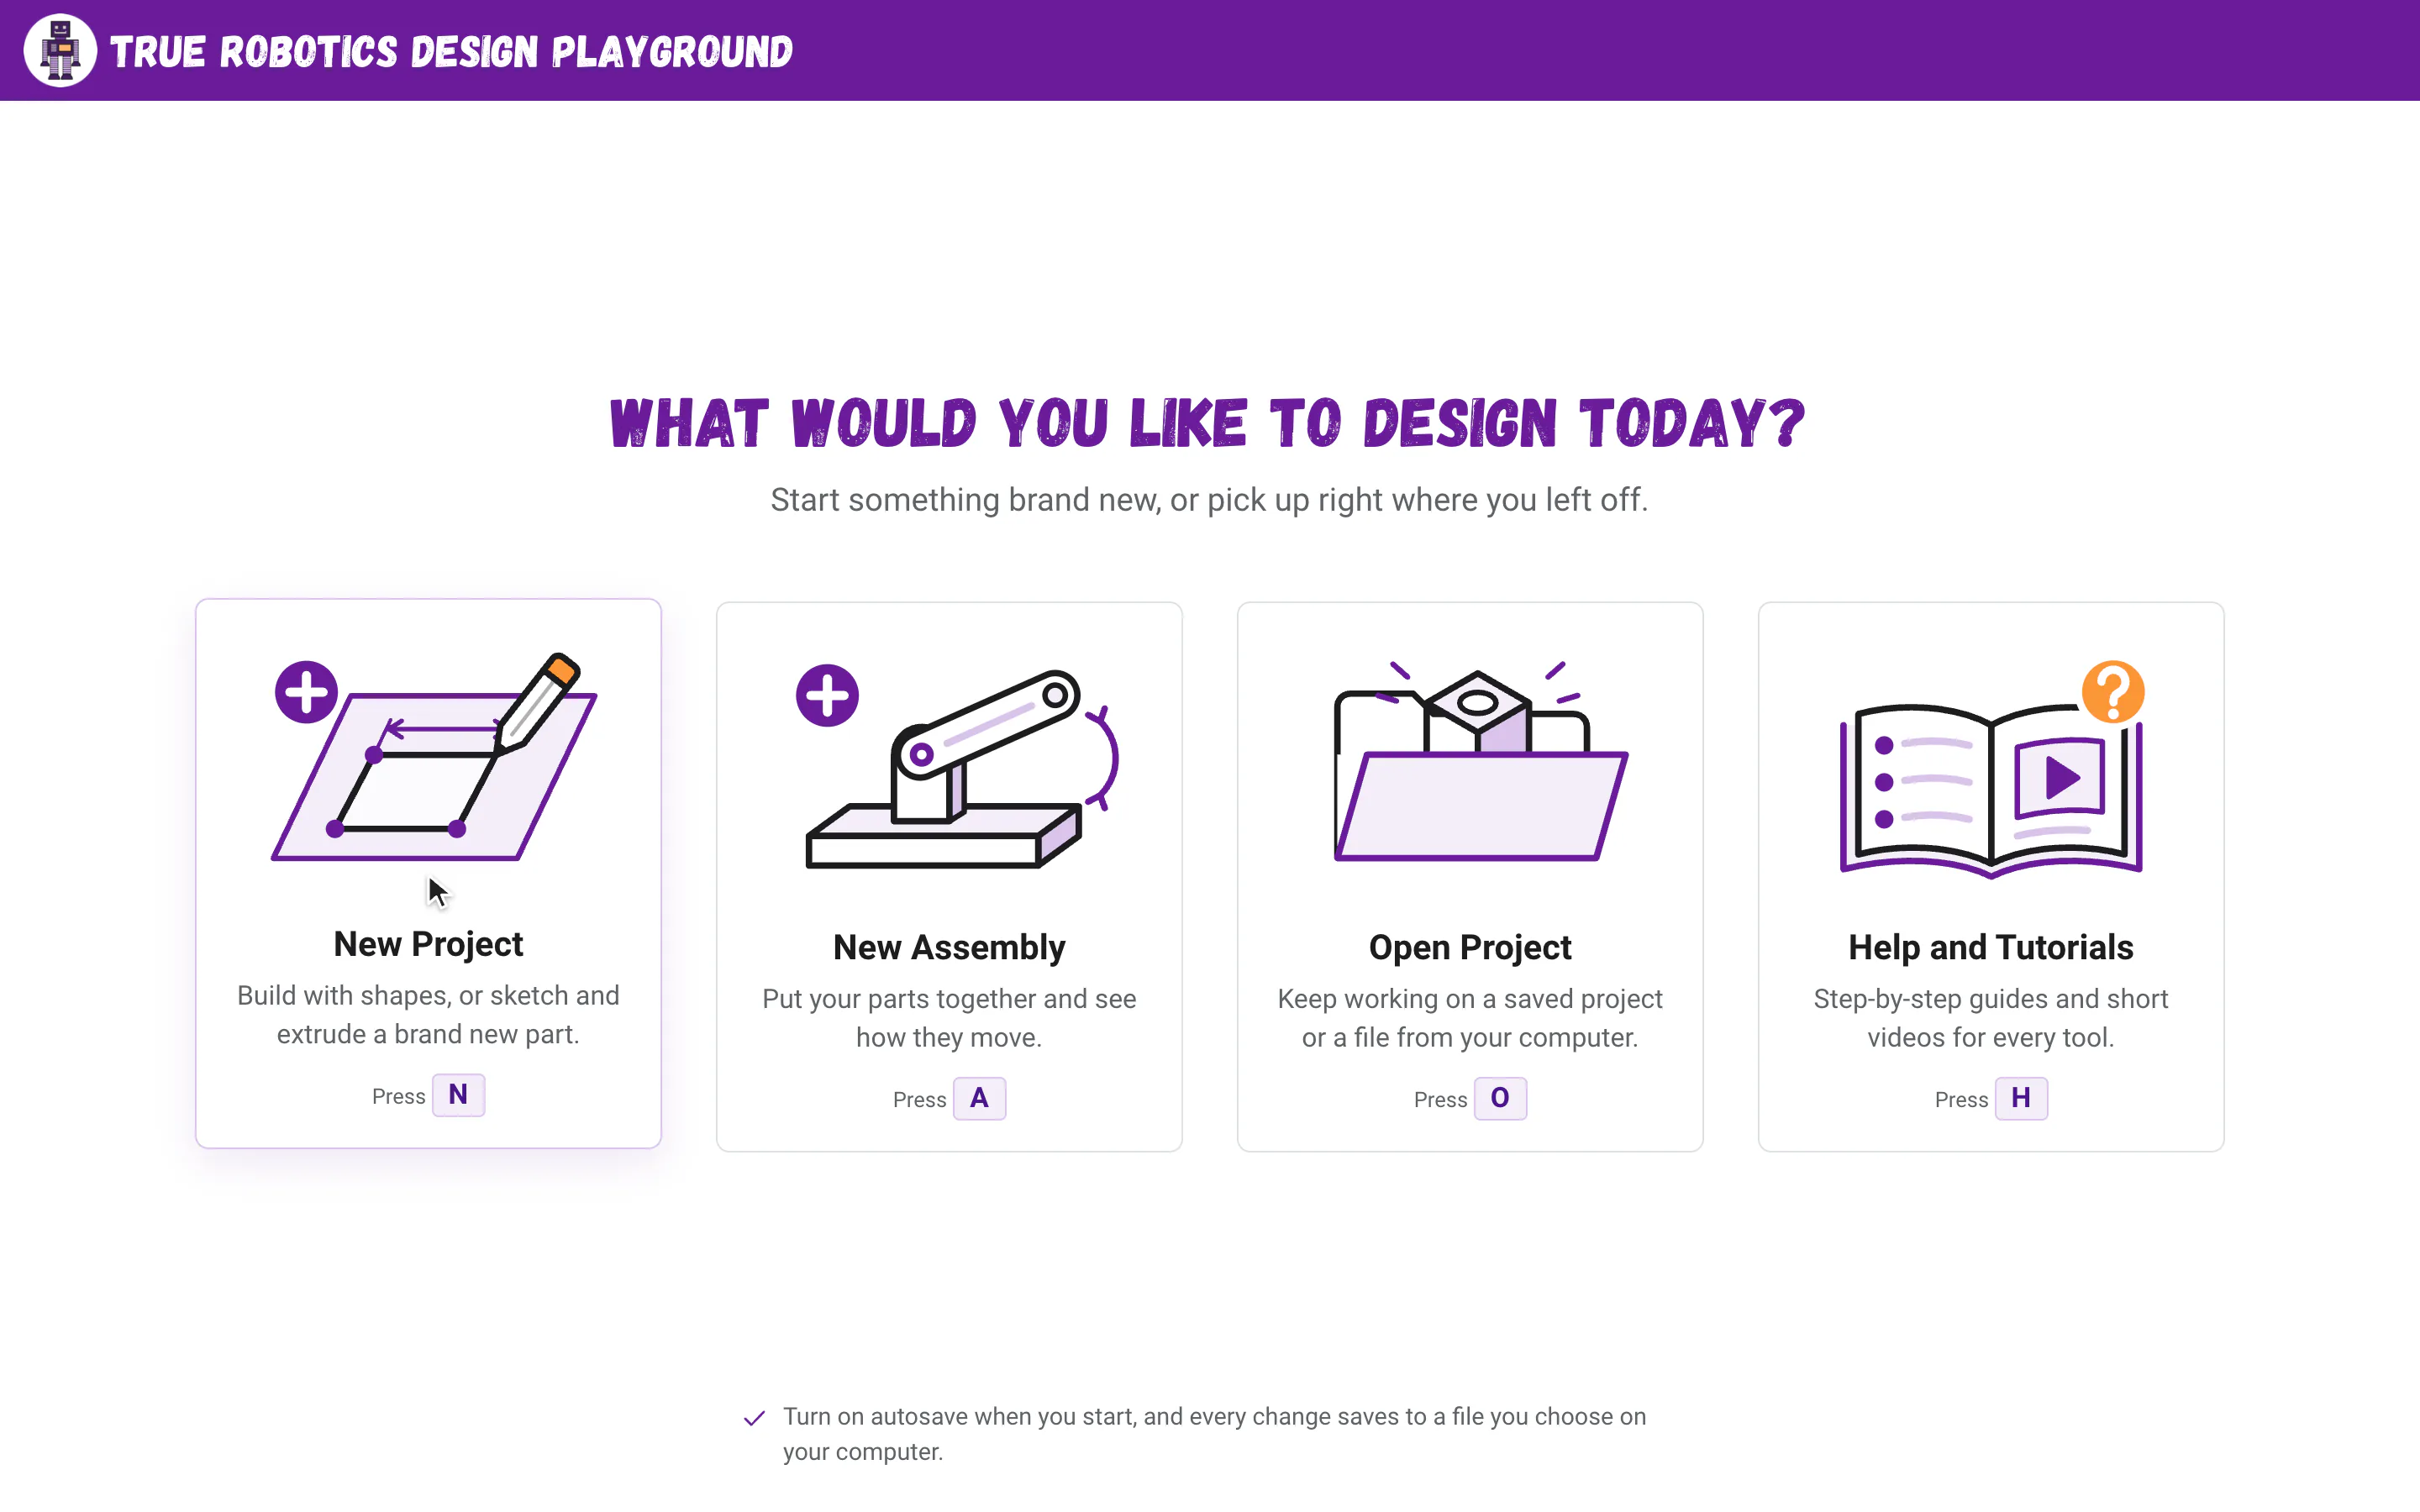
The home screen has four big cards. Each one has a key, so you can press it instead of clicking.
| Card | Key | What it does |
|---|---|---|
| New Project | N | Build with shapes, or sketch and extrude a brand new part. |
| New Assembly | A | Put your parts together and see how they move. See Assemblies. |
| Open Project | O | Keep working on a saved project or a file from your computer. |
| Help and Tutorials | H | Opens these guides in a new tab. |
In Chrome, Edge and on Chromebooks, an Install app button in the purple bar puts the app on your computer so it works with no internet. Install and use it offline shows how.
Basic or Standard?#
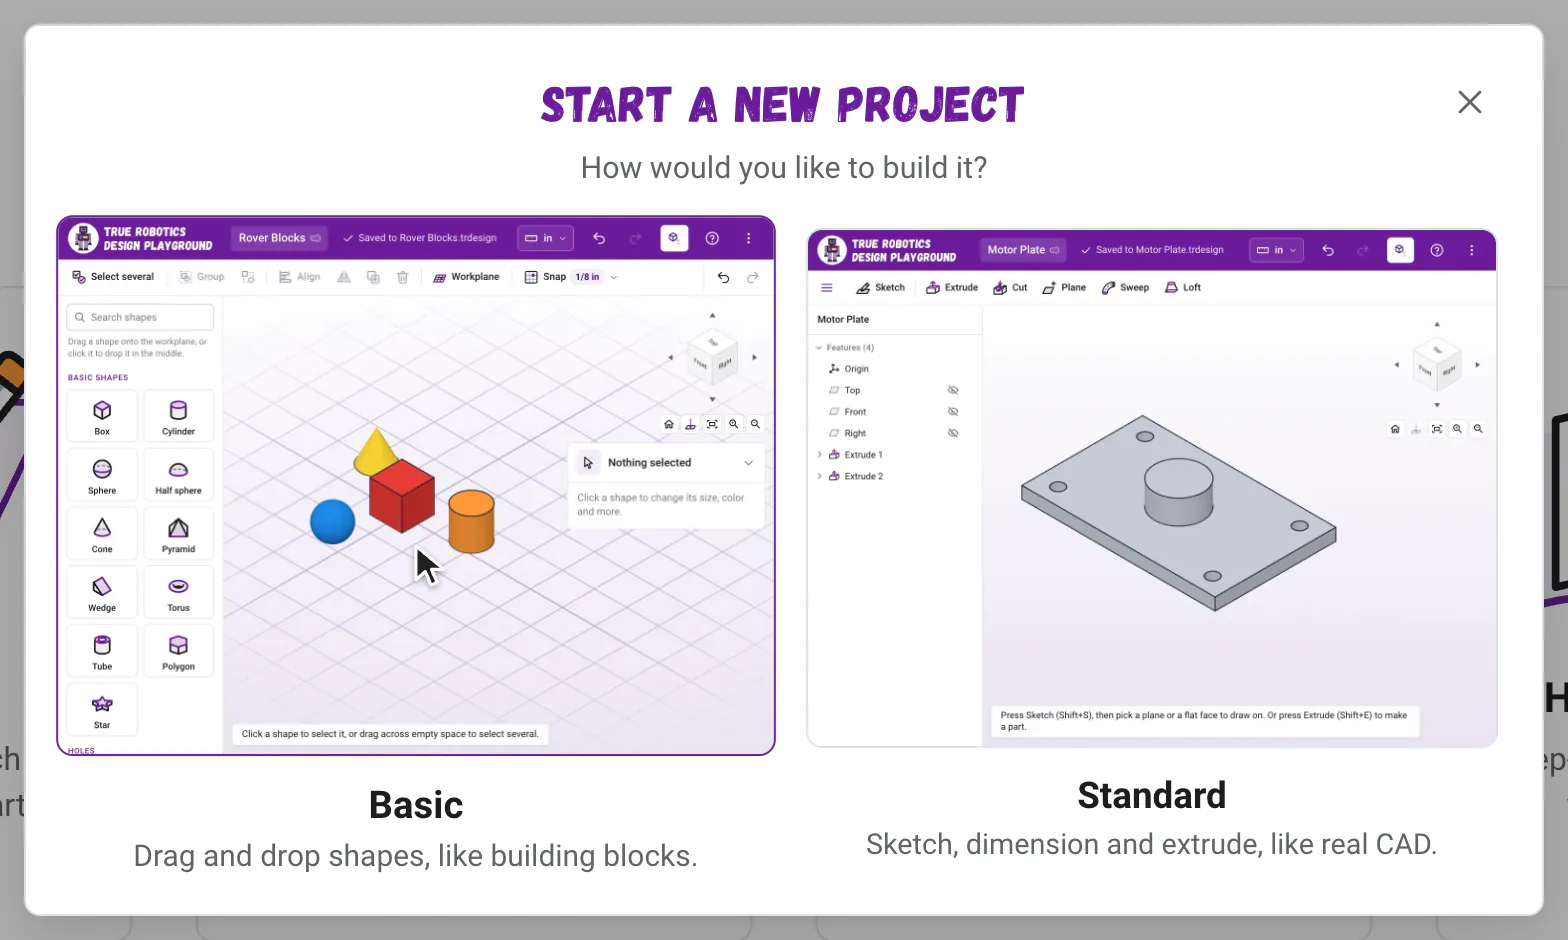
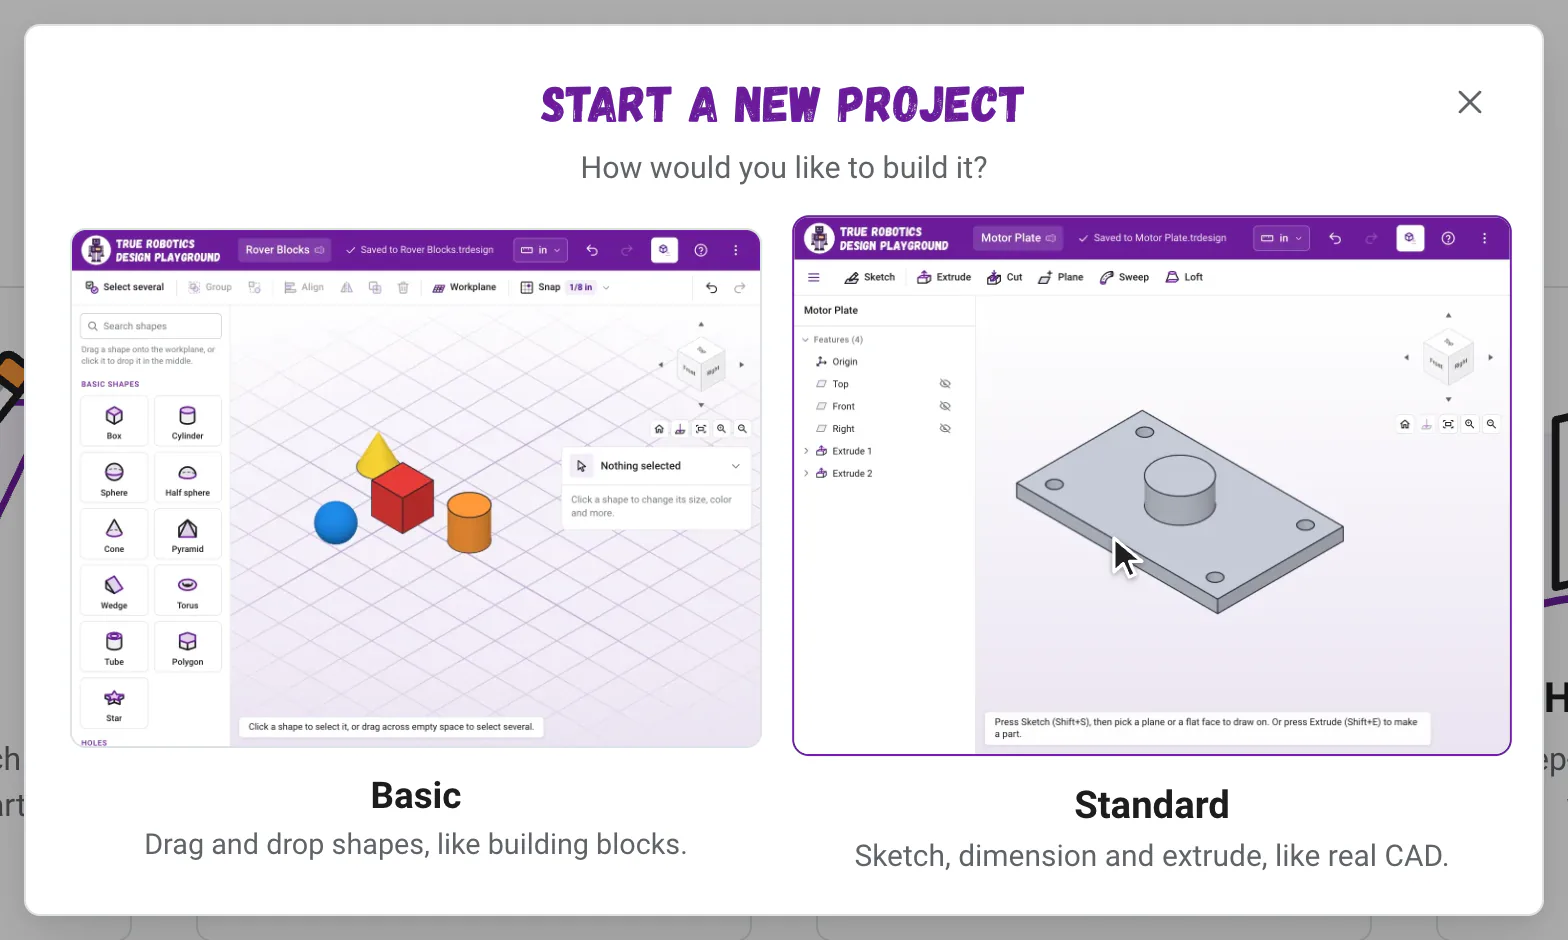
When you click New Project, a window asks How would you like to build it? and shows a picture of each workspace, so you can see what you are picking. Basic, on the left, lets you drag and drop shapes, like building blocks, and is the quickest way to begin. Standard, on the right, works like real CAD: you sketch, set exact sizes with dimensions, and extrude. Click one and your project opens right away, in inches. This page makes your first Standard part. For Basic, start with Basic mode and the phone stand tutorial.
Should I say Yes to autosave?#
Every new project and assembly asks Would you like to autosave this project? as soon as it opens.
- Yes, autosave opens your computer's save window. The file name you type becomes your project's name, and every change saves to that file from then on. In Safari, on an iPad or in Firefox, Yes saves in the browser instead, and Download a copy gives you a file anytime.
- No lets you start designing right away, but nothing is saved yet. The purple bar says Not saved with a Save button. Click Save, or press Ctrl+S (Cmd+S on a Mac), whenever you are ready, and autosave turns on from there.
Tip: Not sure? Say Yes
With autosave on, you never lose work, and your project shows up in Open Project and in an assembly's Insert window. If you said No, your browser still asks before you close a tab with unsaved work, so you can click Save first.

How do I make my first part?#
Open the True Robotics Design Playground Go to design.truerobotics.org. The home screen asks "What would you like to design today?" and shows four cards: New Project, New Assembly, Open Project and Help and Tutorials.
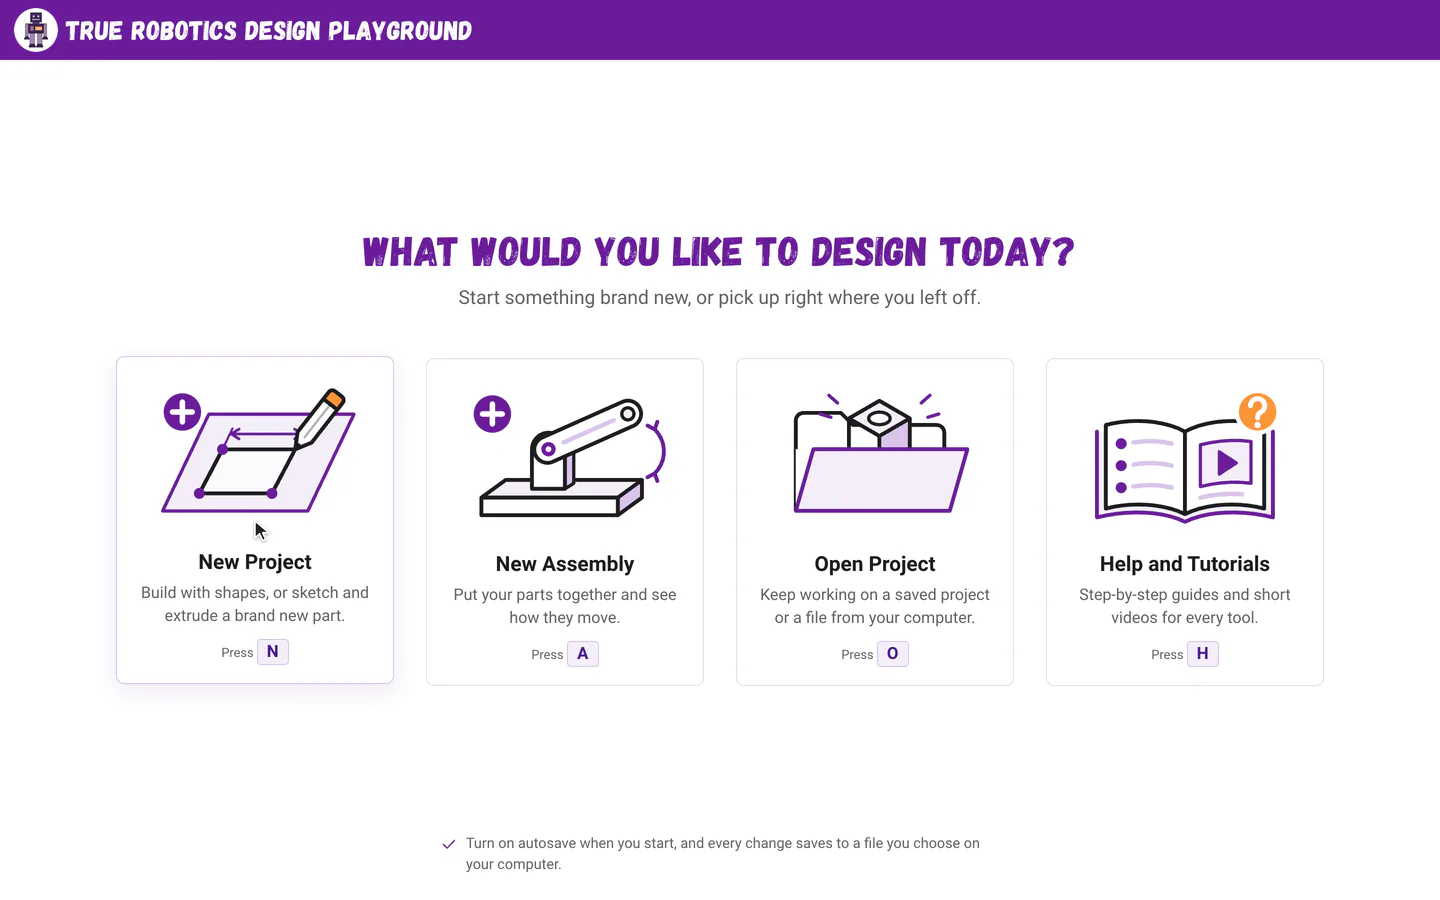
The home screen: start a new part or a new assembly, open a saved project, or come right here for help. Start a new project Click New Project (or press N). A window asks How would you like to build it? with a picture of each choice: Basic on the left and Standard on the right. Click Standard, because this part is sketched and extruded. Your project opens right away, in inches.
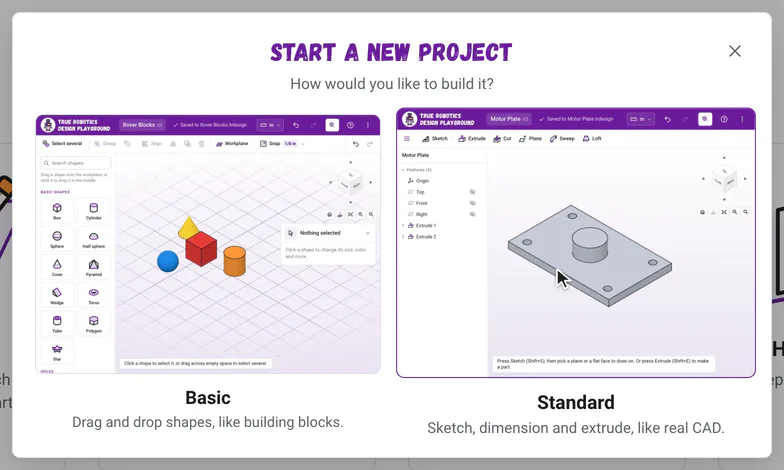
New Project asks just one thing: Basic or Standard. Click a picture and your project opens. Turn on autosave A small window asks Would you like to autosave this project? Click Yes, autosave. In the save window, type
My First Part, pick a folder and click Save. The purple bar now says Saved to My First Part.trdesign, and every change saves to that file. In Safari, on an iPad or in Firefox, Yes saves in the browser instead.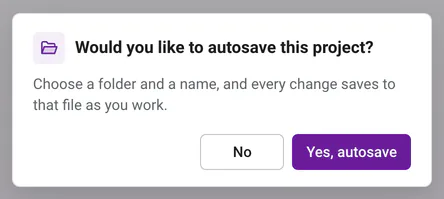
Every new project asks once. Yes saves every change to a file you name, and No lets you start right away and save later. Pick the Top plane Click Top in the list on the left. Top is the plane that lies flat, like a tabletop.
Start a sketch Click Sketch in the toolbar (or press Shift+S). The view turns to look straight down at the Top plane, and the sketch tools appear along the toolbar.
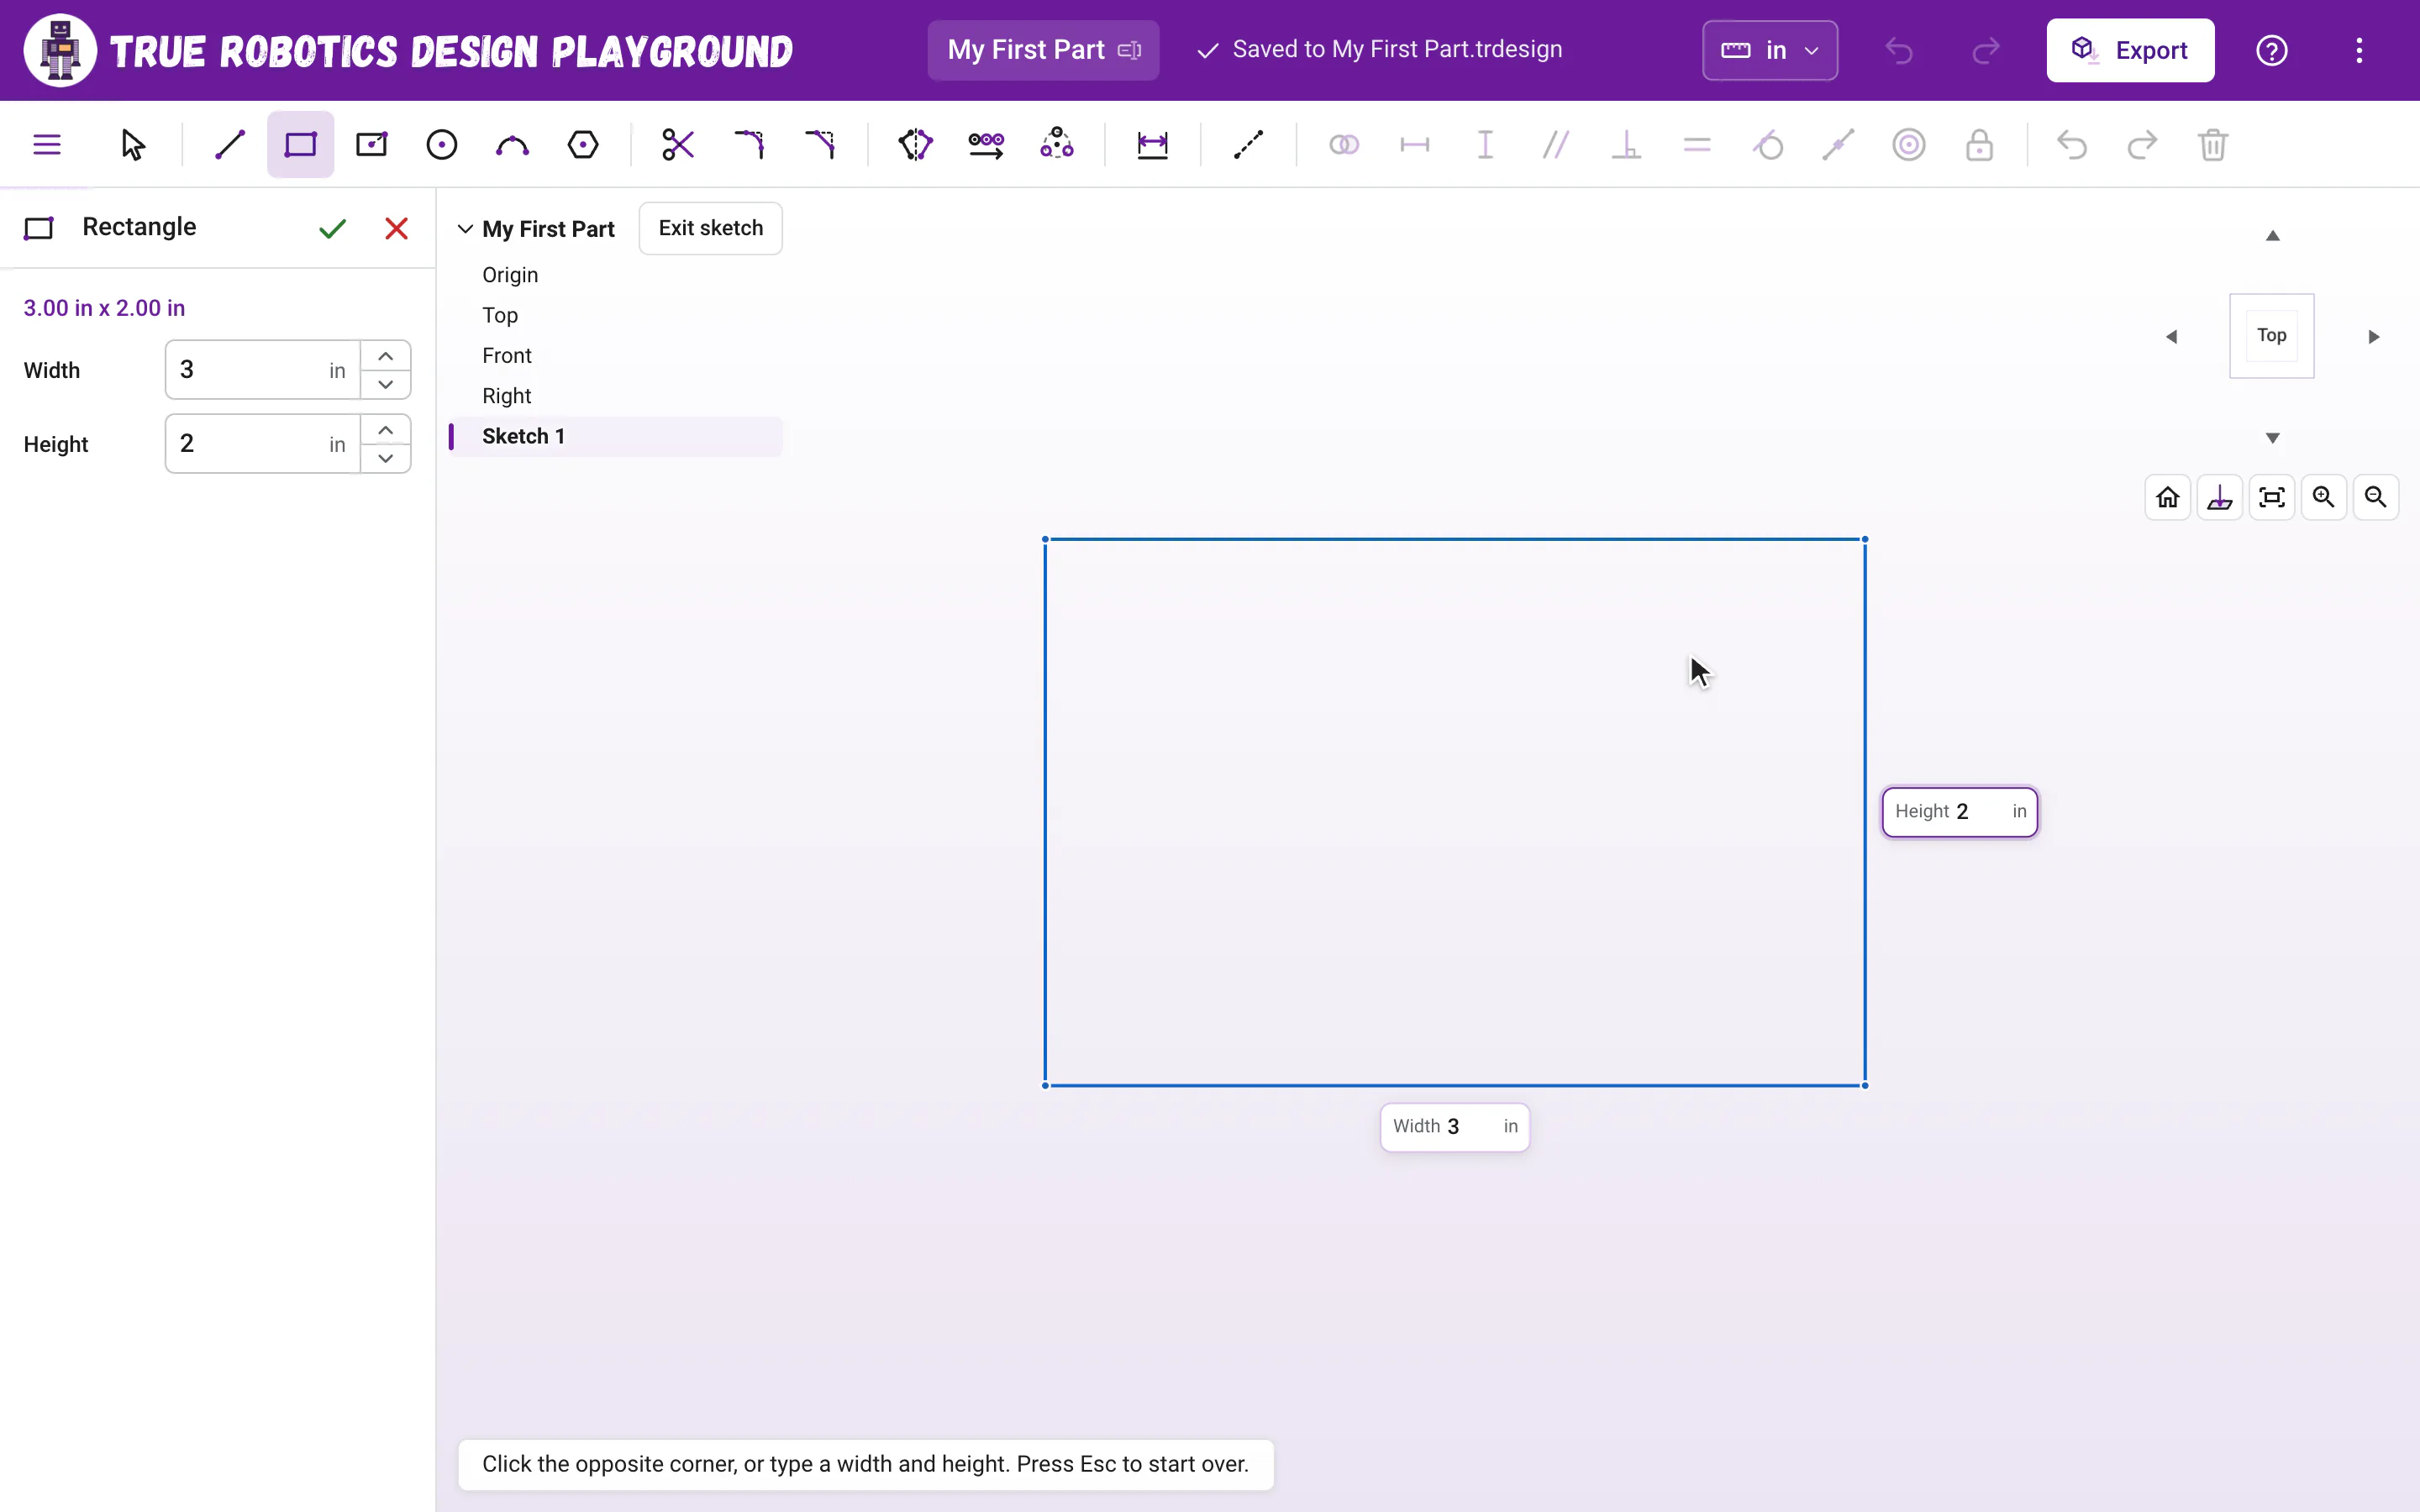
Draw a rectangle from the origin Press G for the Corner rectangle. Click the origin, the dot in the middle where the planes meet, to place the first corner. Then move the pointer up and to the right so you can see the rectangle stretch.
Type the exact size Type
3for the width, press Tab, type2for the height and press Enter. You get a rectangle exactly 3 inches by 2 inches, and its lines turn black, which means every size is set.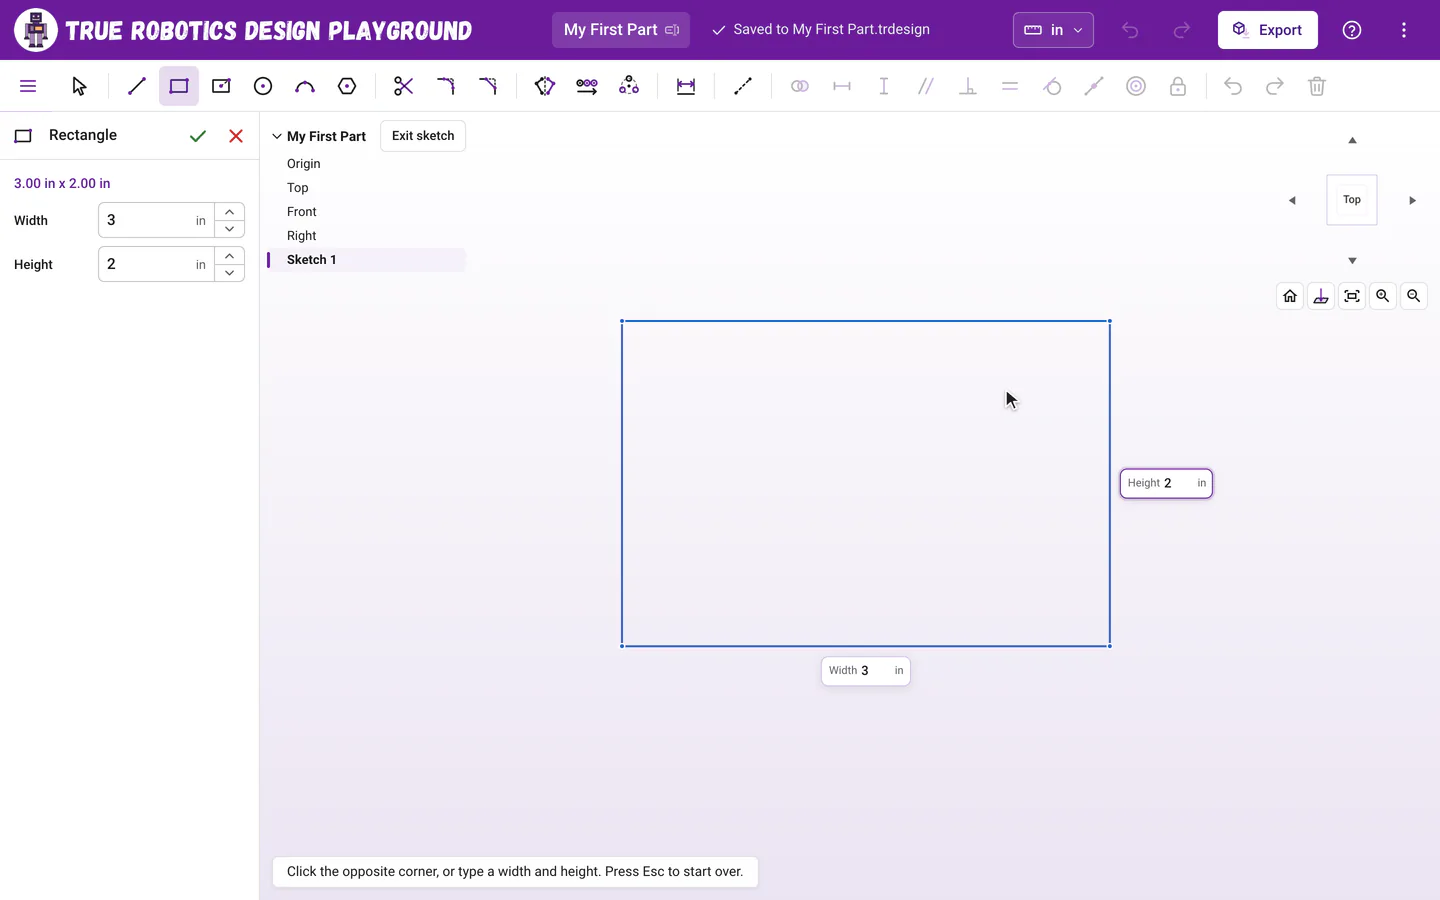
Type the width, press Tab, type the height, and press Enter. Finish the sketch Press Enter again (with nothing in progress, Enter finishes the sketch), or click Exit sketch next to the part's name at the top left of the view. The view turns back to 3D, and your rectangle is ready for the next step.
Extrude it into a block Click Extrude (or press Shift+E). The Extrude options fill the panel on the left, with your rectangle already picked. Type
1/2for the Depth to make it half an inch tall, and watch the purple preview change. Fractions work in every size box! You can also drag the purple arrow.Accept the extrude Press Enter or click the green check. Extrude 1 appears in the feature tree, with Sketch 1 tucked inside it. You just made a 3D part!
Export an STL Click Export in the purple bar (on a phone, it is in the three dots menu), keep STL and the other settings as they are, and click Export.
My First Part.stllands in your Downloads folder. STL files are always in millimeters, the unit 3D printer slicers expect, so your part prints at exactly the size you designed.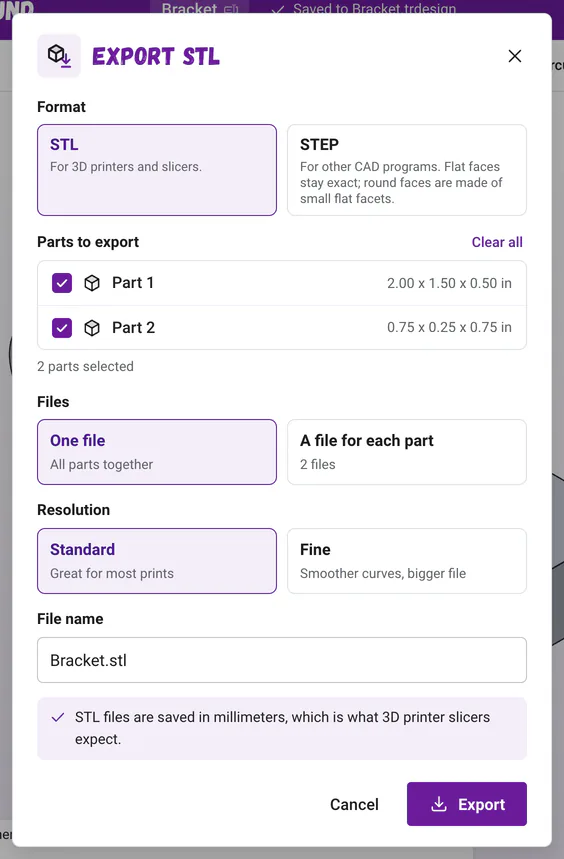
Pick parts, files and resolution. STL files are always in millimeters.
Tip: Oops? Press Esc or undo
If a tool is doing something you did not expect, press Esc to stop the shape you are drawing, and Esc again to go back to the Select tool. To take back your last change, press Ctrl+Z (Cmd+Z on a Mac).
What just happened?#
You made two features. Sketch 1 is the flat rectangle, and Extrude 1 pulled it up into a solid. They are listed in the feature tree on the left, with Sketch 1 tucked inside Extrude 1 because the extrude uses it (click the little arrow to see it). Double-click either one to change it, and everything after it rebuilds on its own. That idea, a history you can always go back and edit, is what How it works is all about.
Your project also saved itself, because you said Yes to autosave. Look at the purple bar: it says Saved to My First Part.trdesign (or Saved in this browser). There is no save button to remember. Projects and saving explains where your work lives.
What should I try next?#
- Cut a hole: click the top of your block, press Sketch, draw a circle, finish the sketch, then press Cut. Extrude and Cut shows how.
- Learn every way to draw a square.
- Try Basic mode and make a phone stand from shapes.
- Build a robot mounting plate with holes.
- Take the workspace tour to meet every button.
- Put parts together in a New Assembly and make a wheel that spins.
Great job on your first part! When you're ready for more, the tutorials build real robot parts one step at a time.