
Free CAD for students
True Robotics Design Playground Help and Tutorials
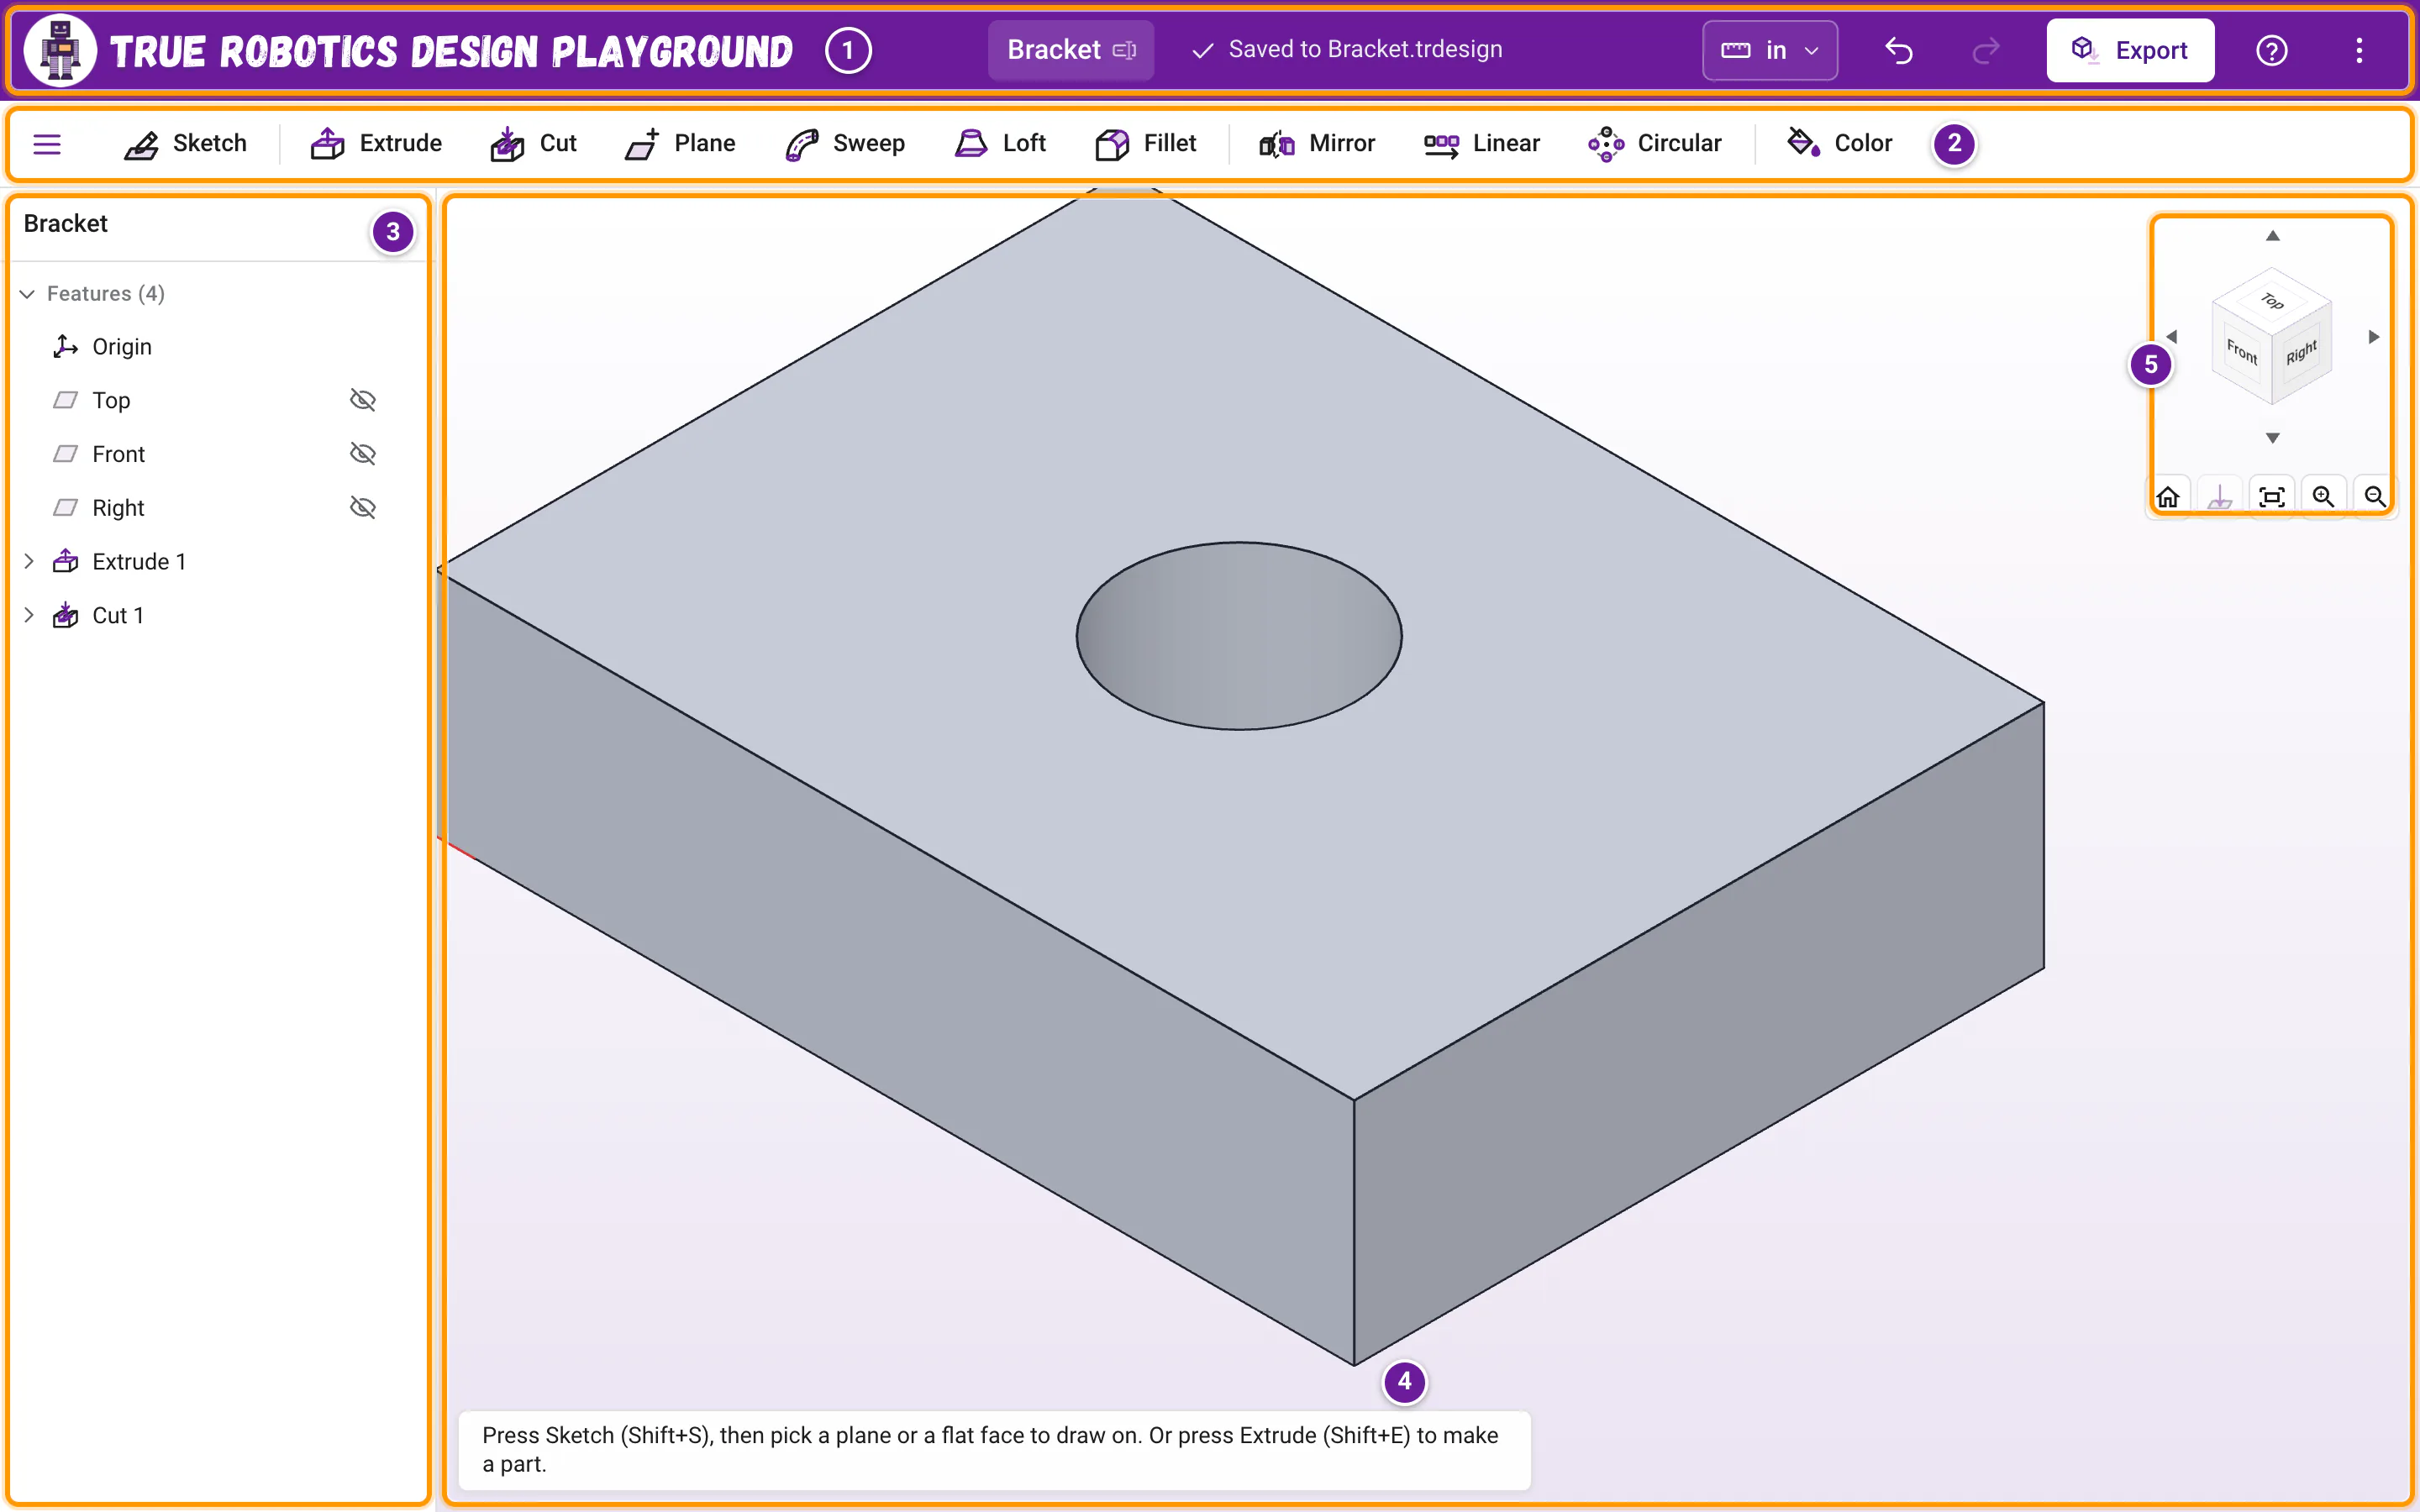
The True Robotics Design Playground is a free CAD app that runs right in your web browser. In Basic mode, students drag shapes together and cut holes. In Standard mode, they sketch, set exact sizes with dimensions, extrude, mirror and pattern. Assemblies put parts together so they move. Then they download STL files for a 3D printer, with no login. These guides walk through every tool.
Open the True Robotics Design PlaygroundMake your first part
Browse every guide#
Getting started
Basic mode
Sketching
Building parts
Assemblies
Tutorials
Help and reference
What can students make with the True Robotics Design Playground?#
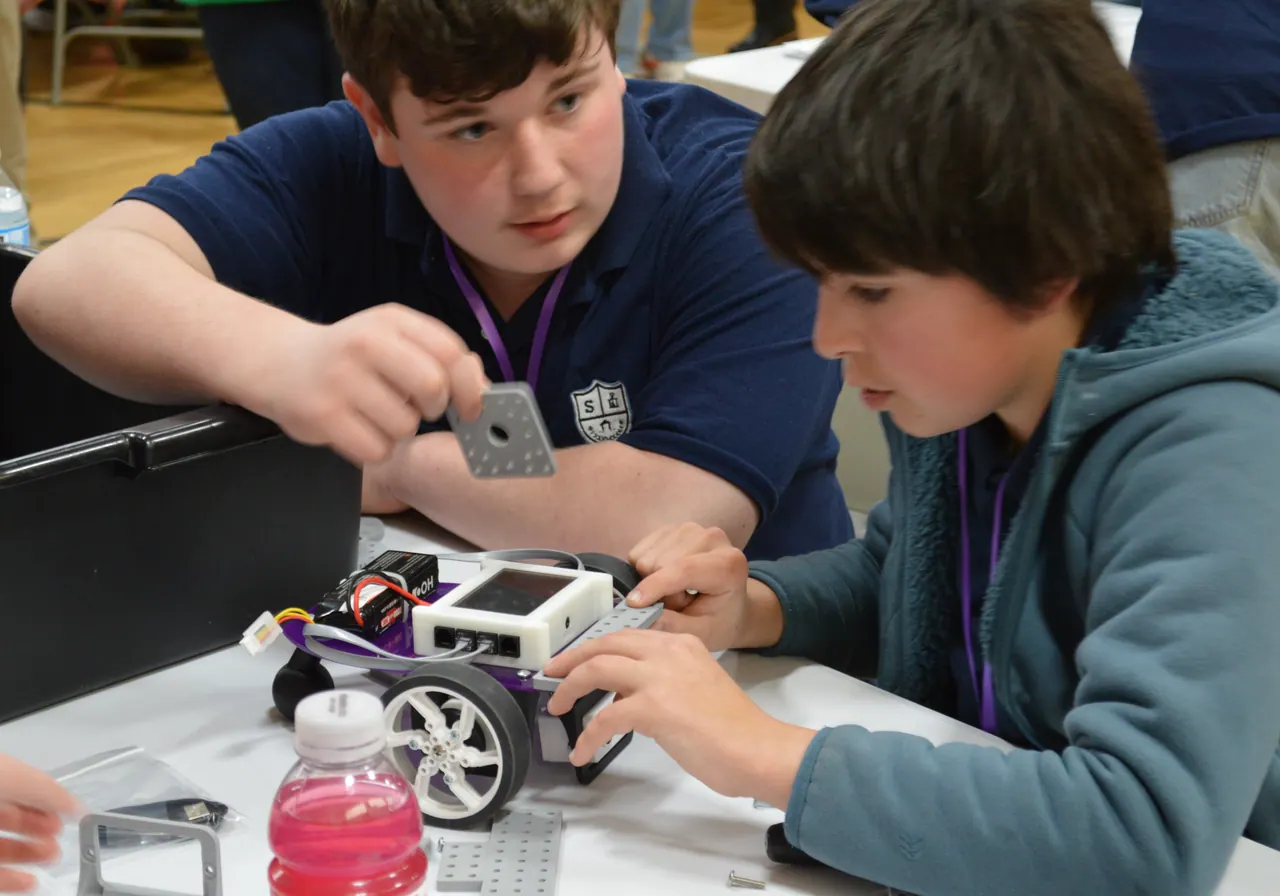
Robot mounting plates with screw holes, wheel hubs, wheels and pulleys, phone stands, brackets, spacers, hex standoffs, slotted adjusters, curved handles, funnels and custom parts for class projects. In Basic mode, students build them from boxes, cylinders and holes, like building blocks. In Standard mode, they draw a sketch, give it exact sizes, and Extrude, Revolve, Sweep or Loft it, then Mirror and Pattern the holes. In an assembly, they put their parts together and see them move. Either way, it is a part they can hold in their hands an hour later.
Where should I start?#
- Basic mode: build with shapes, the way every new project starts, and how it compares with Standard.
- Your first part in five minutes: make a block in Standard mode and export it, start to finish.
- How the True Robotics Design Playground works: sketches, extrudes, parts and the feature history, in plain words.
- Workspace tour: every bar, button and panel on the screen.
- Moving around the 3D view: mouse, trackpad, touch screen, keyboard and the view cube.
- Projects and saving: choosing a folder, autosave, opening files and downloading a copy.
- Install the app and use it offline: put it on your computer and keep designing with no internet.
Guides for every tool#
In Basic mode, learn the Shapes and their settings, how to move, resize and rotate them, and how to cut with holes and groups.
In Standard mode, start with Sketching basics, then dive into any tool: Select, Line, Corner rectangle, Center rectangle, Circle, 3 point arc, Polygon, Spline, Trim, Fillet, Chamfer, Mirror, Linear pattern, Circular pattern, Construction, Dimension and Constraints.
Then build real parts with Extrude and Cut, Revolve, Sketching on faces, Planes, Axis, Sweep and Loft, soften edges with Fillet and chamfer, copy features with Mirror, Linear pattern and Circular pattern, paint parts and faces with Color, keep your history tidy with the Feature tree and Undo and redo, learn Units and typing math, and send your work to the printer with Export STL and STEP.
Put parts together in an assembly: insert parts and STL files, then connect them with mates so they hinge, spin and slide.
Step-by-step tutorials#
- Make a phone stand in Basic mode, from a box, a wedge and a hole.
- Make a robot wheel hub in Basic mode, with an axle hole and four screw holes.
- Draw a square four ways, then turn it into a cube.
- Make a robot mounting plate with holes using construction lines.
- Make a hex standoff sized across the flats.
- Cut a slot through a plate with arcs and tangent constraints.
- Make an L bracket with a face sketch.
- Make a curved handle with Sweep.
- Make a funnel with Loft.
- Make a wheel that spins on an axle in an assembly.
What do students need to use it?#
Just a web browser. In Chrome, Edge and on Chromebooks, projects can save automatically to a file the student picks. In Safari, on iPads and in Firefox, projects save inside the browser, and Download a copy gives a file anytime. It can even be installed and used offline. A mouse is great, but a trackpad, a touch screen and the keyboard all work too, and it even fits on a phone for a quick demo.
Tip: Help is one click away
Open these guides anytime from the Help and Tutorials card on the home screen (or press H there). While you design, the ? button in the purple bar opens the page for what you are doing right now, like the Line page while you draw lines, in a new tab so your work stays put. Inside the app, press ? to see every keyboard shortcut.
At True Robotics, we built this app so every student can design real parts with confidence. Have a question these guides don't answer? We'd love to hear from you at truerobotics.org.
Questions and answers#
Is the True Robotics Design Playground free?
Yes. The True Robotics Design Playground is free to use at design.truerobotics.org, with nothing to install and no account to create.
Can I use the True Robotics Design Playground for commercial projects?
Yes. It is free for school, personal and commercial projects, and the parts you design are yours to make, sell or share. Your STL and STEP files carry no watermark and no license. Round surfaces are saved as many small flat facets, which works great for 3D printing, laser cutting and most shop work. For tight-tolerance CNC machining, a full CAD program with true curved surfaces is the better fit.
Do students need an account or a login?
No. There are no logins. Projects save automatically to a file the student chooses or in the browser, so a class can start designing the moment the page opens.
Which devices and browsers does it work on?
It runs in the browser on Chromebooks, Windows and Mac computers and iPads. Chrome, Edge and Chromebooks can save projects straight to a file. Safari, iPads and Firefox save projects in the browser, and Download a copy gives you a file anytime.
Can I 3D print what I design?
Yes. Click Export to download an STL file in millimeters, the format and unit that 3D printer slicers expect, then open it in your slicer and print. Export also makes STEP files for other CAD programs.
What is the difference between Basic and Standard?
Basic mode builds parts from shapes you drag onto a workplane, size, and group with holes, like building blocks. Standard mode builds parts from sketches with dimensions that you extrude, cut, revolve, sweep, loft, mirror and pattern, like professional CAD. When you click New Project, you pick one.
Does the True Robotics Design Playground use inches or centimeters?
Both. New projects start in inches, and you can switch to centimeters anytime from the units button. You can type any unit into a size box, like 25 mm in an inch project, and STL files always come out in millimeters for your slicer.
Can students put parts together and make them move?
Yes. A New Assembly brings in saved parts and STL files, and mates connect them so they stay put, spin, slide or swivel, like a wheel on an axle.
Who makes the True Robotics Design Playground?
True Robotics makes it, along with K-12 robotics Classroom Packages and the True Robotics Playground, where students code their robots.