
Tutorials
Make a Curved Handle with Sweep
A curved handle is a round bar bent into a U, and the True Robotics Design Playground builds it with one sweep. You sketch the path on the Front plane, two 1 inch legs joined by a tangent arc, then sketch a 3/8 inch circle on the Top plane where the path starts. Sweep carries the circle along the whole path.
Read what happens in this video
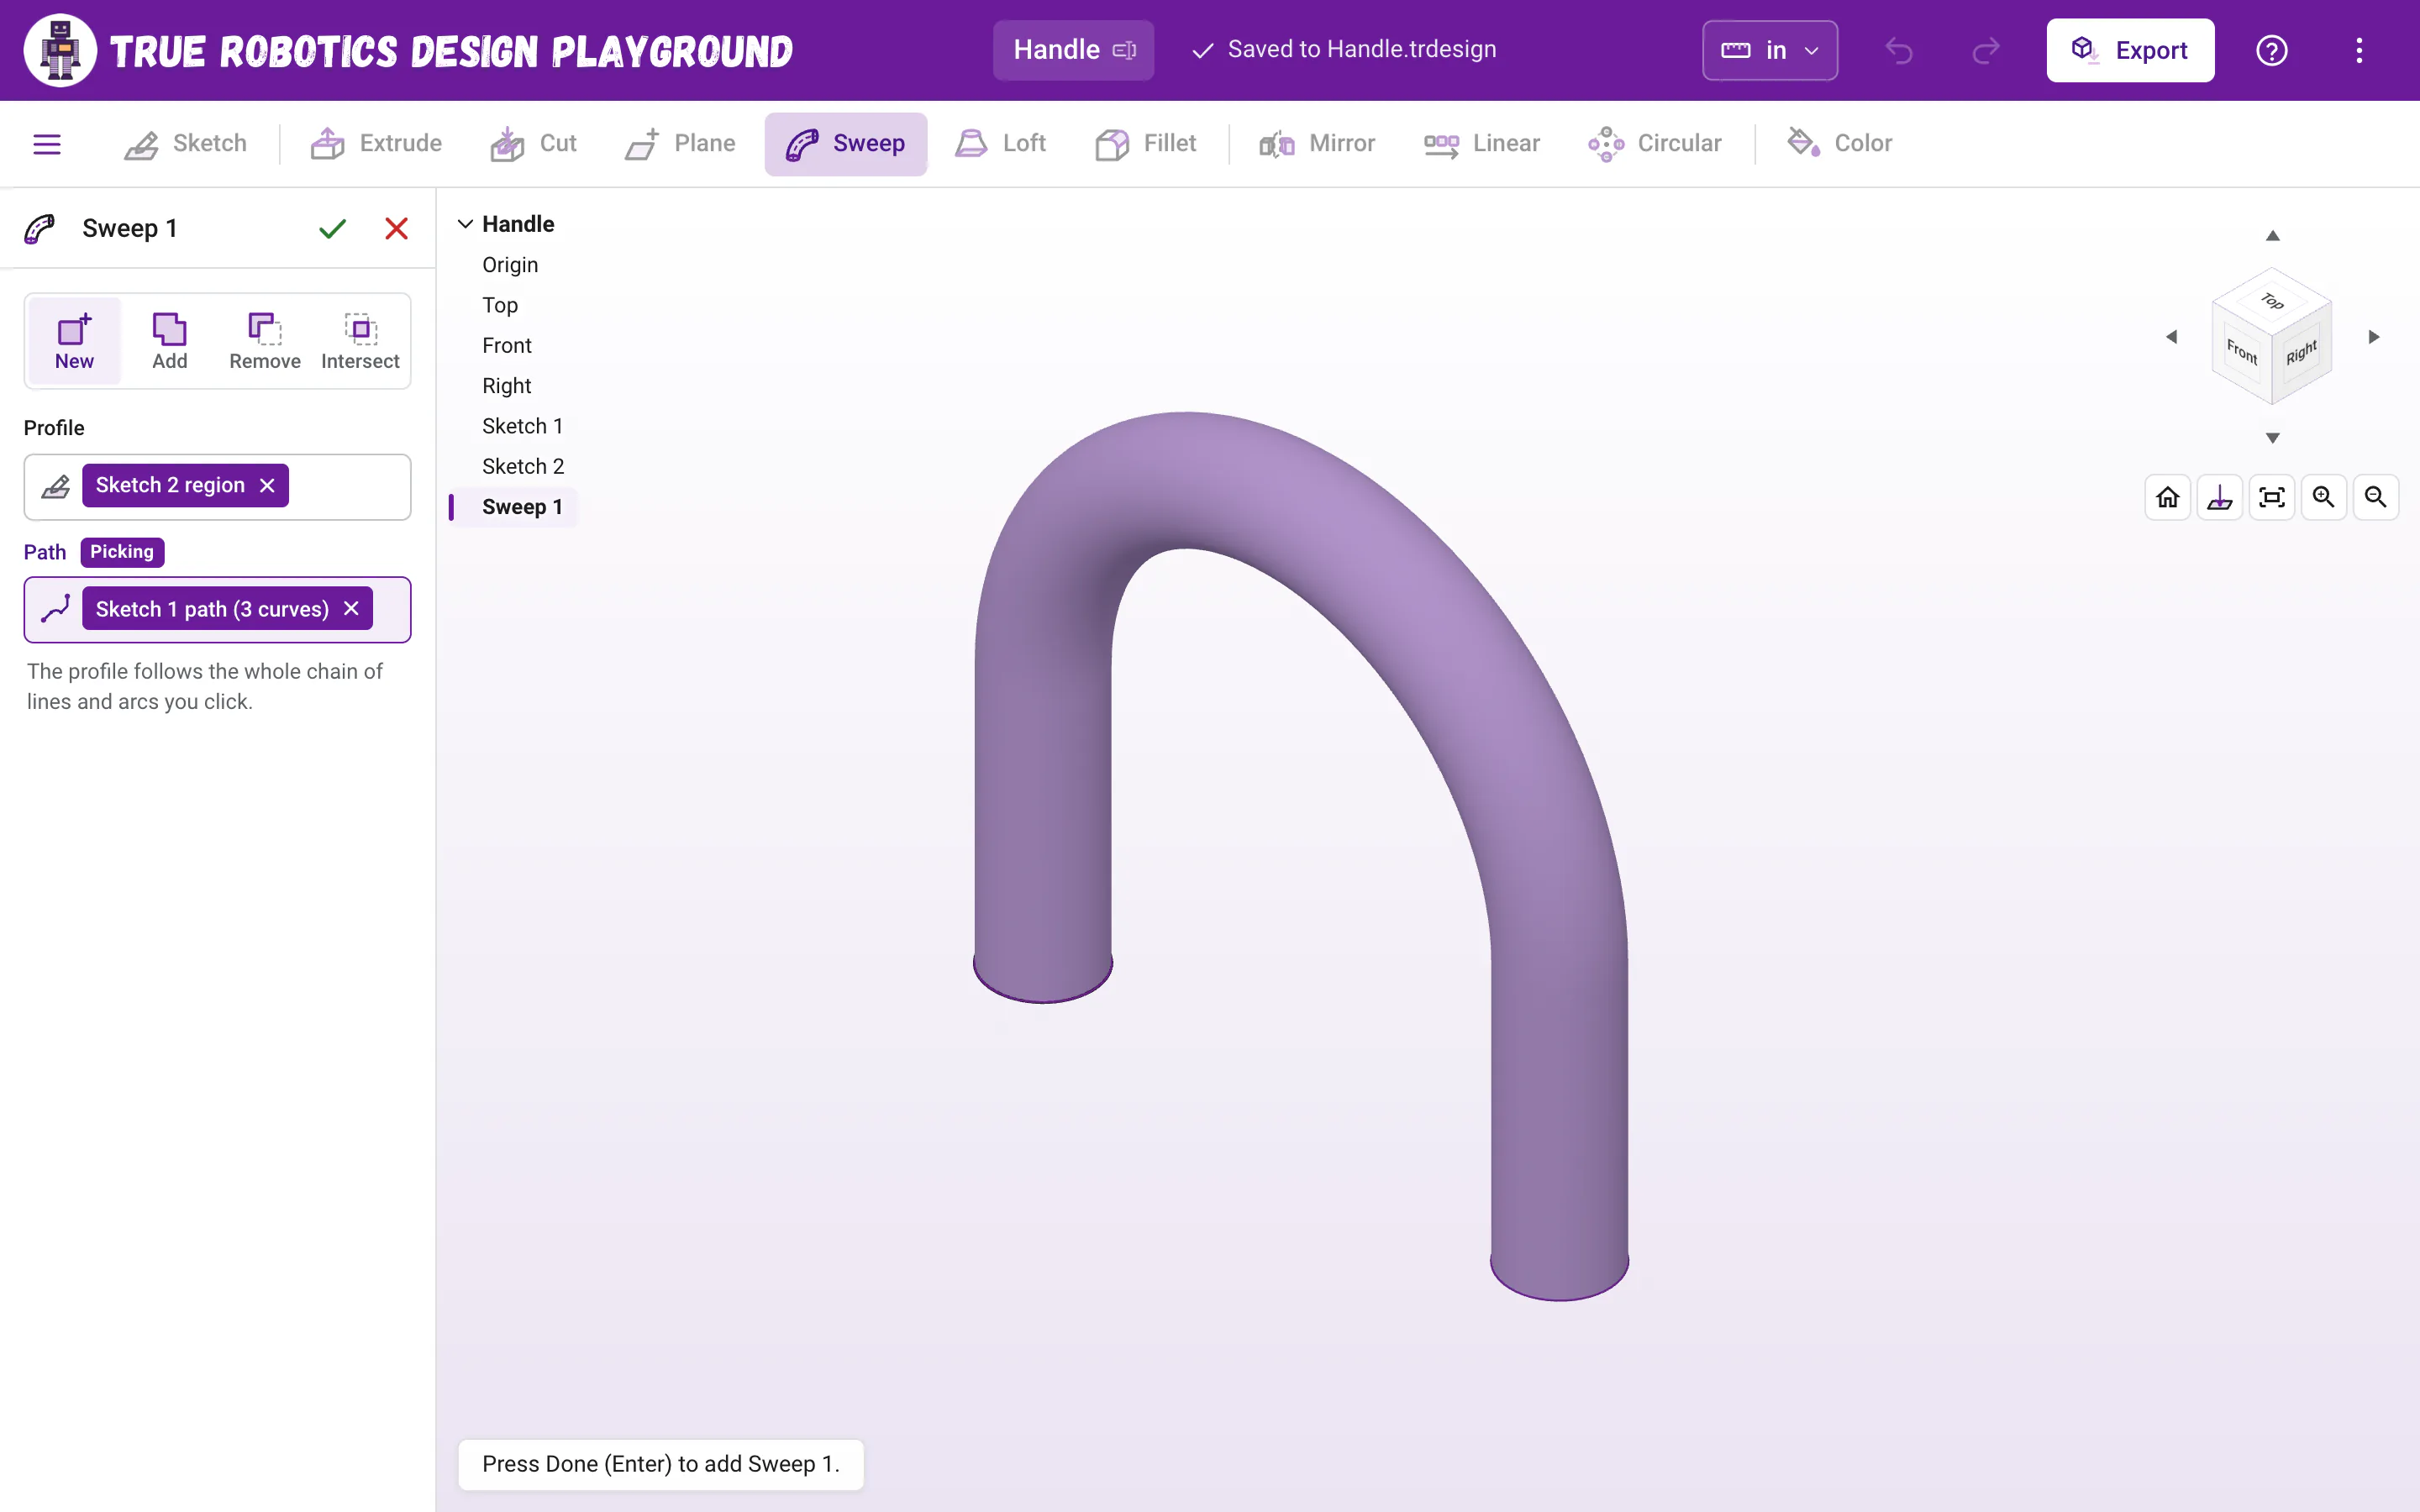
The circle we just drew is already picked as the profile when Shift+W opens Sweep. Pointing at the arc lights up the whole path, both legs and the arc. One click picks it, and the purple preview follows every curve. Enter makes the handle.
The steps in the video:
- Press Shift + W for Sweep. The circle you just drew is the profile.
- Point at the arc. The whole path lights up: both legs and the arc.
- Click the arc to pick the path. The preview follows every curve.
- Press Enter to make the handle.
- Click Home under the view cube and press F to zoom to fit.
You will learn: drawing a path on the Front plane, the 3 point arc and Tangent, placing a profile at the start of a path, and Sweep. Time: about 10 minutes.
How do I make a curved handle?#
Start the project Click New Project, then Standard. Click Yes, autosave and save the file as
Handle. The project opens in inches.Sketch on the Front plane Click Front in the feature tree on the left, then click Sketch. The view turns to look straight at the Front plane. The path goes here, standing up like the handle will.
Draw the left leg Press L and click the origin. Point straight up until the upright icon shows, type
1and press Enter. Press Esc to stop the line.Draw the right leg Press L again. Click a point about 2 inches to the right of the origin and a little above it. Point straight up until the upright icon shows, type
1and press Enter. Press Esc.Join them with an arc Press A for the 3 point arc. Click the top of the left leg, click the top of the right leg, then click a point above the middle so the arc bends up. Press Esc.
Make the bends smooth Click the top of the arc, hold Shift, click the left leg and press T for Tangent. Do the same with the arc and the right leg. The legs line up, and the arc becomes a perfect half circle.
Set the width Press D, click the left leg, click the right leg, click between them to place the label, type
2and press Enter. Press Esc to put the Dimension tool away. Everything is black, and the Sketch panel says Fully defined.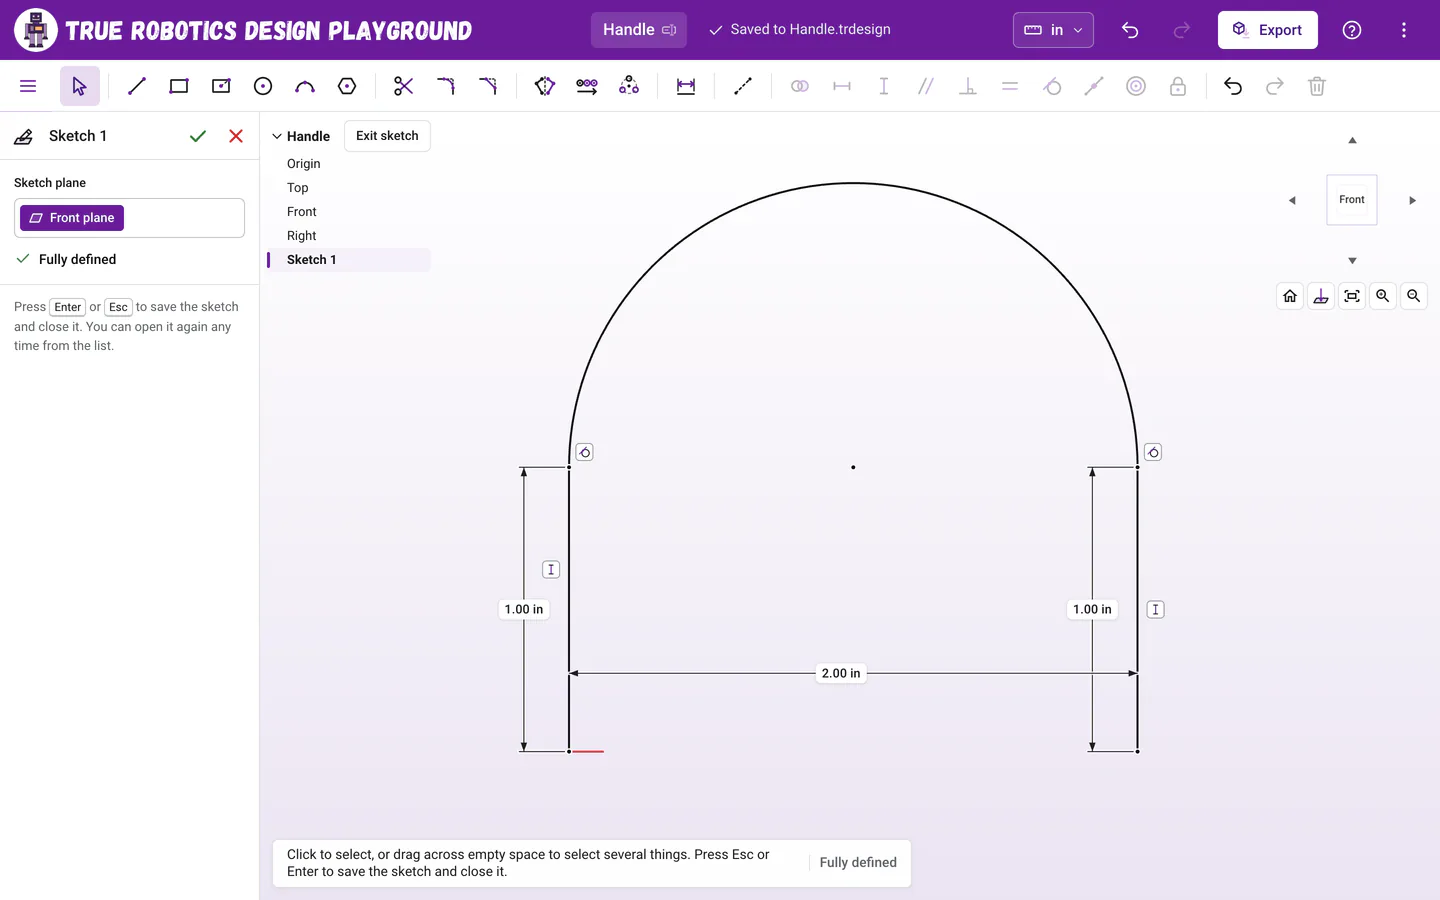
Two legs and a tangent arc make one smooth path. Finish the path Press Enter to finish the sketch. This is Sketch 1, the path.
Draw the profile Click Top in the feature tree, then click Sketch. Press C, click the origin, type
3/8and press Enter, then press Enter again to finish. The little circle sits right where the path starts, square to it.Sweep it Press Shift+W for Sweep. The circle you just drew is already the Profile. Point at the arc, and the whole path lights up orange. Click it, and a purple preview of the handle follows both legs and the arc.
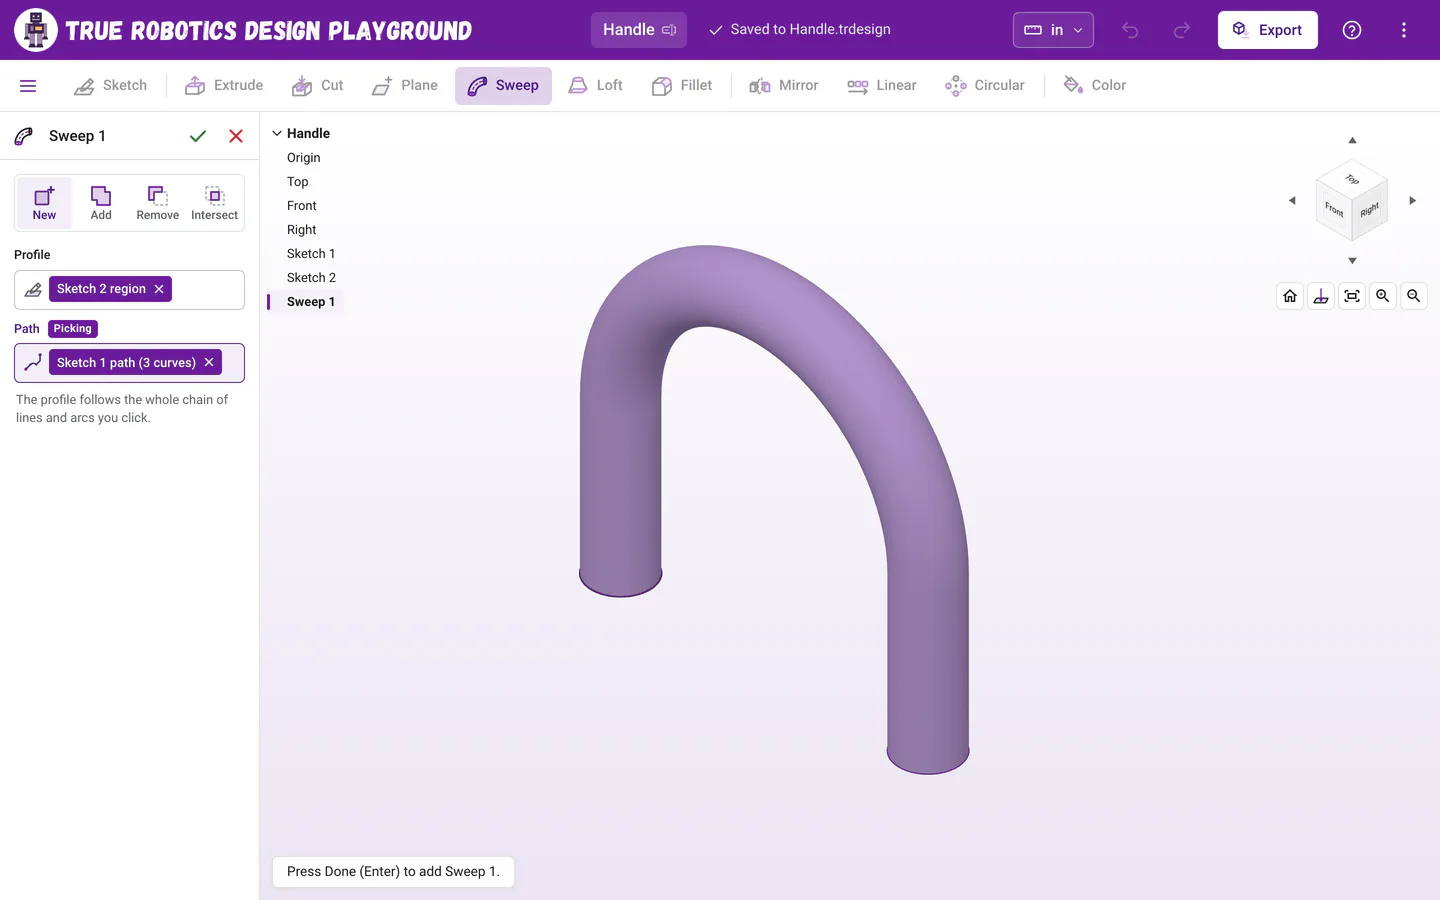
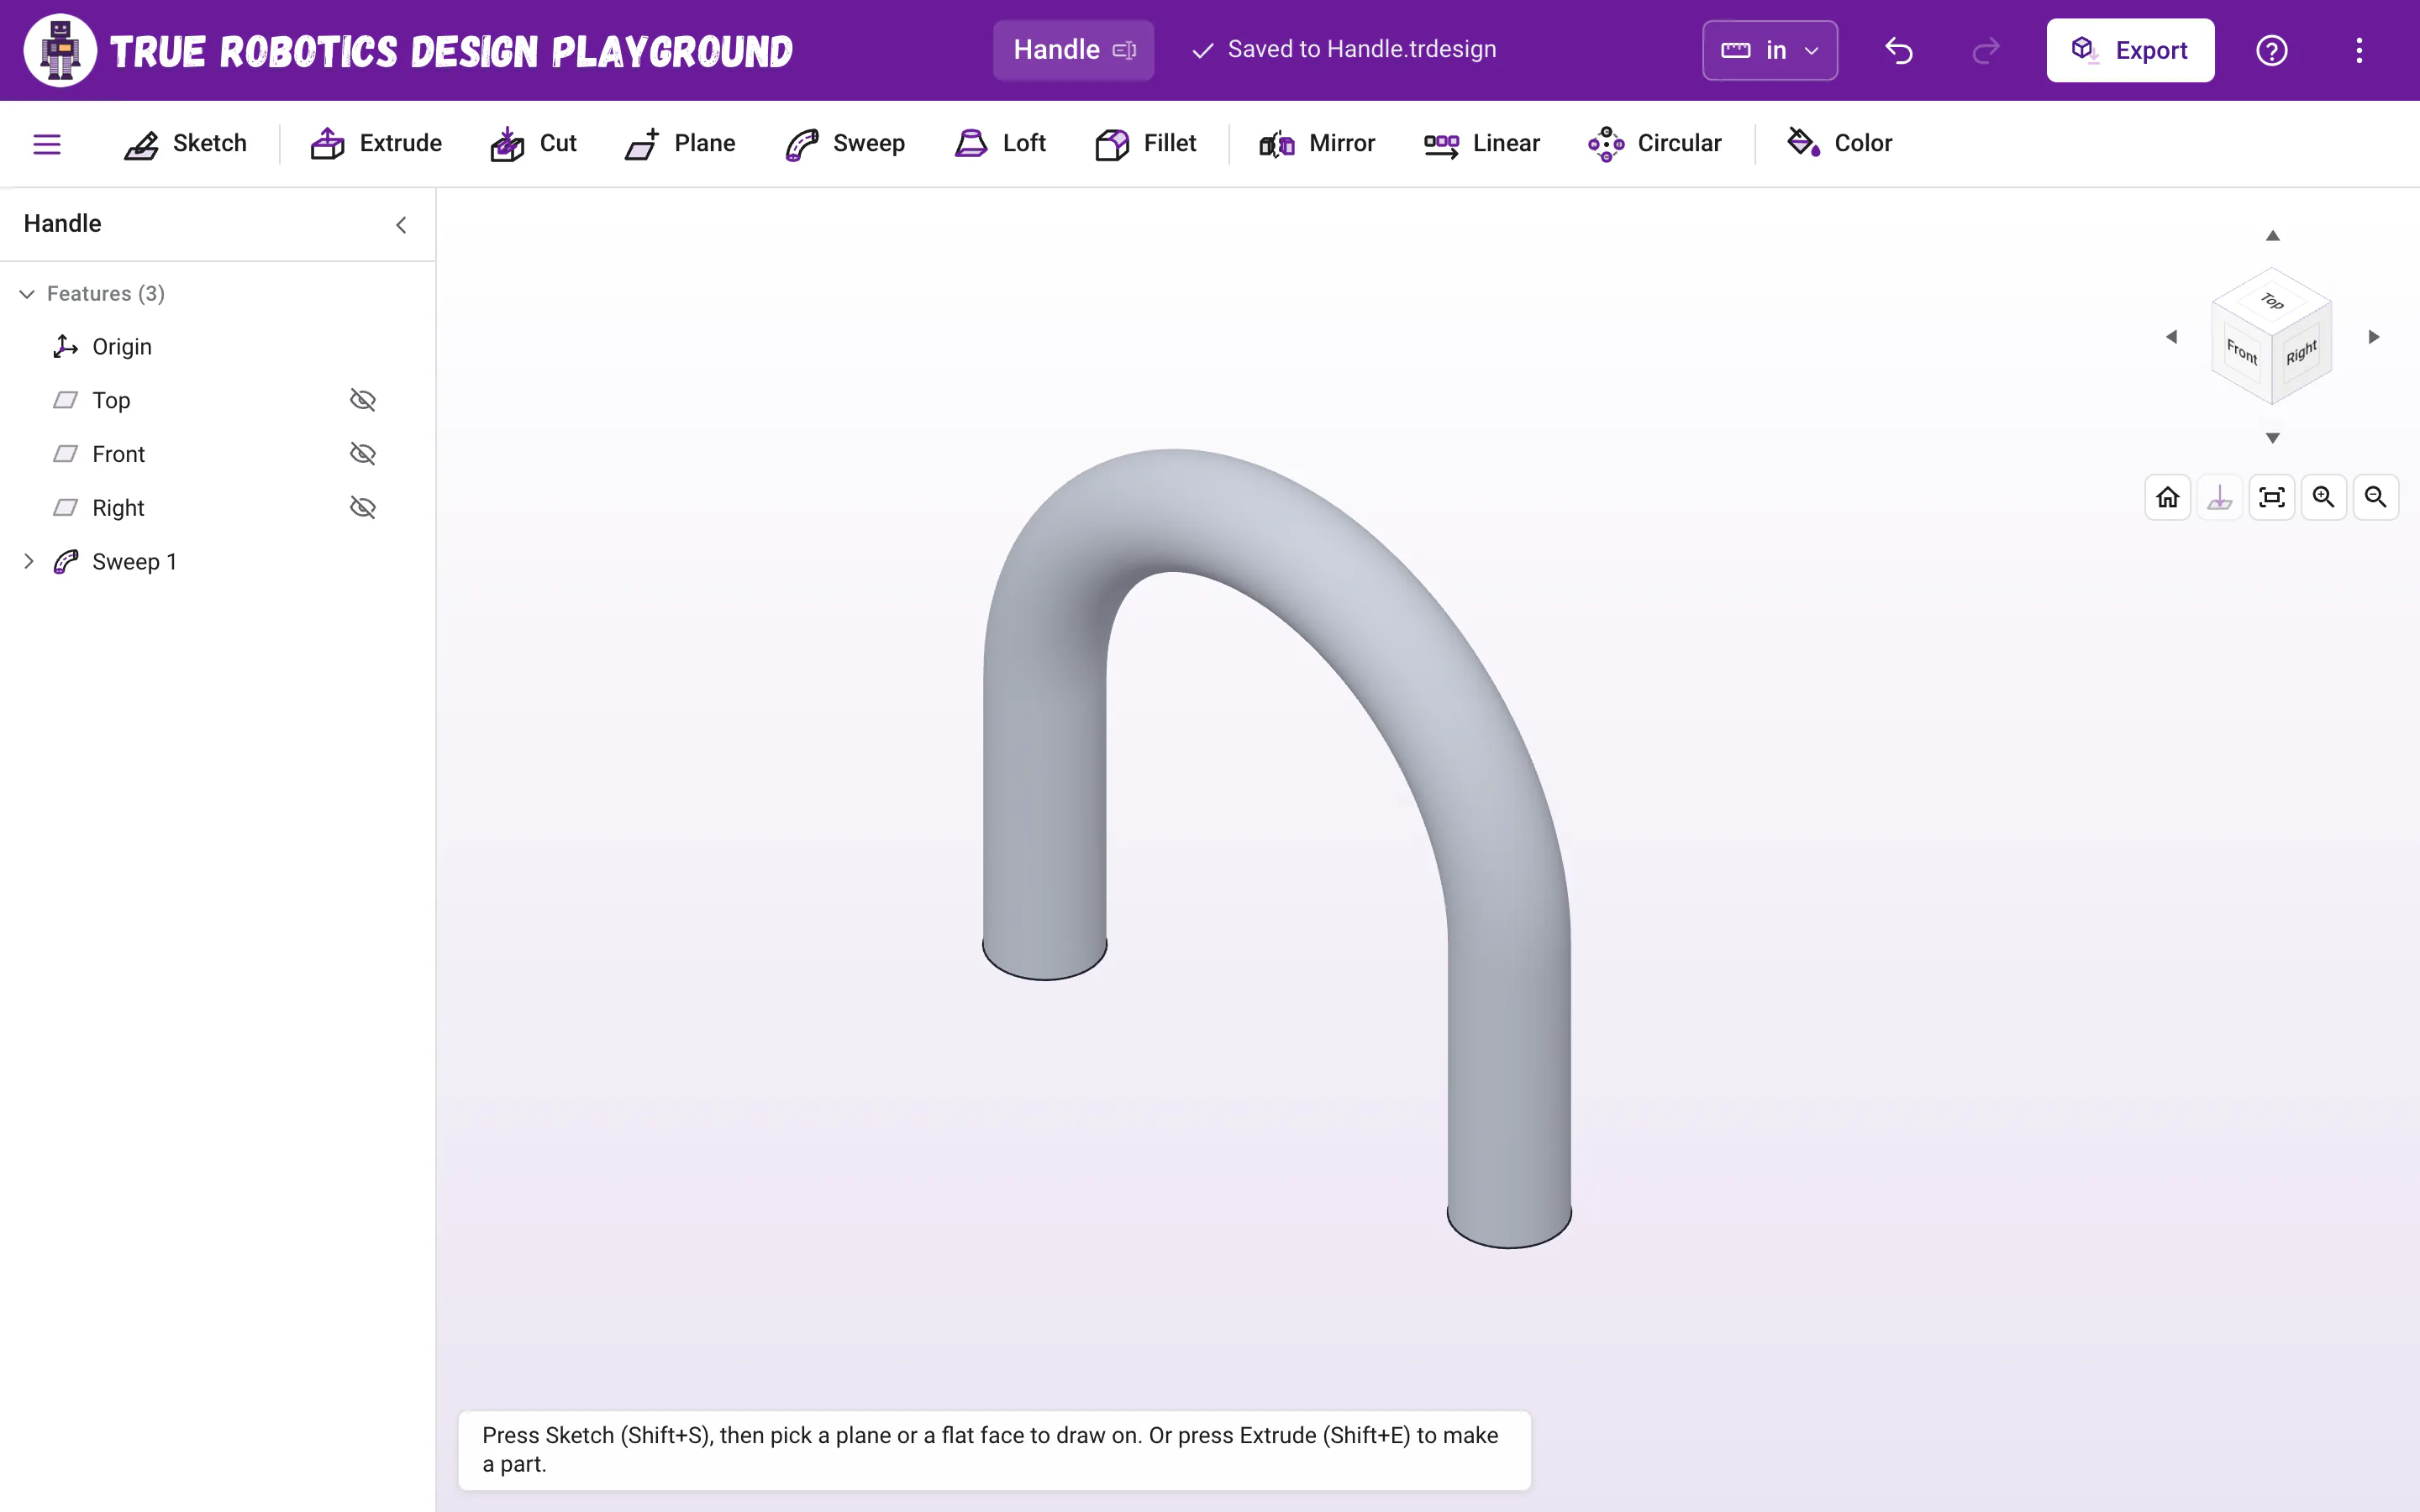
Pick a profile, click the path, and the preview follows every line and arc. Make the handle Press Enter. Sweep 1 appears in the feature tree with both sketches tucked inside it, and your handle is one solid part.
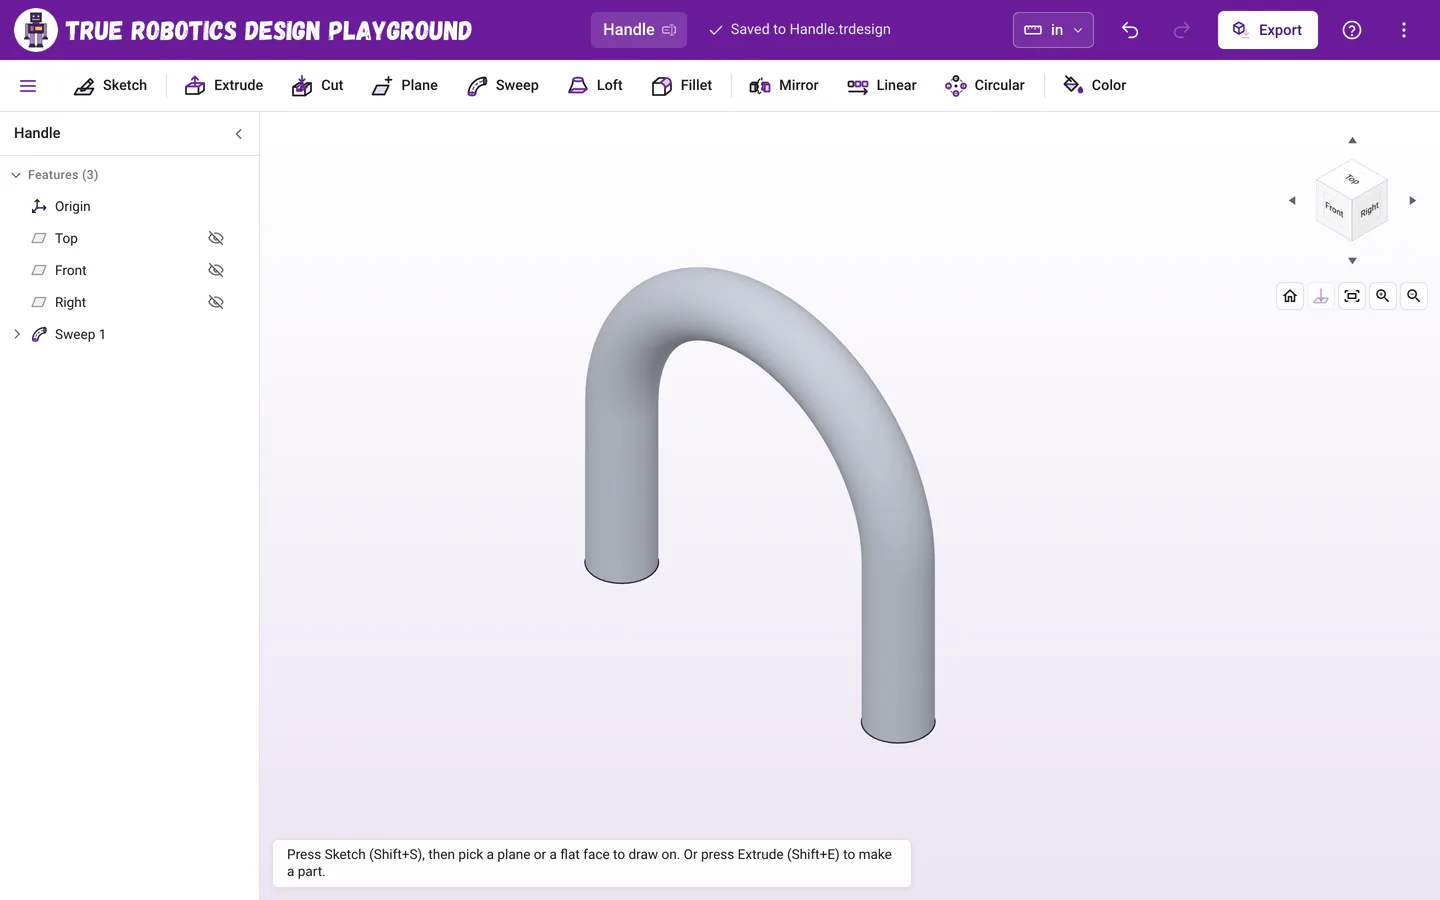
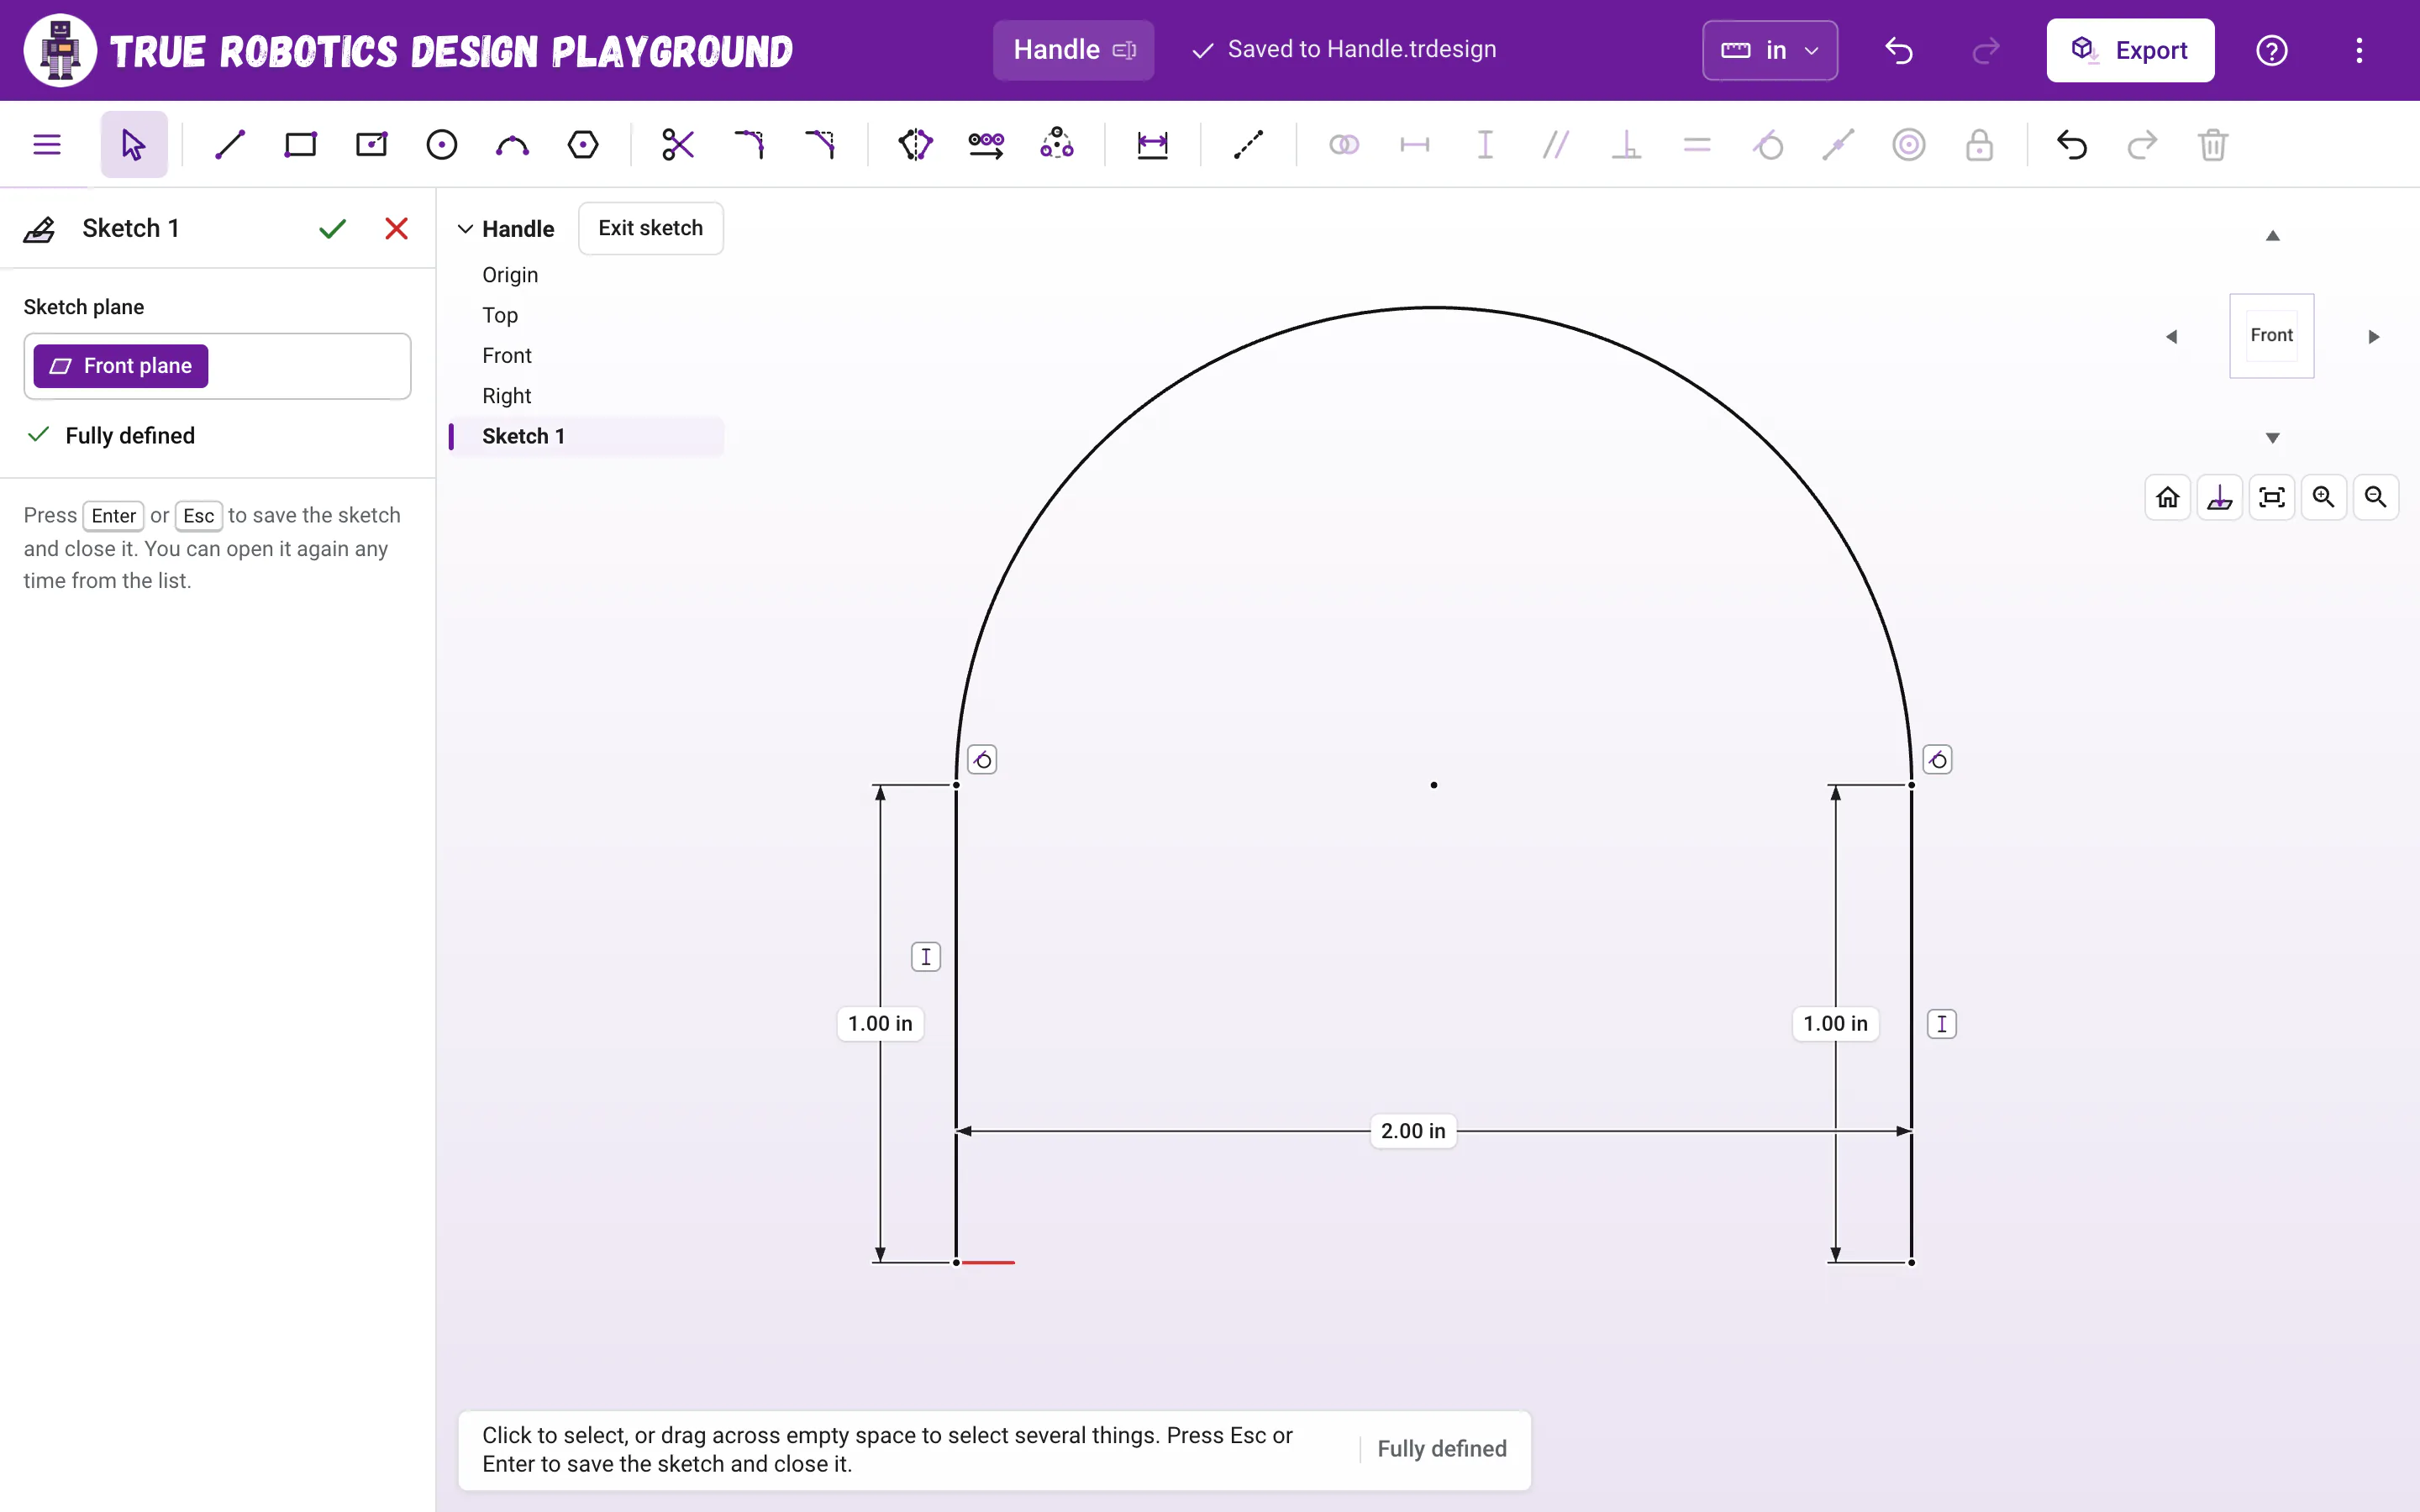
One sweep makes the whole handle. Export it Click Export in the purple bar, then Export in the window. Print it standing on its two feet.
Why sketch the circle on the Top plane?#
A sweep carries its profile along the path from the end nearest to it, so the profile has to sit at the start of the path, facing along it. The path leaves the origin going straight up, and the Top plane lies flat across it right there, so a circle on Top at the origin is exactly square to the start. Sweep has more on placing profiles.
Why do the arc and legs need Tangent?#
Tangent makes the arc leave each leg in exactly the same direction, so the handle bends smoothly with no kink. With both legs standing straight up and the arc tangent to both, the tops of the legs must be level and the arc must be a half circle, which is why one 2 inch dimension sizes the whole curve.
Tip: Make it your own
Click the little arrow next to Sweep 1 to see its two sketches. Double-click Sketch 1 and change the 2 to 3 for a wider handle, or double-click Sketch 2 and make the circle 1/4 for a slimmer one. The sweep follows every change. For a handle that bolts on, sketch a small plate on the Top plane under each foot and extrude it with Add.
You made your first sweep. Next, try a funnel with Loft!