
Tutorials
Cut a Slot Through a Plate
A slot is a long hole with round ends, so a screw can slide before you tighten it. In the True Robotics Design Playground you draw it on the plate's top face with two straight lines and two 3 point arcs, make the arcs tangent so the ends are smooth, size it with dimensions, and cut it all the way through with Cut.
Read what happens in this video
On the plate's top face we draw two level lines, then join their ends with two 3 point arcs. Tangent constraints make each arc meet the lines smoothly, and a 1/4 inch dimension sets the width, turning the ends into half circles. Shift+C opens Cut, already set to Remove and Through all, and Enter cuts the slot out of the plate.
The steps in the video:
- Press L, click to start the top line, point right, type 1 1/4 and press Enter. Press Esc.
- Press L again. Draw the bottom line just below, ending under the top line's end. Press Esc.
- Press A for the 3 point arc. Click the right ends of both lines, then click to the right.
- Click the left ends of both lines, then click to the left for the second arc. Press Esc.
- Click the right arc, Shift + click the top line, and press T for Tangent.
- Do the same for the right arc and the bottom line, then for the left arc and each line.
- Press D. Click both lines, place the label, type 1/4 and press Enter.
- Press Esc and F, then press Enter to finish the sketch.
- Press Shift + C for Cut. It is set to Remove and Through all, so press Enter.
- Click Home under the view cube and press F to see the slot.
You will learn: sketching on a face, the 3 point arc, the Tangent constraint, distances between lines, and cutting all the way through with Cut. Time: about 15 minutes.
How do I cut a slot?#
Make a plate Click New Project, then Standard. Click Yes, autosave and save the file as
Slot Plate. Click Top in the list on the left, click Sketch, press G, click the origin, type2 1/2, Tab,1 1/4, Enter, and press Enter again to finish. Press Shift+E, type1/8and press Enter.Sketch on the top face Click the top face of the plate so it turns purple, then click Sketch. The view turns to look straight down at the face.
Draw the top line Press L. Click a point about a quarter of the way in from the left edge, a little above the middle of the plate. Point straight to the right until the level icon shows, type
1 1/4and press Enter. Press Esc.Draw the bottom line Press L again. Click a point straight below the start of the first line, a little lower than the middle of the plate; a dashed guide shows when you are lined up. Point straight to the right until the level icon shows, and click below the end of the first line. Press Esc.
Add the rounded ends Press A for the 3 point arc. Click the right end of the top line, click the right end of the bottom line, then click a point a little to the right to bend the arc outward. Do the same on the left side, bending the arc to the left. Press Esc.
Make the ends smooth Click the middle of the right arc, hold Shift, click the top line and press T for Tangent. Repeat for the right arc and the bottom line, the left arc and the top line, and the left arc and the bottom line.
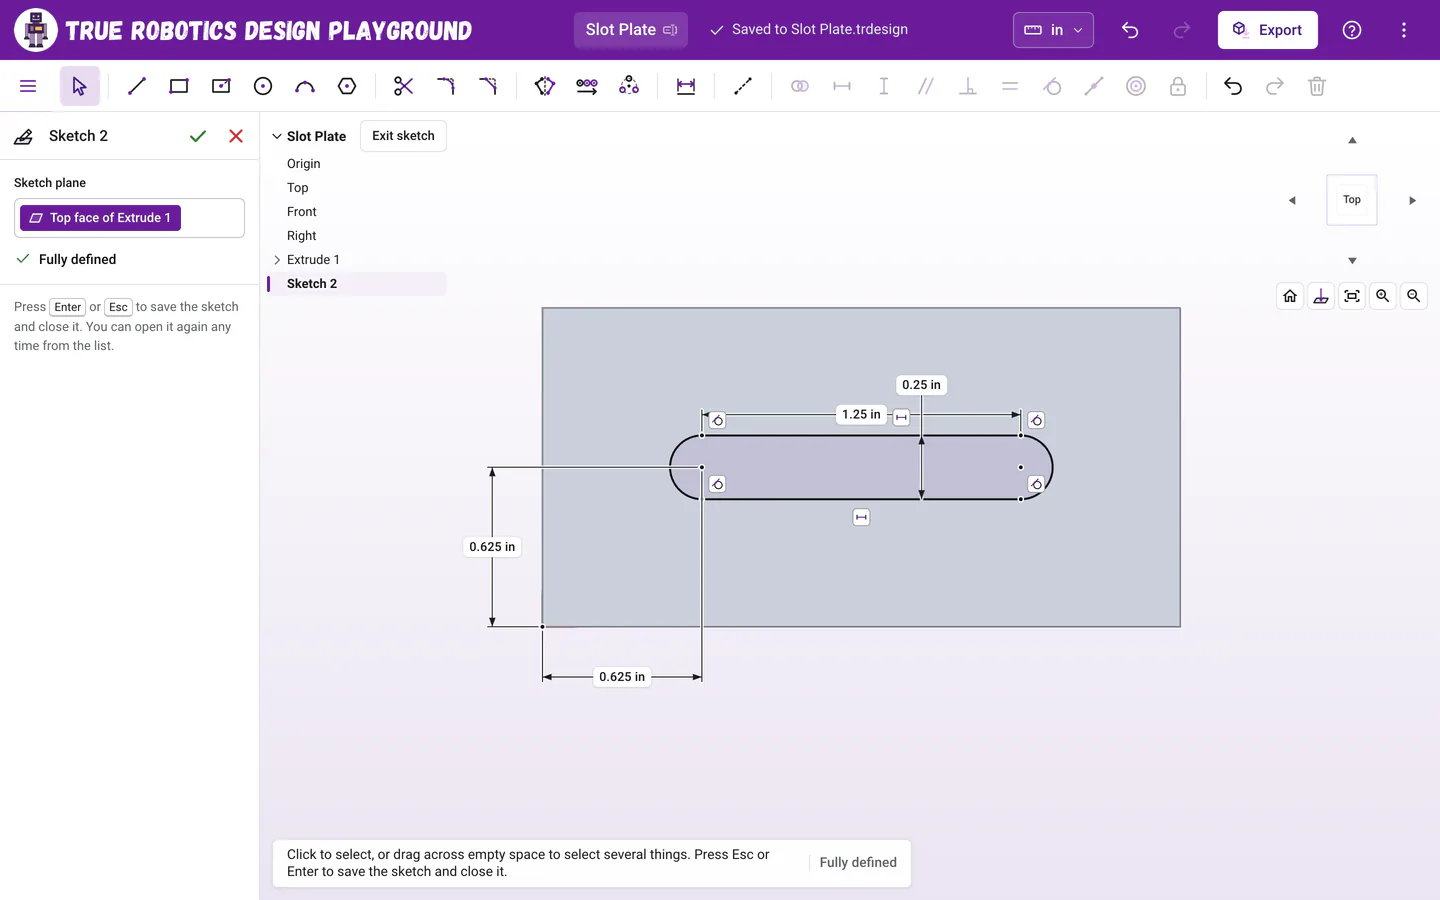
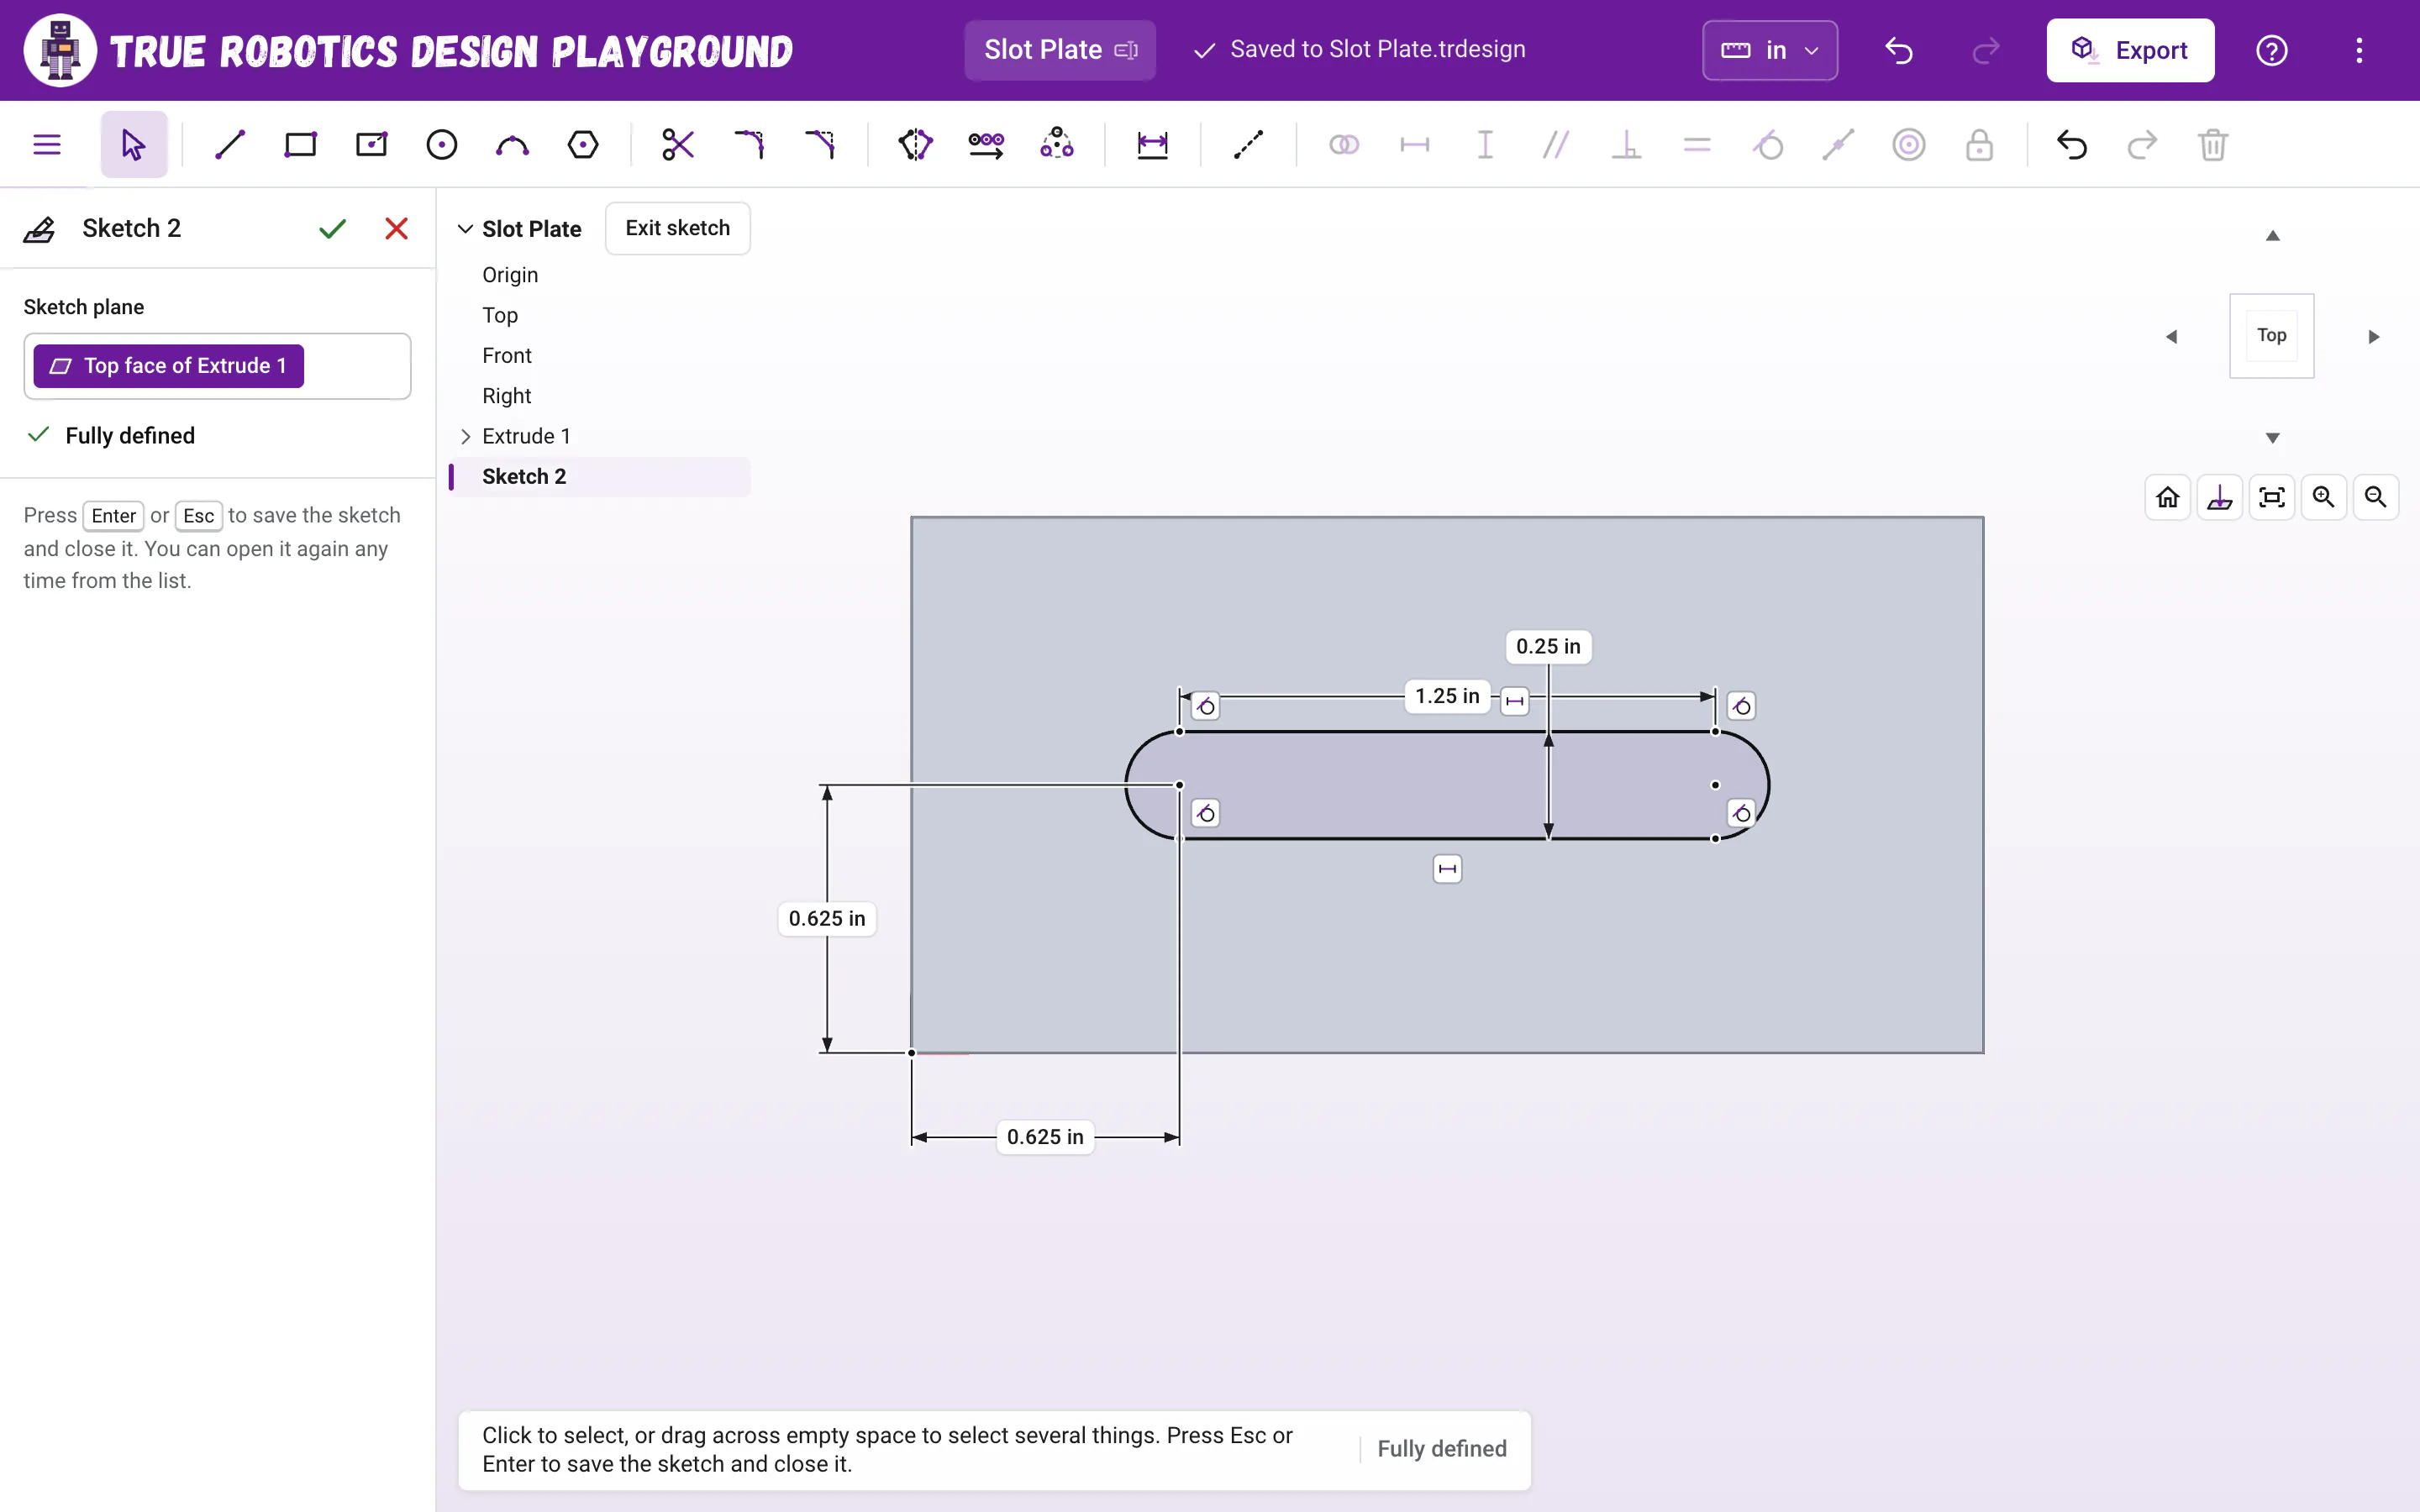
Two lines, two arcs and four tangents make a smooth slot. Set the slot width Press D, click the top line, click the bottom line, click beside the slot to place the label, type
1/4and press Enter. The arcs become perfect half circles.Place the slot With D still on, click the origin at the plate's corner and then the left arc. Place the label just below the plate's front edge, between the corner and the slot, type
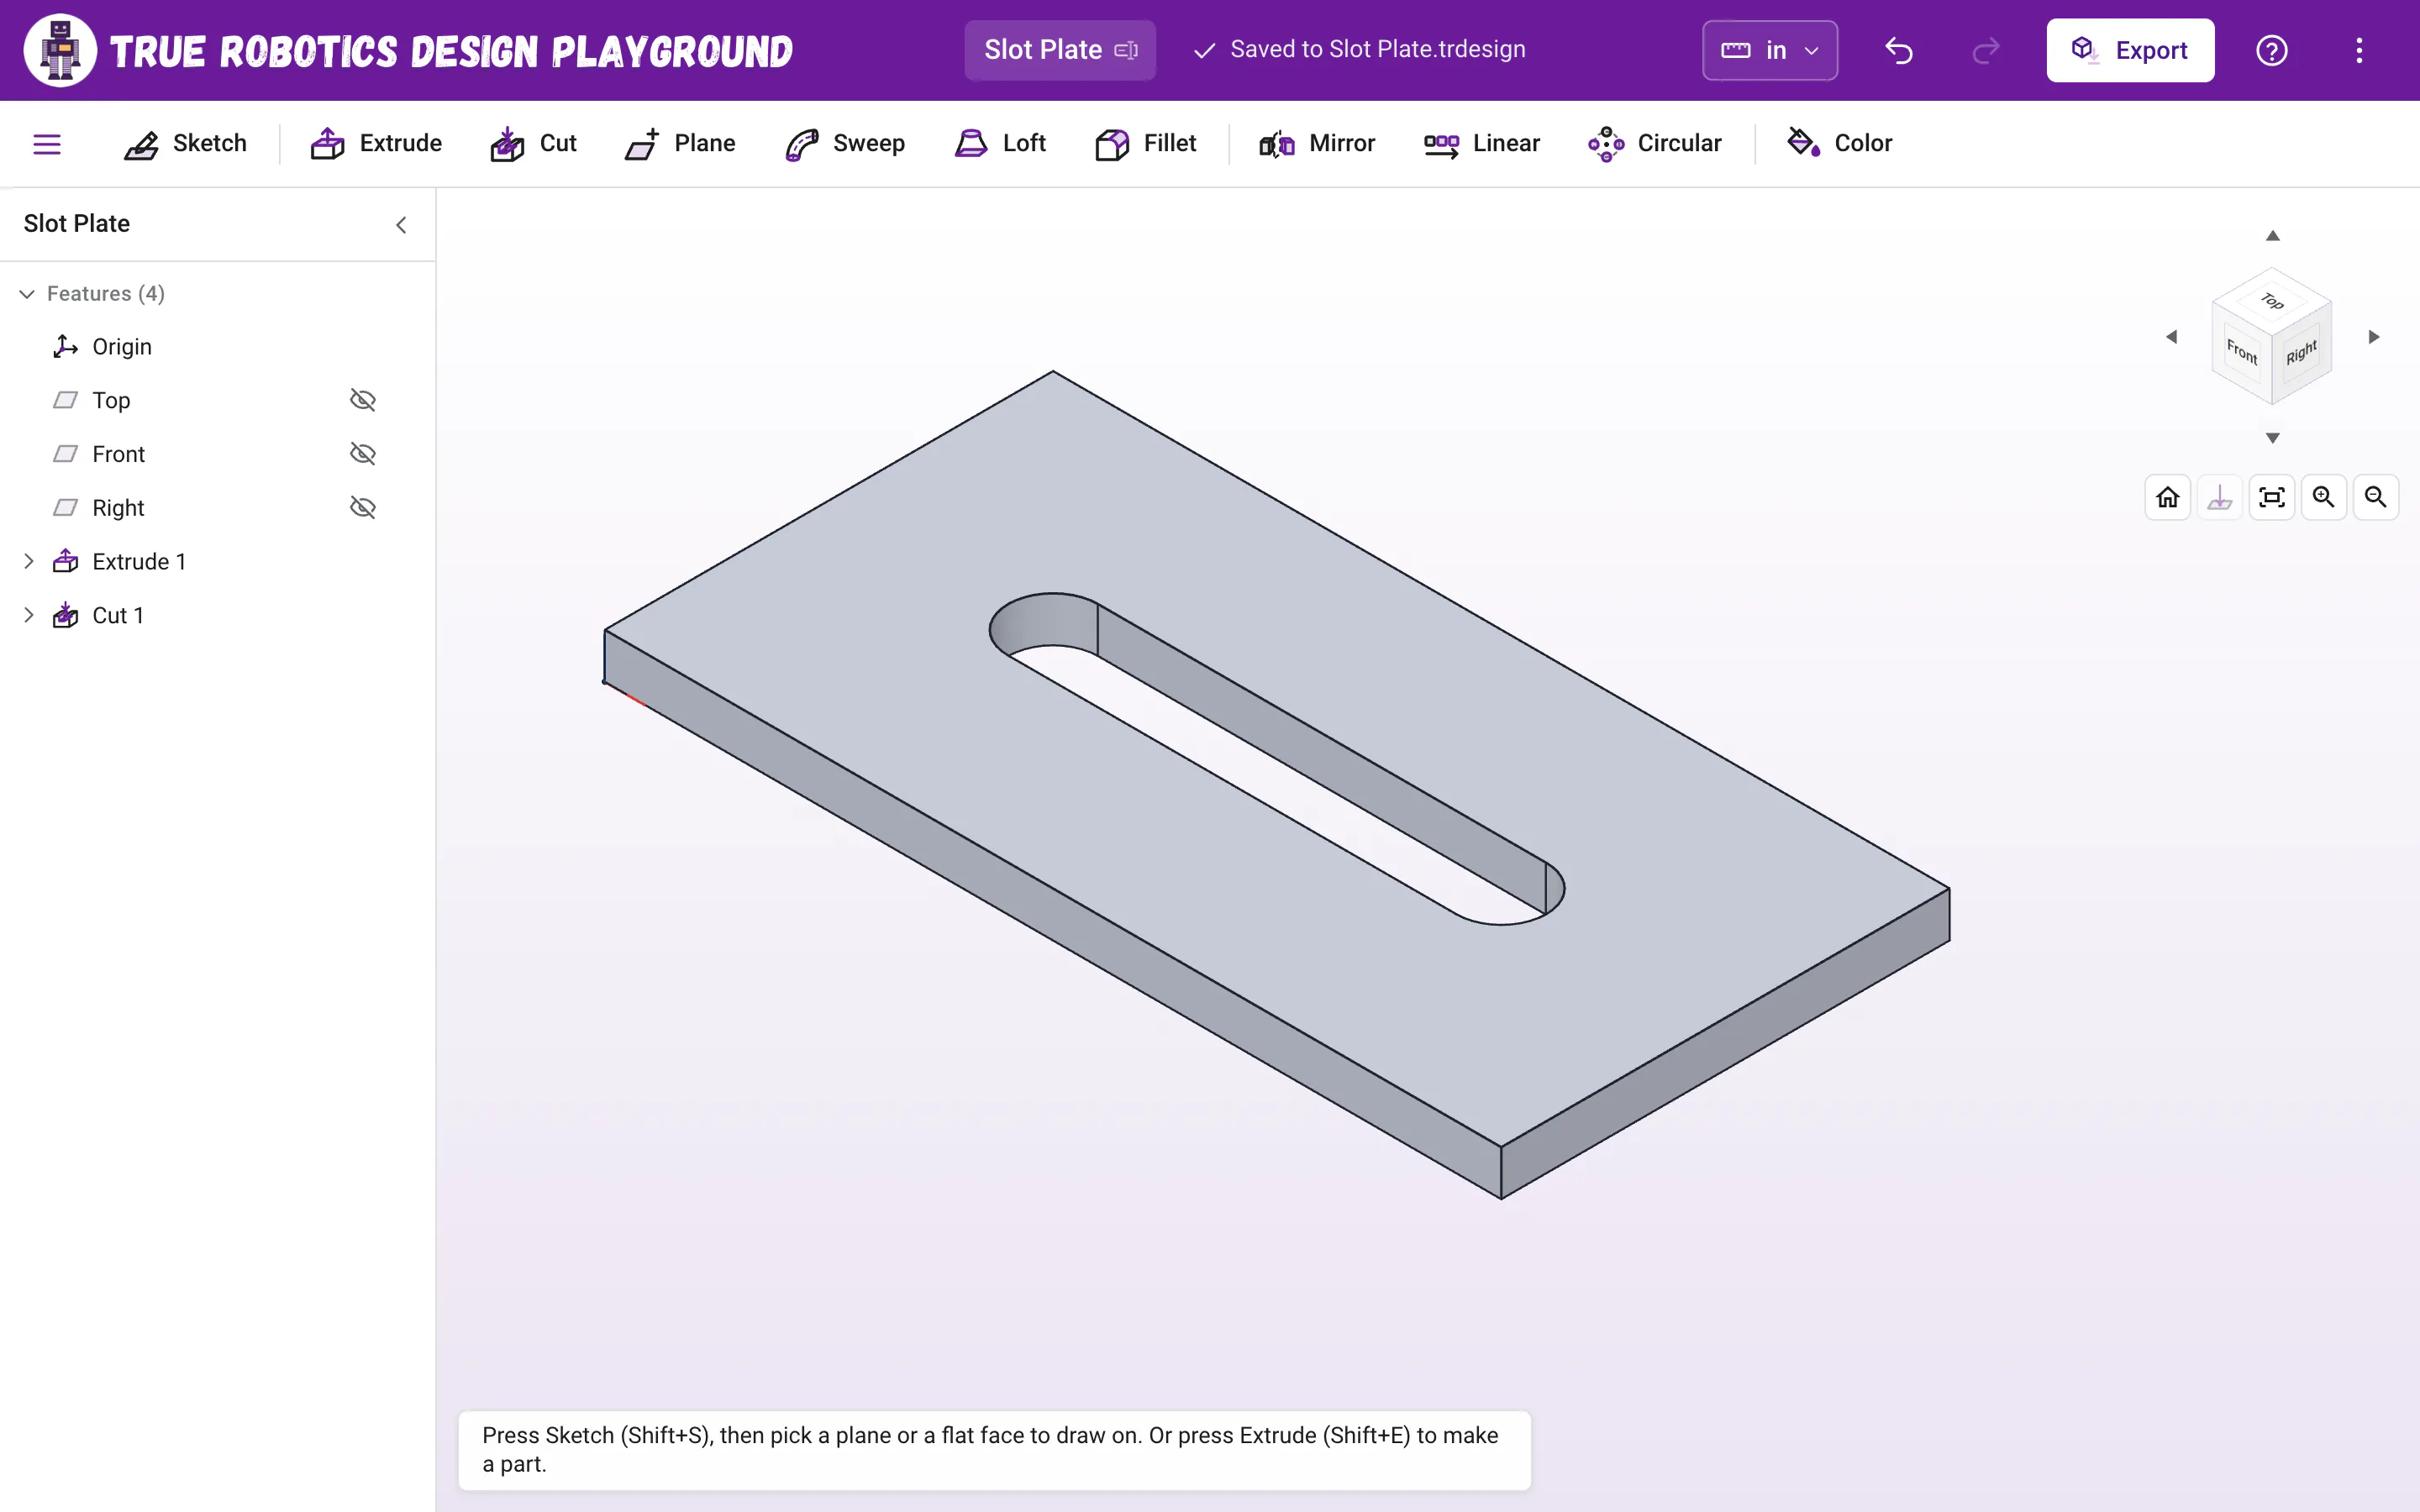
5/8and press Enter. Do it again, placing the label just left of the plate's left edge, between the corner and the slot, and type5/8. Dimensions to an arc measure to its center, so the slot's left end is now centered 5/8 inch from both edges. The sketch turns black, and the hint bar at the bottom says Fully defined.Cut the slot Press Enter to finish the sketch, then press Shift+C for Cut. It opens already set to Remove and Through all, with your slot picked, so just press Enter. The slot goes all the way through.
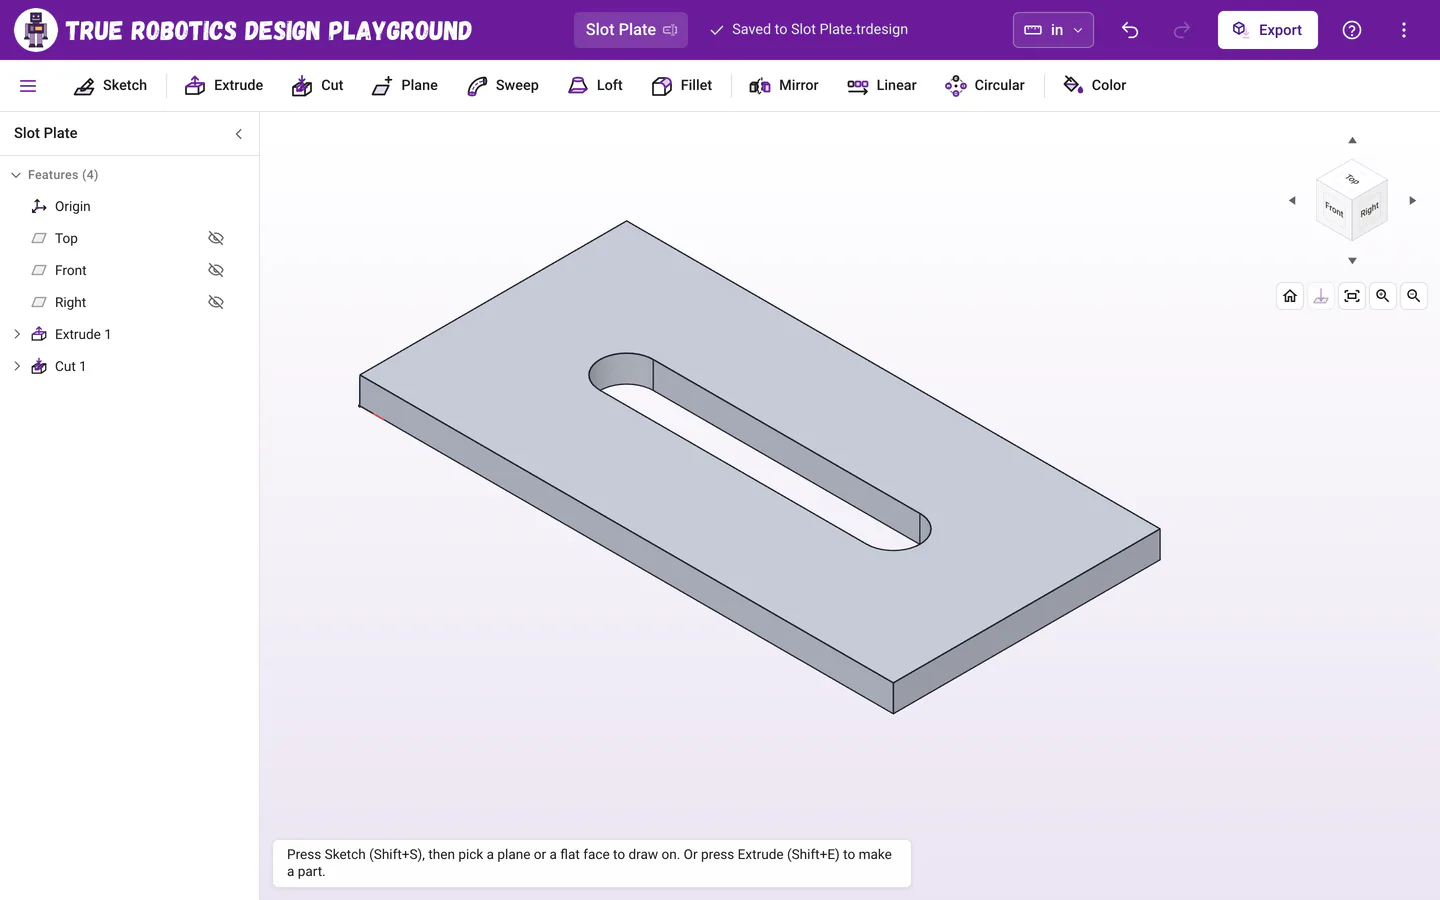
The slot goes all the way through, ready for a screw.
Why do the arcs need Tangent?#
Tangent makes each arc leave the line in exactly the same direction, so there is no bump where they meet. With both lines level and all four ends tangent, each arc has to be a perfect half circle, and its radius is half the slot width. That is why one 1/4 inch dimension sets both rounded ends.
What if a message pops up?#
If you see That's already set by your other dimensions and constraints., the rule you added is already true, so nothing changed and you can keep going. If you see That would fight with your other dimensions., press Ctrl+Z to step back and check that both lines snapped level.
Tip: Slots make parts adjustable
A screw in a slot can slide before you tighten it, which is perfect for a sensor mount you want to aim or a belt you need to tighten. Make the slot a little wider than your screw. Our 1/4 inch slot fits a #10 or M5 screw; for a small #4 or M3 screw, try 5/32 or 3.4 mm.
Great work! You have used arcs and tangents like a pro. Finish the set with the L bracket.