
Building parts
The Feature Tree
The feature tree on the left of the True Robotics Design Playground lists everything you have made, in order: the origin, the Top, Front and Right planes, then each feature. A sketch tucks in under the feature that uses it. Double-click a feature to edit it, use the three dots or a right-click to rename, suppress or delete, and click an eye to hide things.
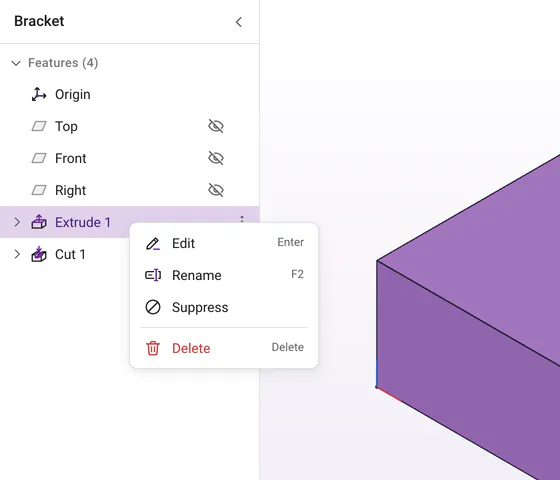
What is in the feature tree?#
- Your project name at the top, with an arrow on the right that folds the whole panel away.
- Features, with a count, like Features (4): the Origin, the Top, Front and Right planes, then every extrude, cut, revolve, loft, sweep, fillet, plane, axis, mirror, pattern and color in the order you made them, each with its own icon. Any extrude set to Remove shows the cut icon, a chamfer shows the chamfer icon, and a color shows a paint bucket.
- Sketches under their features. Once a feature uses a sketch, the sketch tucks in under the first feature that uses it, folded away. Click the little arrow next to the feature to see it. A sketch nothing uses yet stays at the top level, so it is easy to find.
- Click the Features heading to fold it closed or open it again.
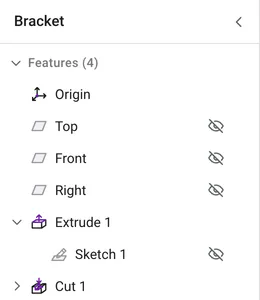
Point at a row and its geometry lights up in the view. Point at a face in the view and the row of the feature that made it is marked in the tree. Click a row to select it, and hold Shift, Ctrl or Cmd to select more than one. A sketch you select in the view, or one you are editing, comes out from under its feature so you can see it.
Where are my parts?#
Right on the model. The tree lists features only, so a long project stays short and readable. Point at any face to see which feature made it, and pick which parts to save in the Export window, which lists every part with its size. To get rid of a part, delete or suppress the feature that made it.
How do I edit a feature?#
Double-click it, or choose Edit from its menu, or select it and press Enter. Its options open in the left panel just as you left them, and the tree moves into the top left corner of the view. You can also double-click a face a feature made, or a plane you made, right in the view. While you edit, the model steps back to just before that feature, and every feature after it is dimmed. When you click the green check, everything after it rebuilds with your change.
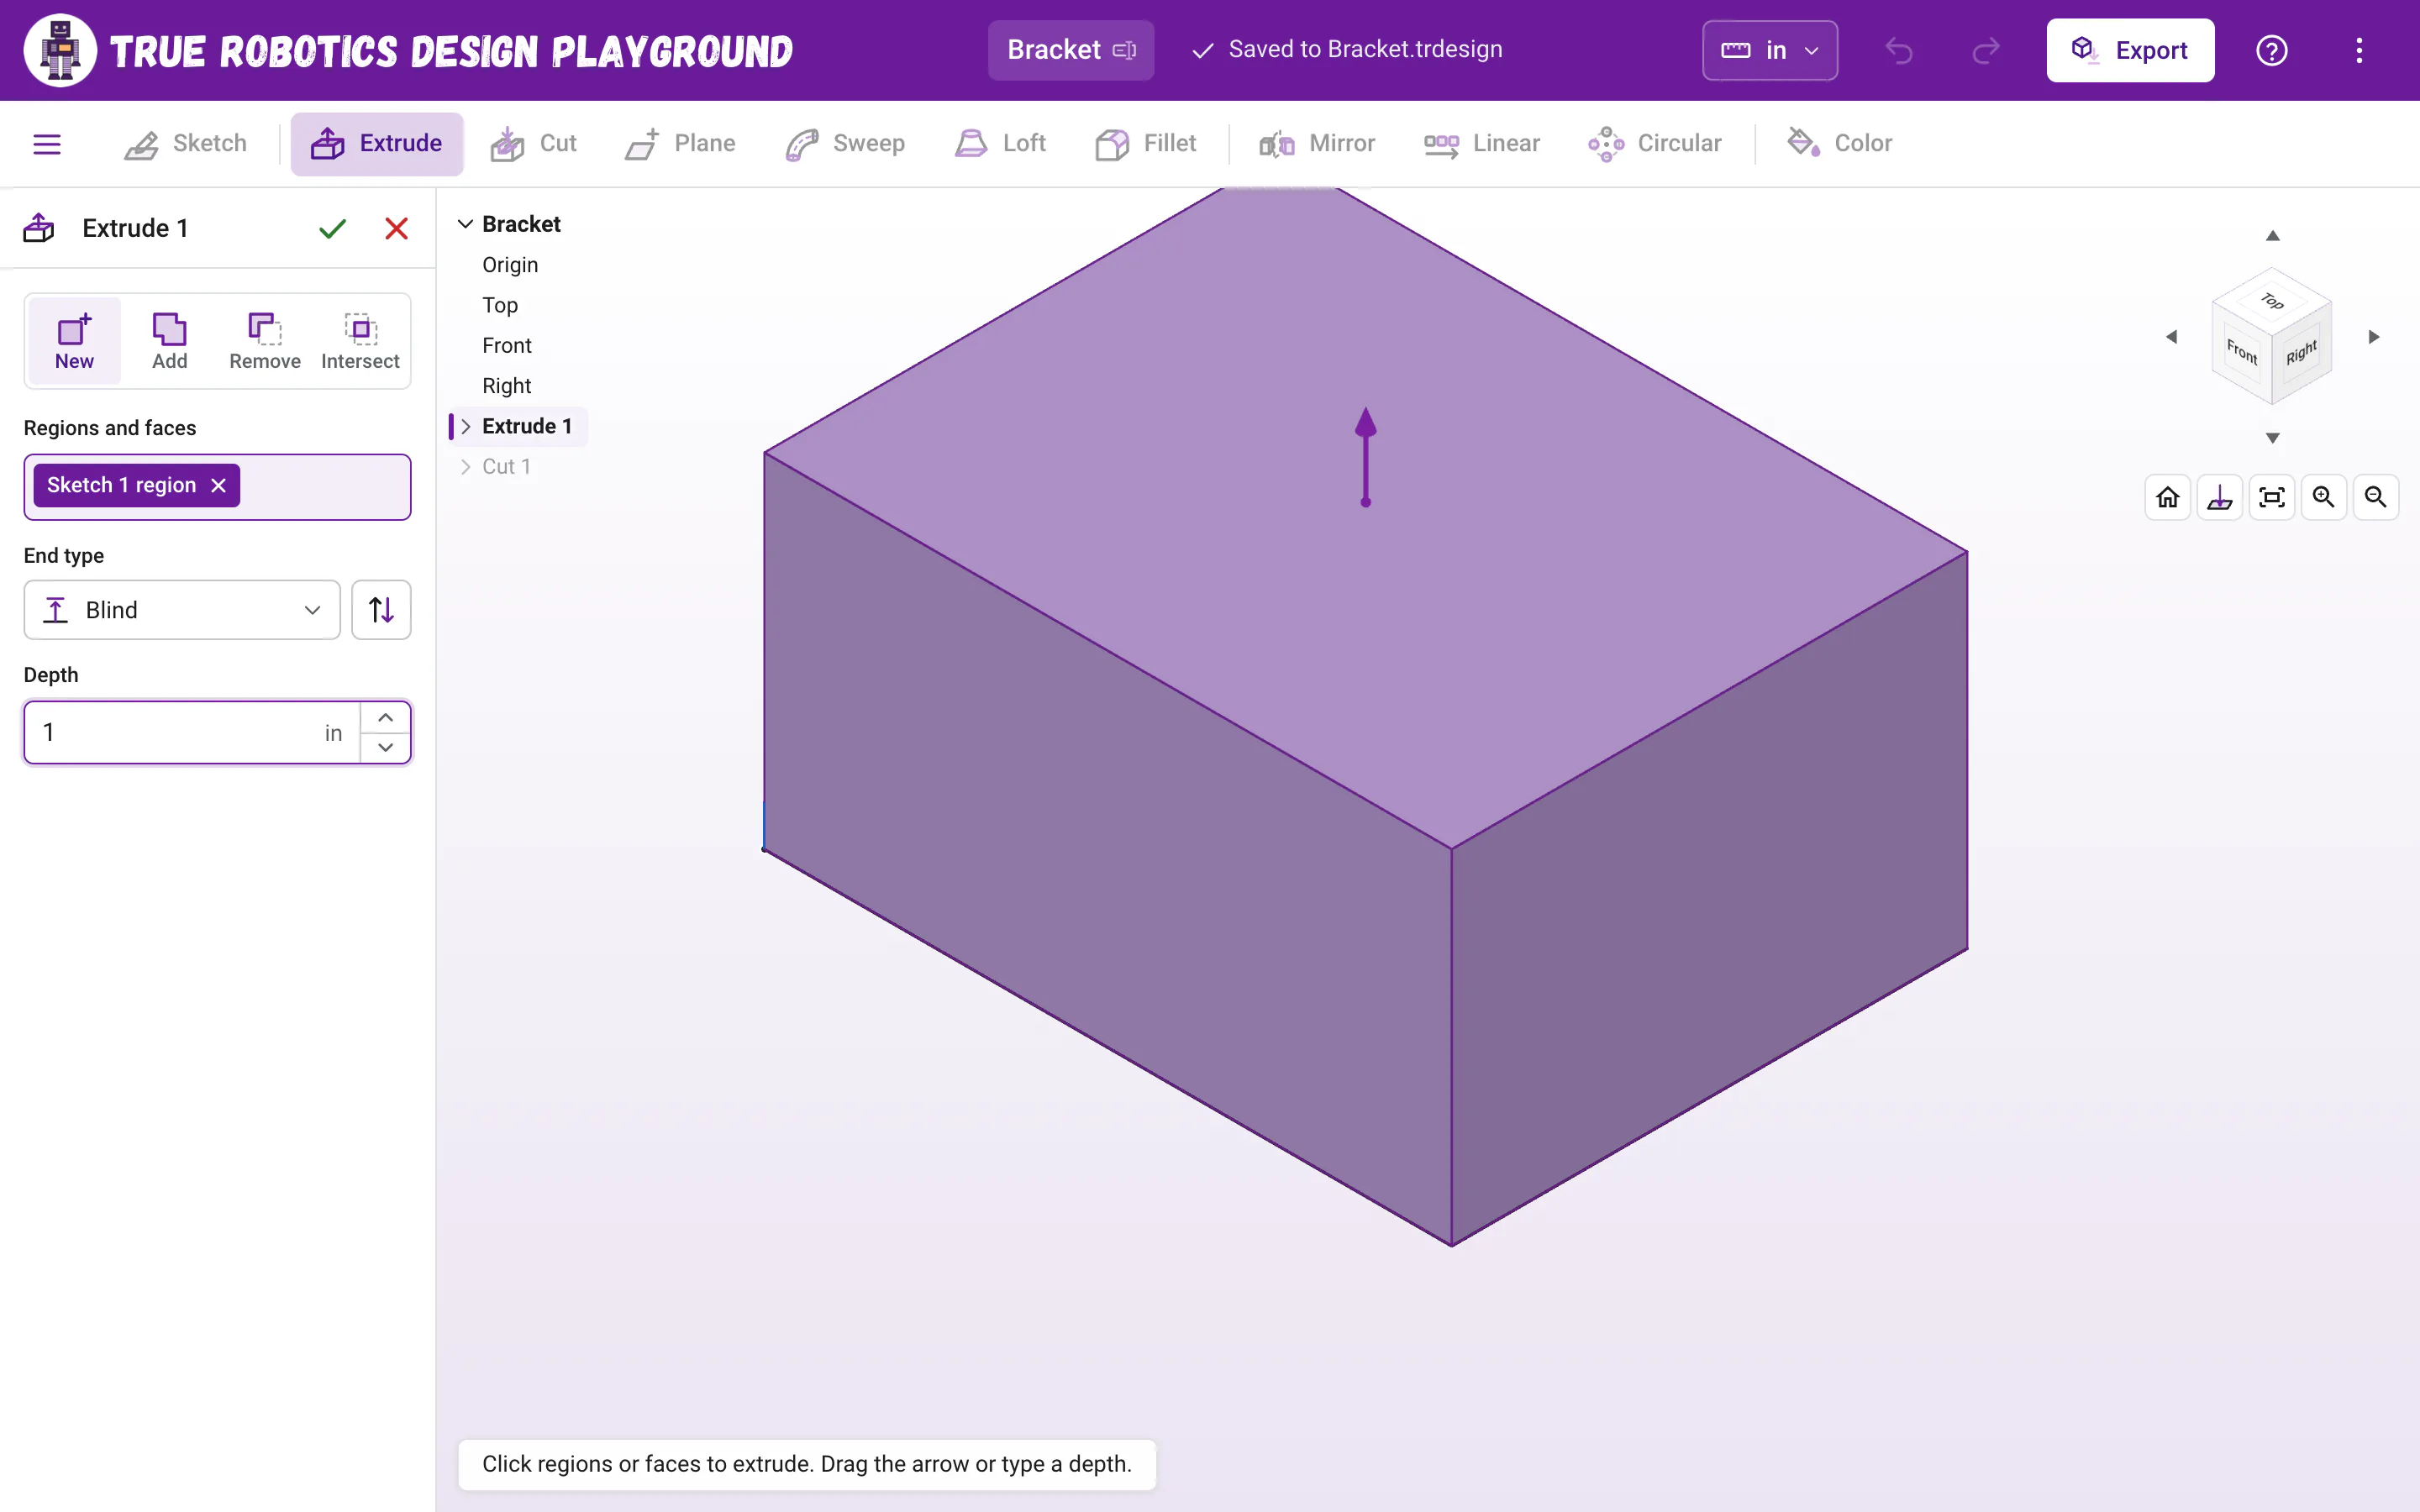
Read what happens in this video
We double-click Extrude 1 in the feature tree, and the features after it dim while we edit. Typing 1 makes the block twice as tall. When we press Enter, the hole is cut again after the taller block, so it still goes all the way through.
The steps in the video:
- Double click Extrude 1 in the feature tree. Later features dim while you edit.
- Type 1 for the new depth. The preview grows taller.
- Press Enter. The hole is cut again, all the way through.
- Click Home under the view cube and press F to zoom to fit.
To change the shape a feature was built from, open the arrow next to the feature and double-click the sketch under it. Finish the sketch, and the feature rebuilds to match.
How do I rename a feature?#
Select the row and press F2, or choose Rename from its menu. Type the new name and press Enter, or Esc to keep the old one. You can also rename a feature while it is open, by clicking its name at the top of the left panel. Good names like Base plate and Screw holes make a long history easy to read.
How do I hide and show things?#
Click the eye on a plane, an axis or a sketch to hide it, and click again to show it. With the row selected, Space does the same. What you hide and show is saved with your project, and undo brings it back. Top, Front and Right start hidden in a new project and appear on their own whenever you need to pick one; click an eye to keep one showing. See Planes.
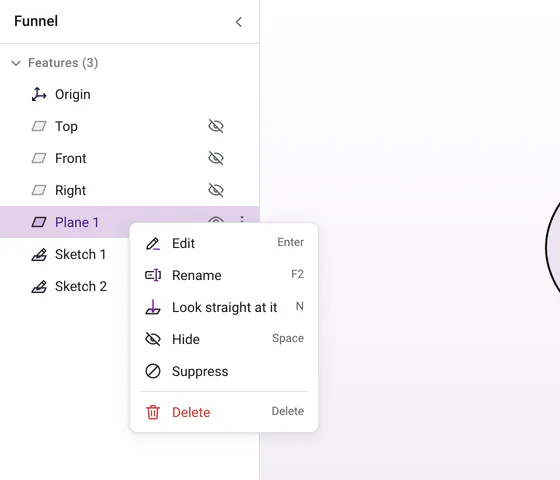
Planes and sketches also have Look straight at it in their menu. It turns the view to face them, just like selecting the row and pressing N.
What does Suppress do?#
Suppress turns a feature off without deleting it. Its name shows crossed out, the app skips it, and everything after it rebuilds as if it were not there. Choose Unsuppress from the same menu to turn it back on. It is a great way to try an idea, like seeing a plate with and without its pattern of holes.
How do I delete a feature?#
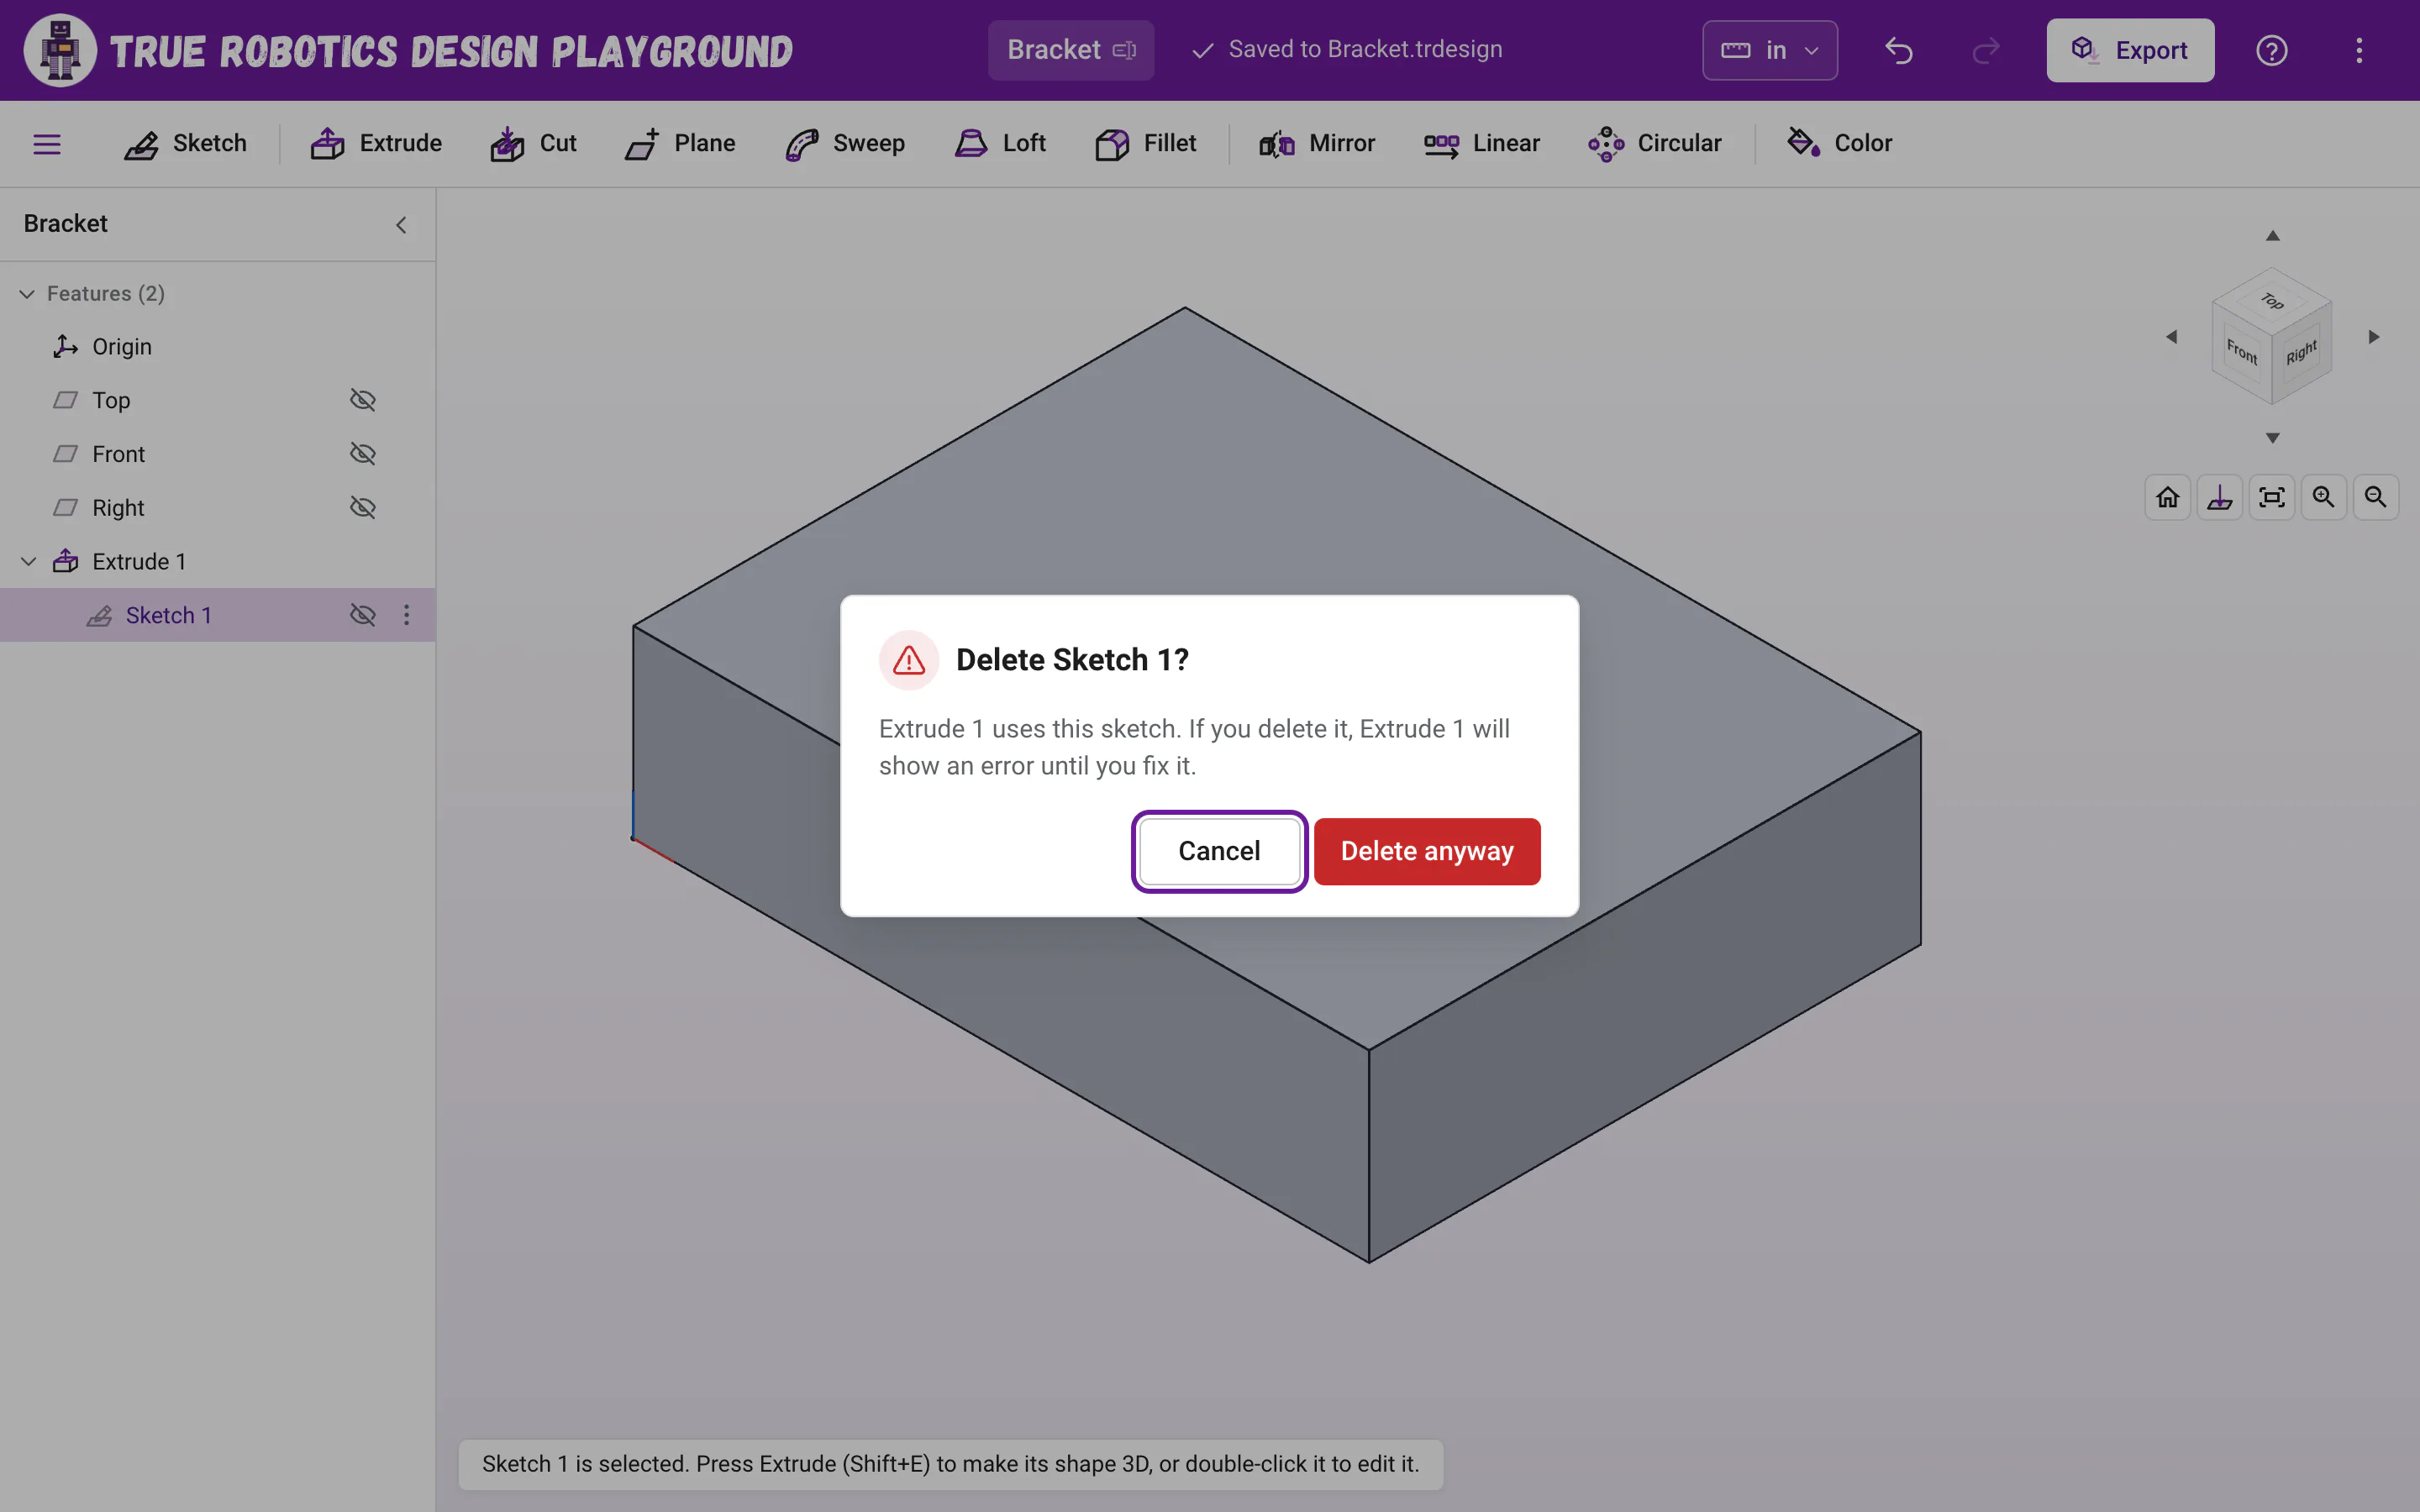
Select it and press Delete (or Backspace on a Chromebook), or choose Delete from its menu. If later features use it, the app asks first, for example Delete Sketch 1? with Extrude 1 uses this sketch. If you delete it, Extrude 1 will show an error until you fix it. Choose Delete anyway or Cancel. Either way, Ctrl+Z brings it back.
What do the warning and error icons mean?#
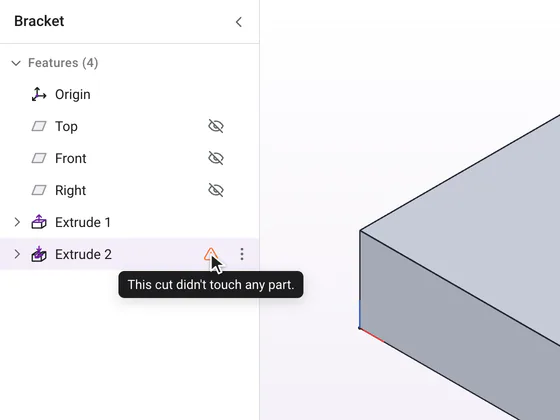
An orange warning icon or a red error icon on a feature means it could not build the way it was set up. Point at the icon to read why, like This cut didn't touch any part. or The copies do not touch the part. Then double-click the feature to fix it. Later features keep building, so one problem never breaks your whole project.
How do I pick from the tree for an open feature?#
While a feature is open, the tree sits in the top left corner of the view as a short list of names, and a click on a row fills the box that waits for a pick: a plane row for a Sketch, a Plane or a Mirror plane, a sketch row for Extrude, Cut, Revolve, Sweep or Loft (it adds the sketch's regions, or its path for a sweep), an axis row for the axis of a Revolve or a pattern, or a feature row for what a Mirror or pattern copies. Click the project name at the top of that list to fold it out of your way. With the keyboard, the arrow keys only move through the rows while a box waits, so nothing gets picked by accident, and Enter picks the row you are on. Screen readers hear Press Enter to pick it for the open dialog.
Can I use the tree with the keyboard?#
| Keys | What it does |
|---|---|
| Up or Down | Move through the rows (selection follows) |
| Home or End | Jump to the first or last row |
| Right | Open the Features heading, or a feature with a sketch under it, then step onto its first row |
| Left | Close it again, or step back up to the row it sits under |
| Enter | Edit the feature |
| F2 | Rename |
| Space | Hide or show |
| Delete or Backspace | Delete the feature |
| Shift+F10 | Open the row's menu |
Press Tab until the tree has focus, then use the arrows. On a touch screen, tap the three dots on a row for its menu.
How do I hide the whole tree?#
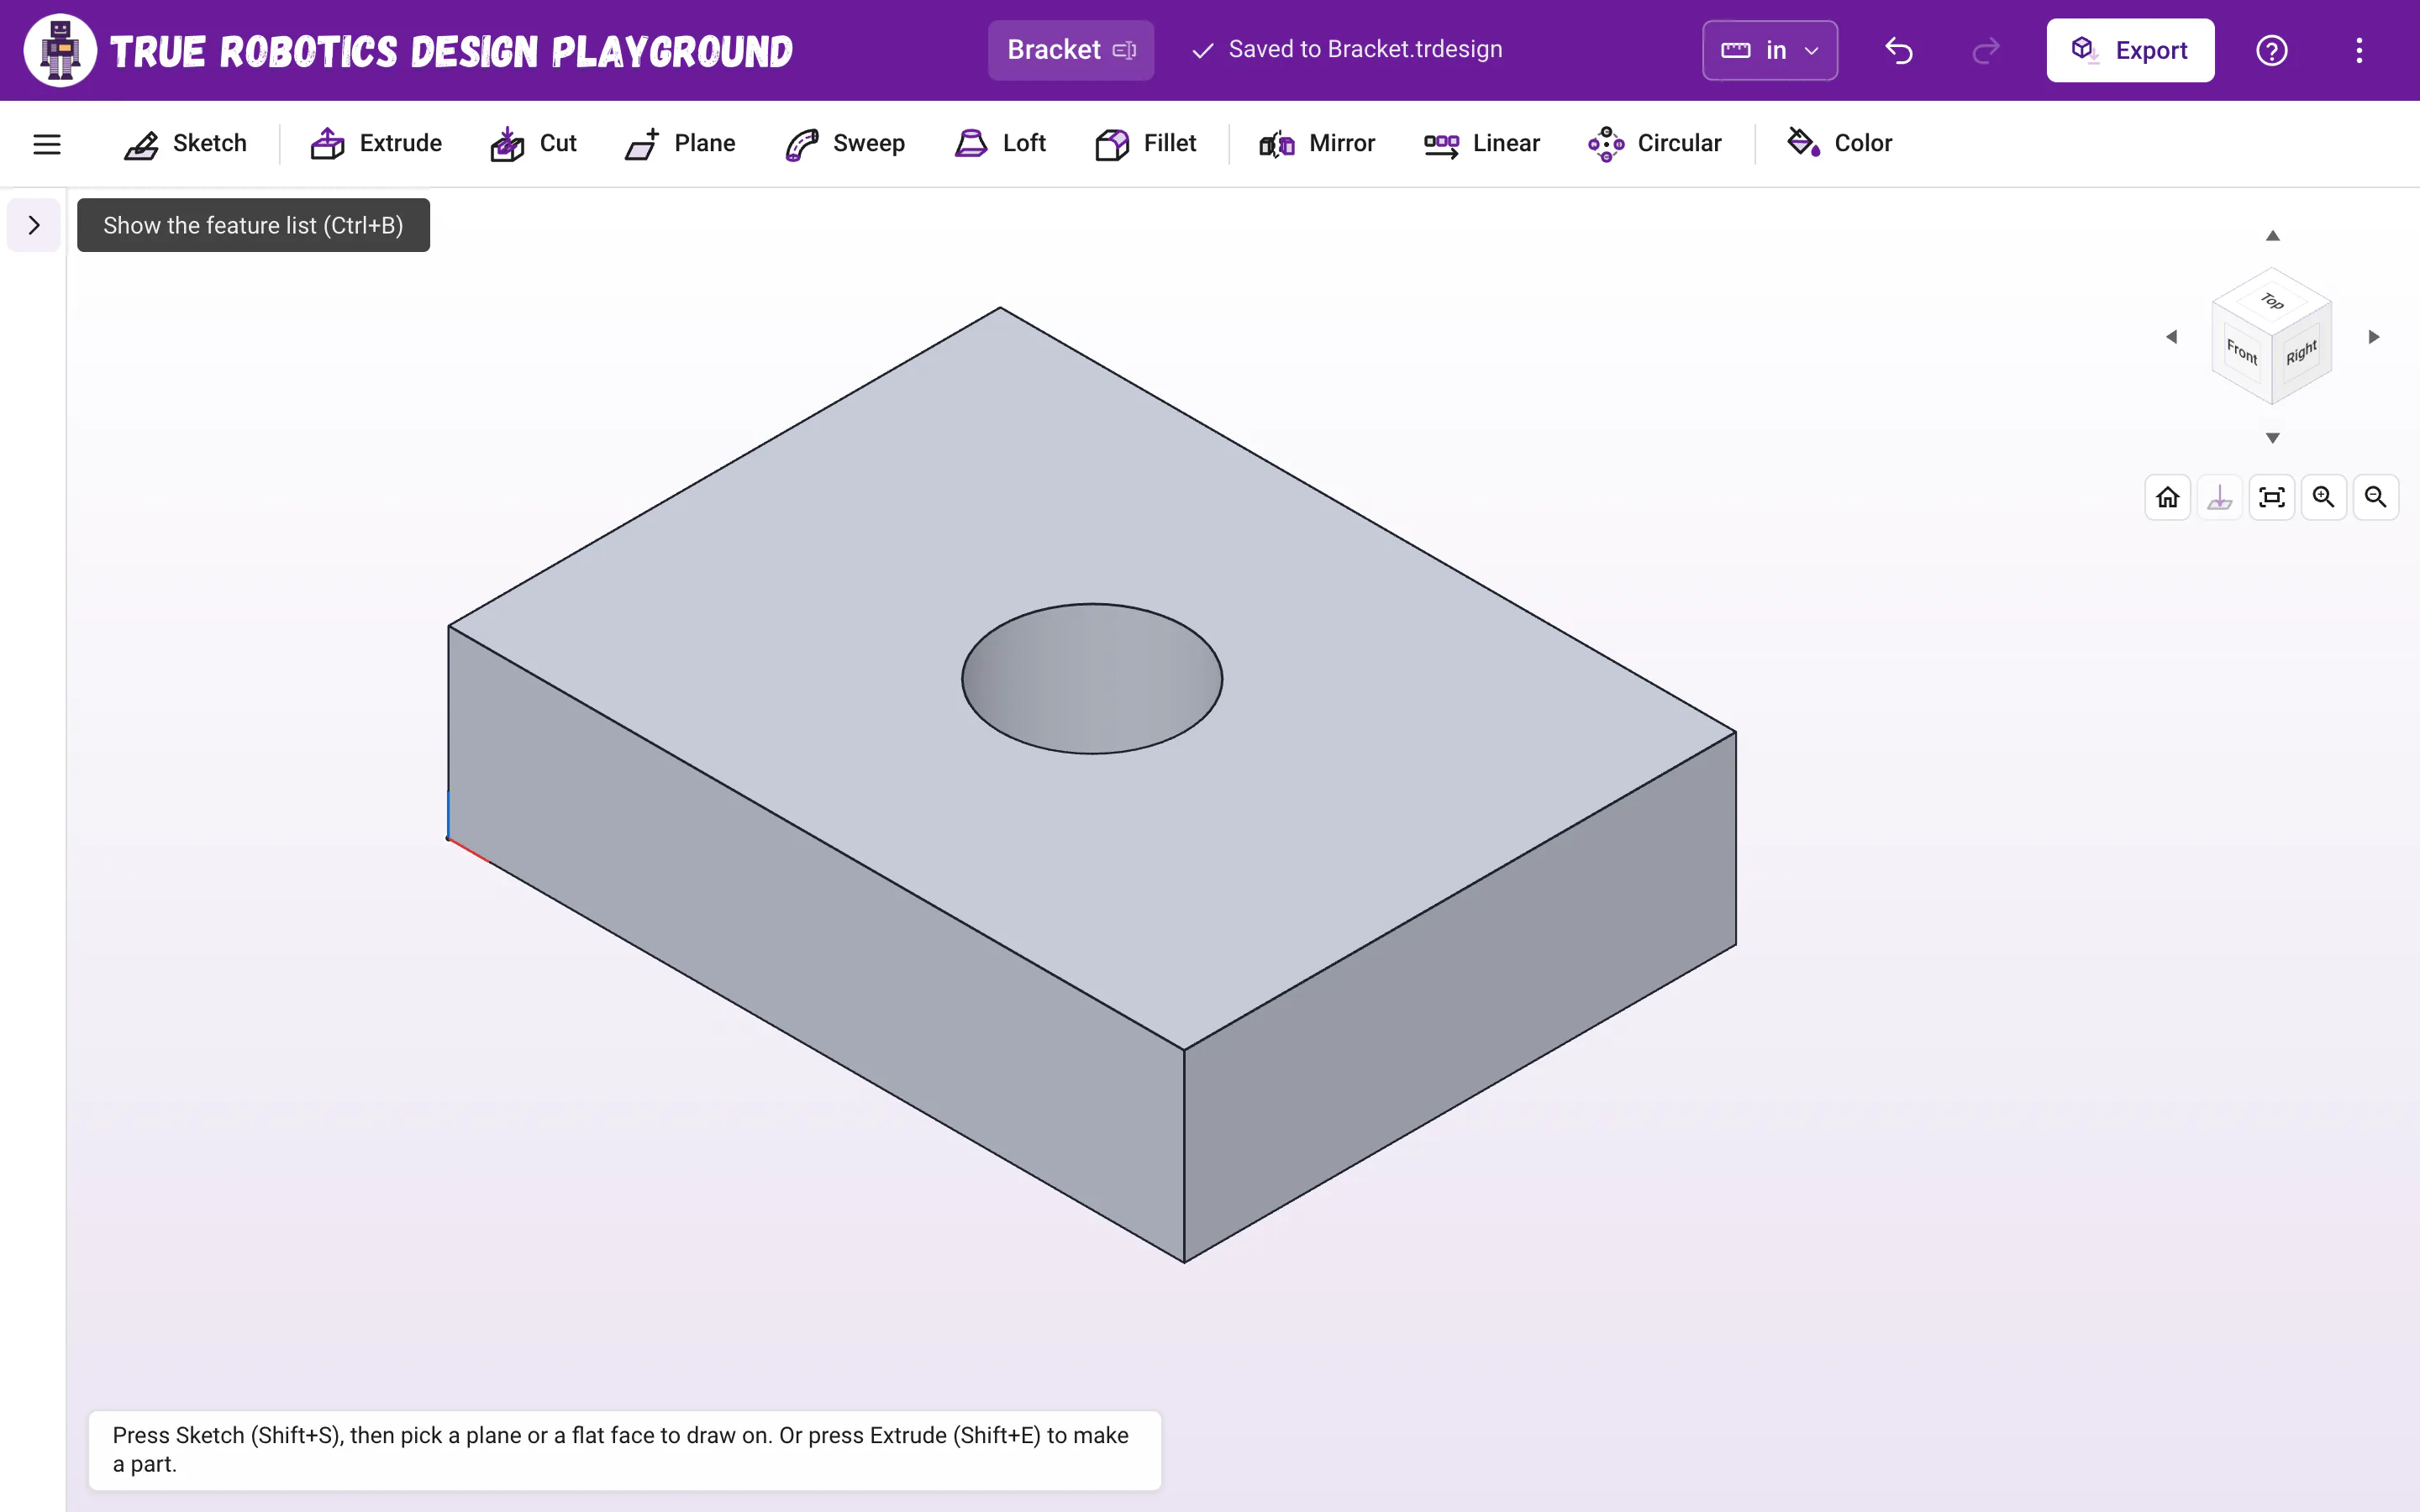
Press Ctrl+B (Cmd+B on a Mac), or click the arrow next to your project name. The panel folds to a thin strip with a button to bring it back, the view gets the room, and your browser remembers your choice. On phones and screens narrower than about 900 pixels, the tree is a drawer that slides in over the view instead: tap the feature list button, the three short lines at the left end of the toolbar, to open it. That button only shows on those smaller screens.
A tidy tree makes a design easy to change later. Name your features as you go, and your future self will thank you!
Questions and answers#
Where did my sketch go in the feature tree?
Once a feature uses a sketch, the sketch tucks in under that feature. Click the little arrow next to the feature to see the sketch, and double-click it to edit.
Why is there no Parts list?
The tree lists features only, so it stays short. Your parts are right on the model, and the Export window lists every part with its size so you can pick which ones to save.
Can I turn a feature off without deleting it?
Yes. Choose Suppress from its menu. The feature is skipped and everything after it rebuilds without it. Choose Unsuppress to turn it back on.