
Tutorials
Draw a Square Four Ways
There are several ways to draw an exact square in the True Robotics Design Playground, and each one teaches a different tool. The fastest is the Corner rectangle: press G, click the origin, type 1, press Tab, type 1 and press Enter. You can also use a Center rectangle with an Equal constraint, a chain of typed lines, or a four sided polygon, then extrude it into a cube.
Read what happens in this video
In a sketch on the Top plane, we press G for the Corner rectangle and click the origin. We type 1, press Tab, type 1 and press Enter, and an exact 1 inch square appears in black. Enter finishes the sketch, Shift+E opens Extrude, and a depth of 1 turns the square into a cube.
The steps in the video:
- Press G for the Corner rectangle and click the origin.
- Move up and to the right, type 1, press Tab, type 1 and press Enter.
- Press Enter to finish the sketch.
- Press Shift + E to extrude, type 1 and press Enter.
- Click the Home button under the view cube, then press F to zoom to fit.
You will learn: the Corner rectangle, Center rectangle, Line and Polygon tools, typing sizes, the Equal and Horizontal constraints, the Dimension tool, and Extrude. Time: about 10 minutes.
Way 1: How do I draw a square with the Corner rectangle?#
Start a sketch on Top Click New Project, then Standard. Click Yes, autosave and save the file as
Square. Click Top in the feature tree on the left, then click Sketch (or press Shift+S).Pick the Corner rectangle Press G. The tool panel on the left says Rectangle and Click to place the first corner.
Click the origin Click the origin, the dot in the middle where the planes meet. Move the pointer up and to the right.
Type 1, Tab, 1, Enter Type
1, press Tab, type1and press Enter. You have an exact 1 inch square, and its lines are black because every size is set. The hint bar at the bottom says Fully defined.Finish the sketch Press Enter again to finish the sketch. The view turns back to 3D with your square already picked.
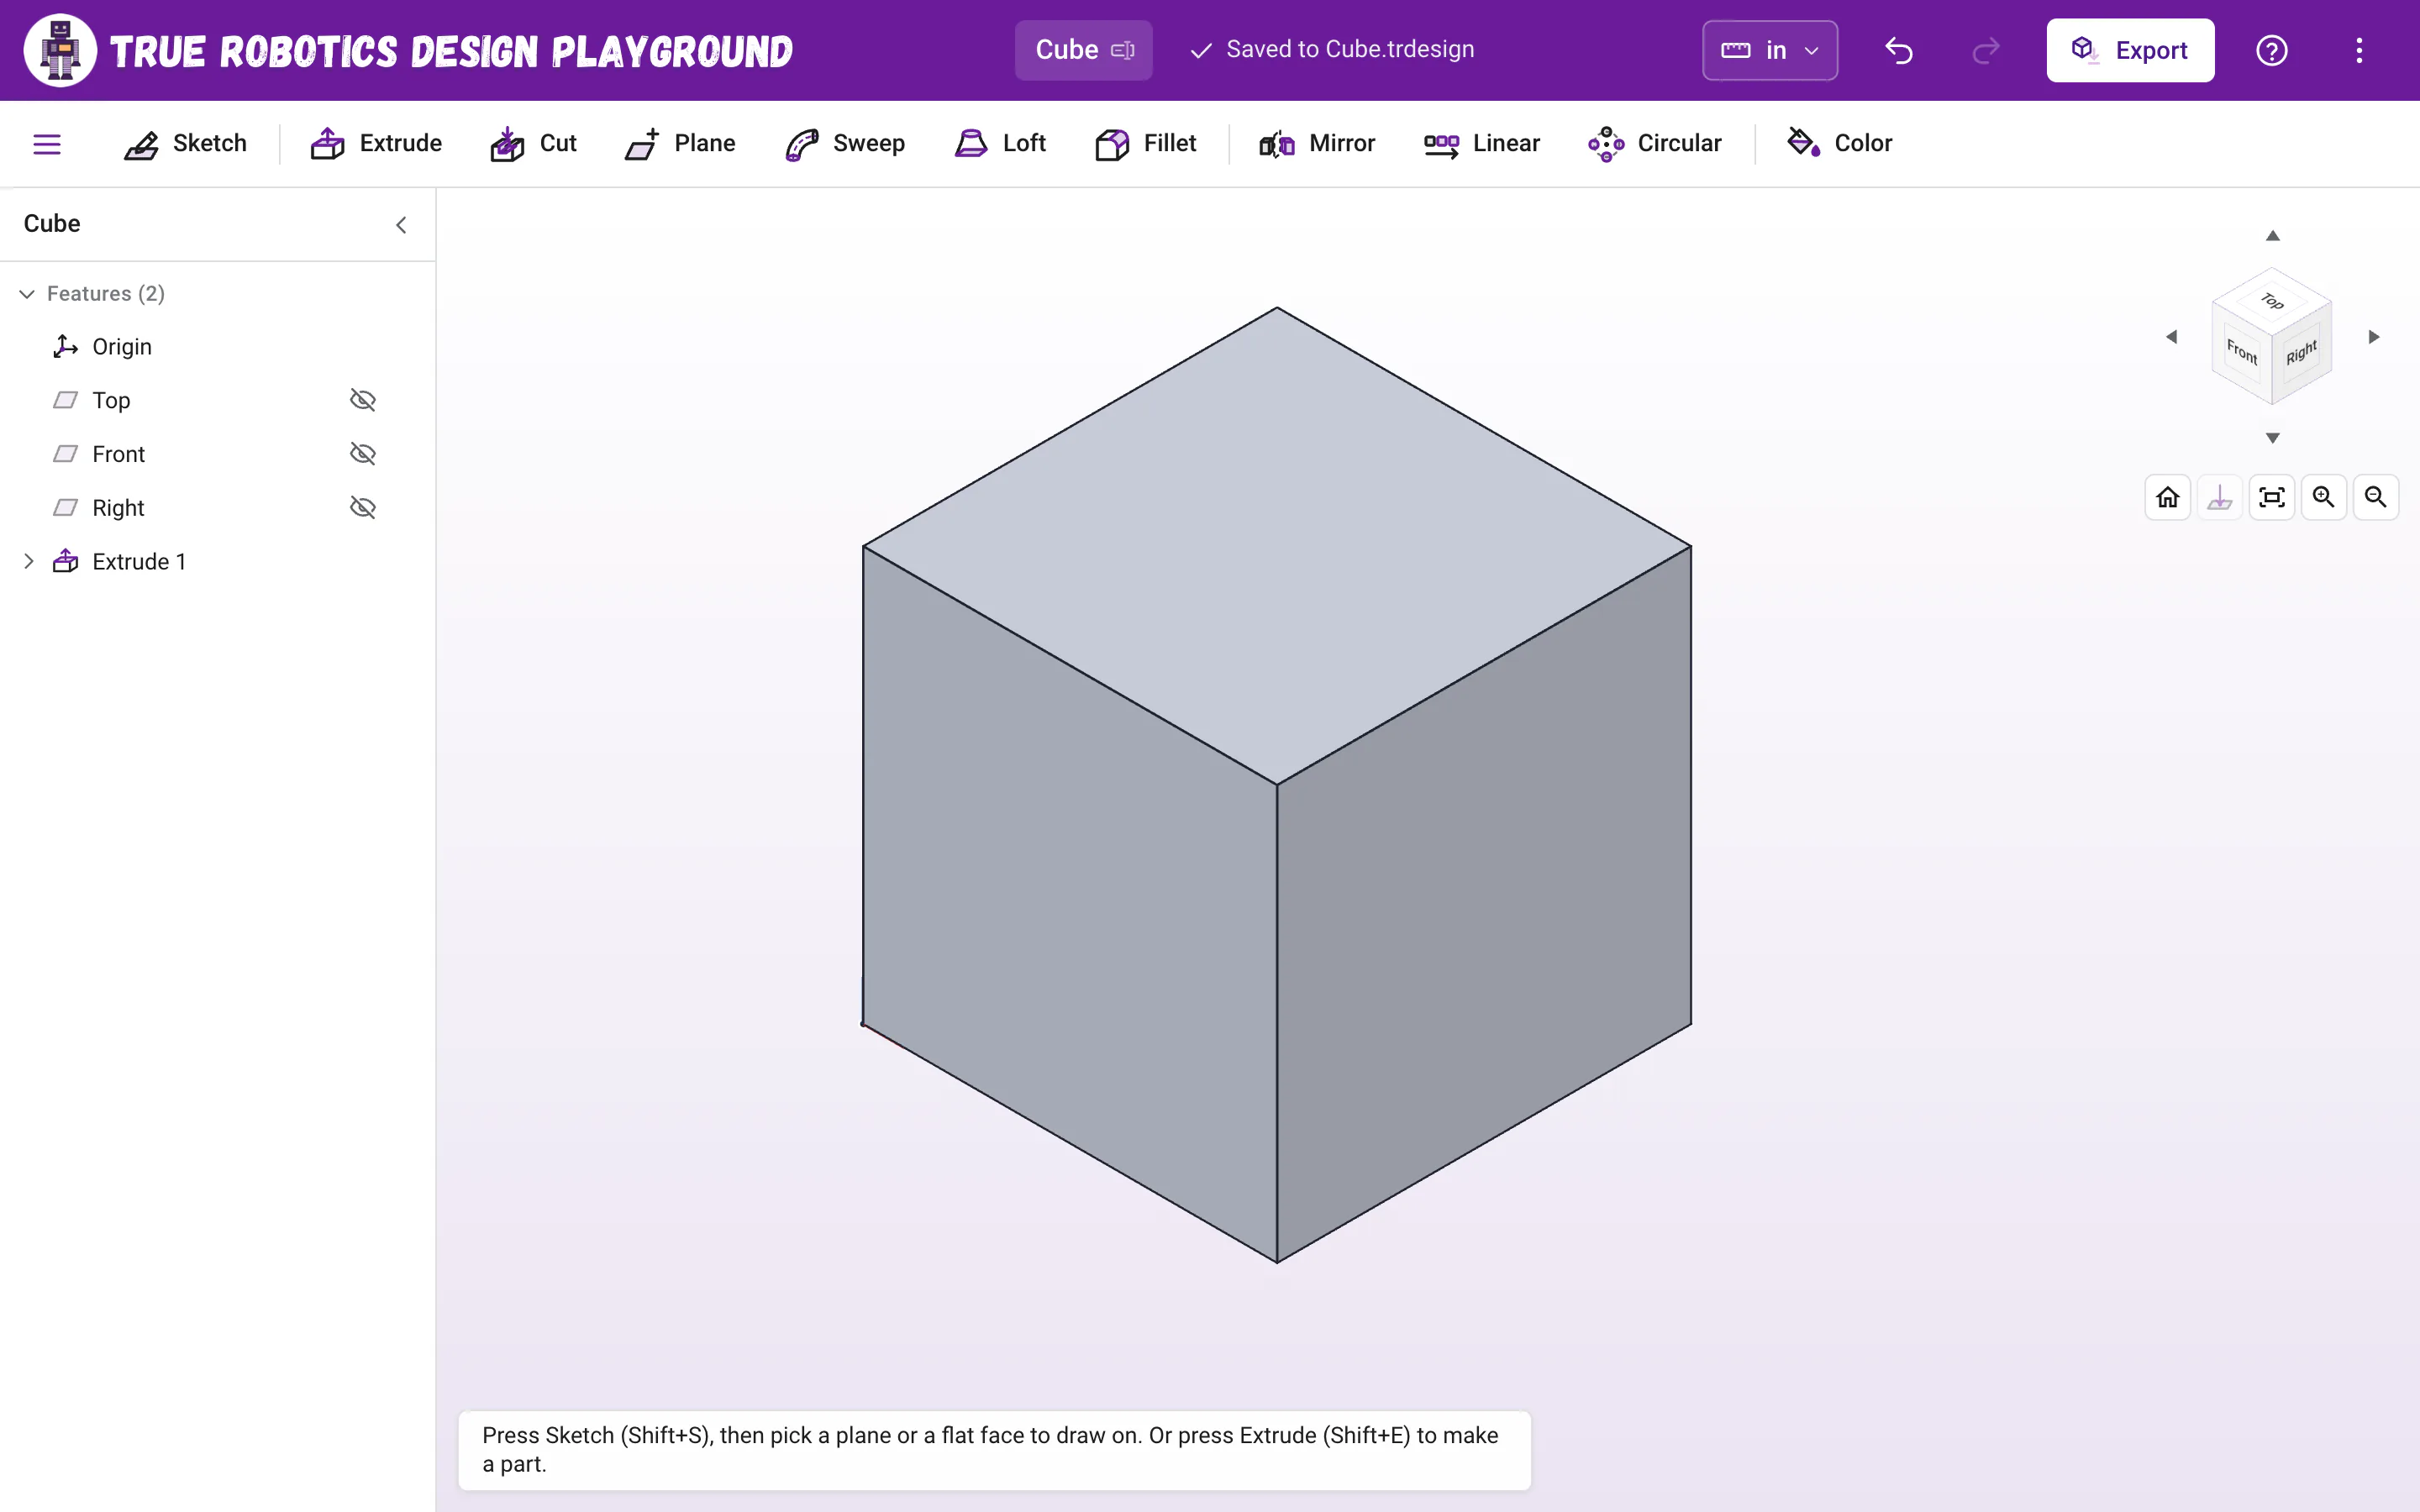
Make it a cube Press Shift+E, type
1for the depth and press Enter. Your square is now a 1 inch cube.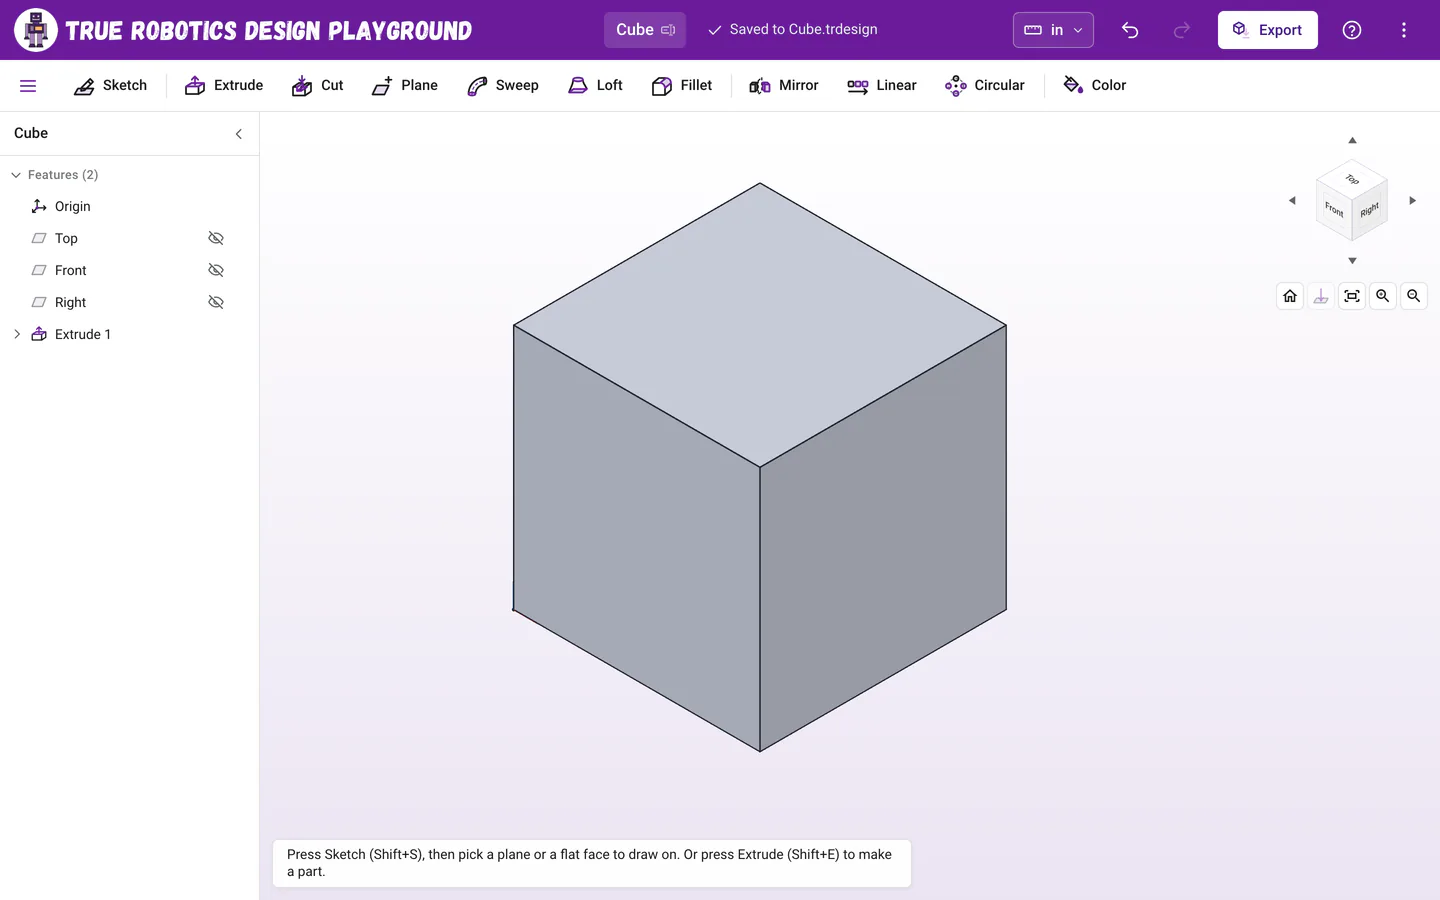
Square plus Extrude equals cube.
Tip: Clear the sketch between tries
To try the next way in the same sketch, press Ctrl+A (Cmd+A on a Mac) to select everything, then press Delete. Or, after you extrude, click the little arrow next to Extrude 1 and double-click Sketch 1 to open it again.
Way 2: How do I draw a square with the Center rectangle and Equal?#
Press R for the Center rectangle and click the origin for the center.
Click anywhere to place a corner. Any rectangle is fine for now.
Press Esc to go back to the Select tool.
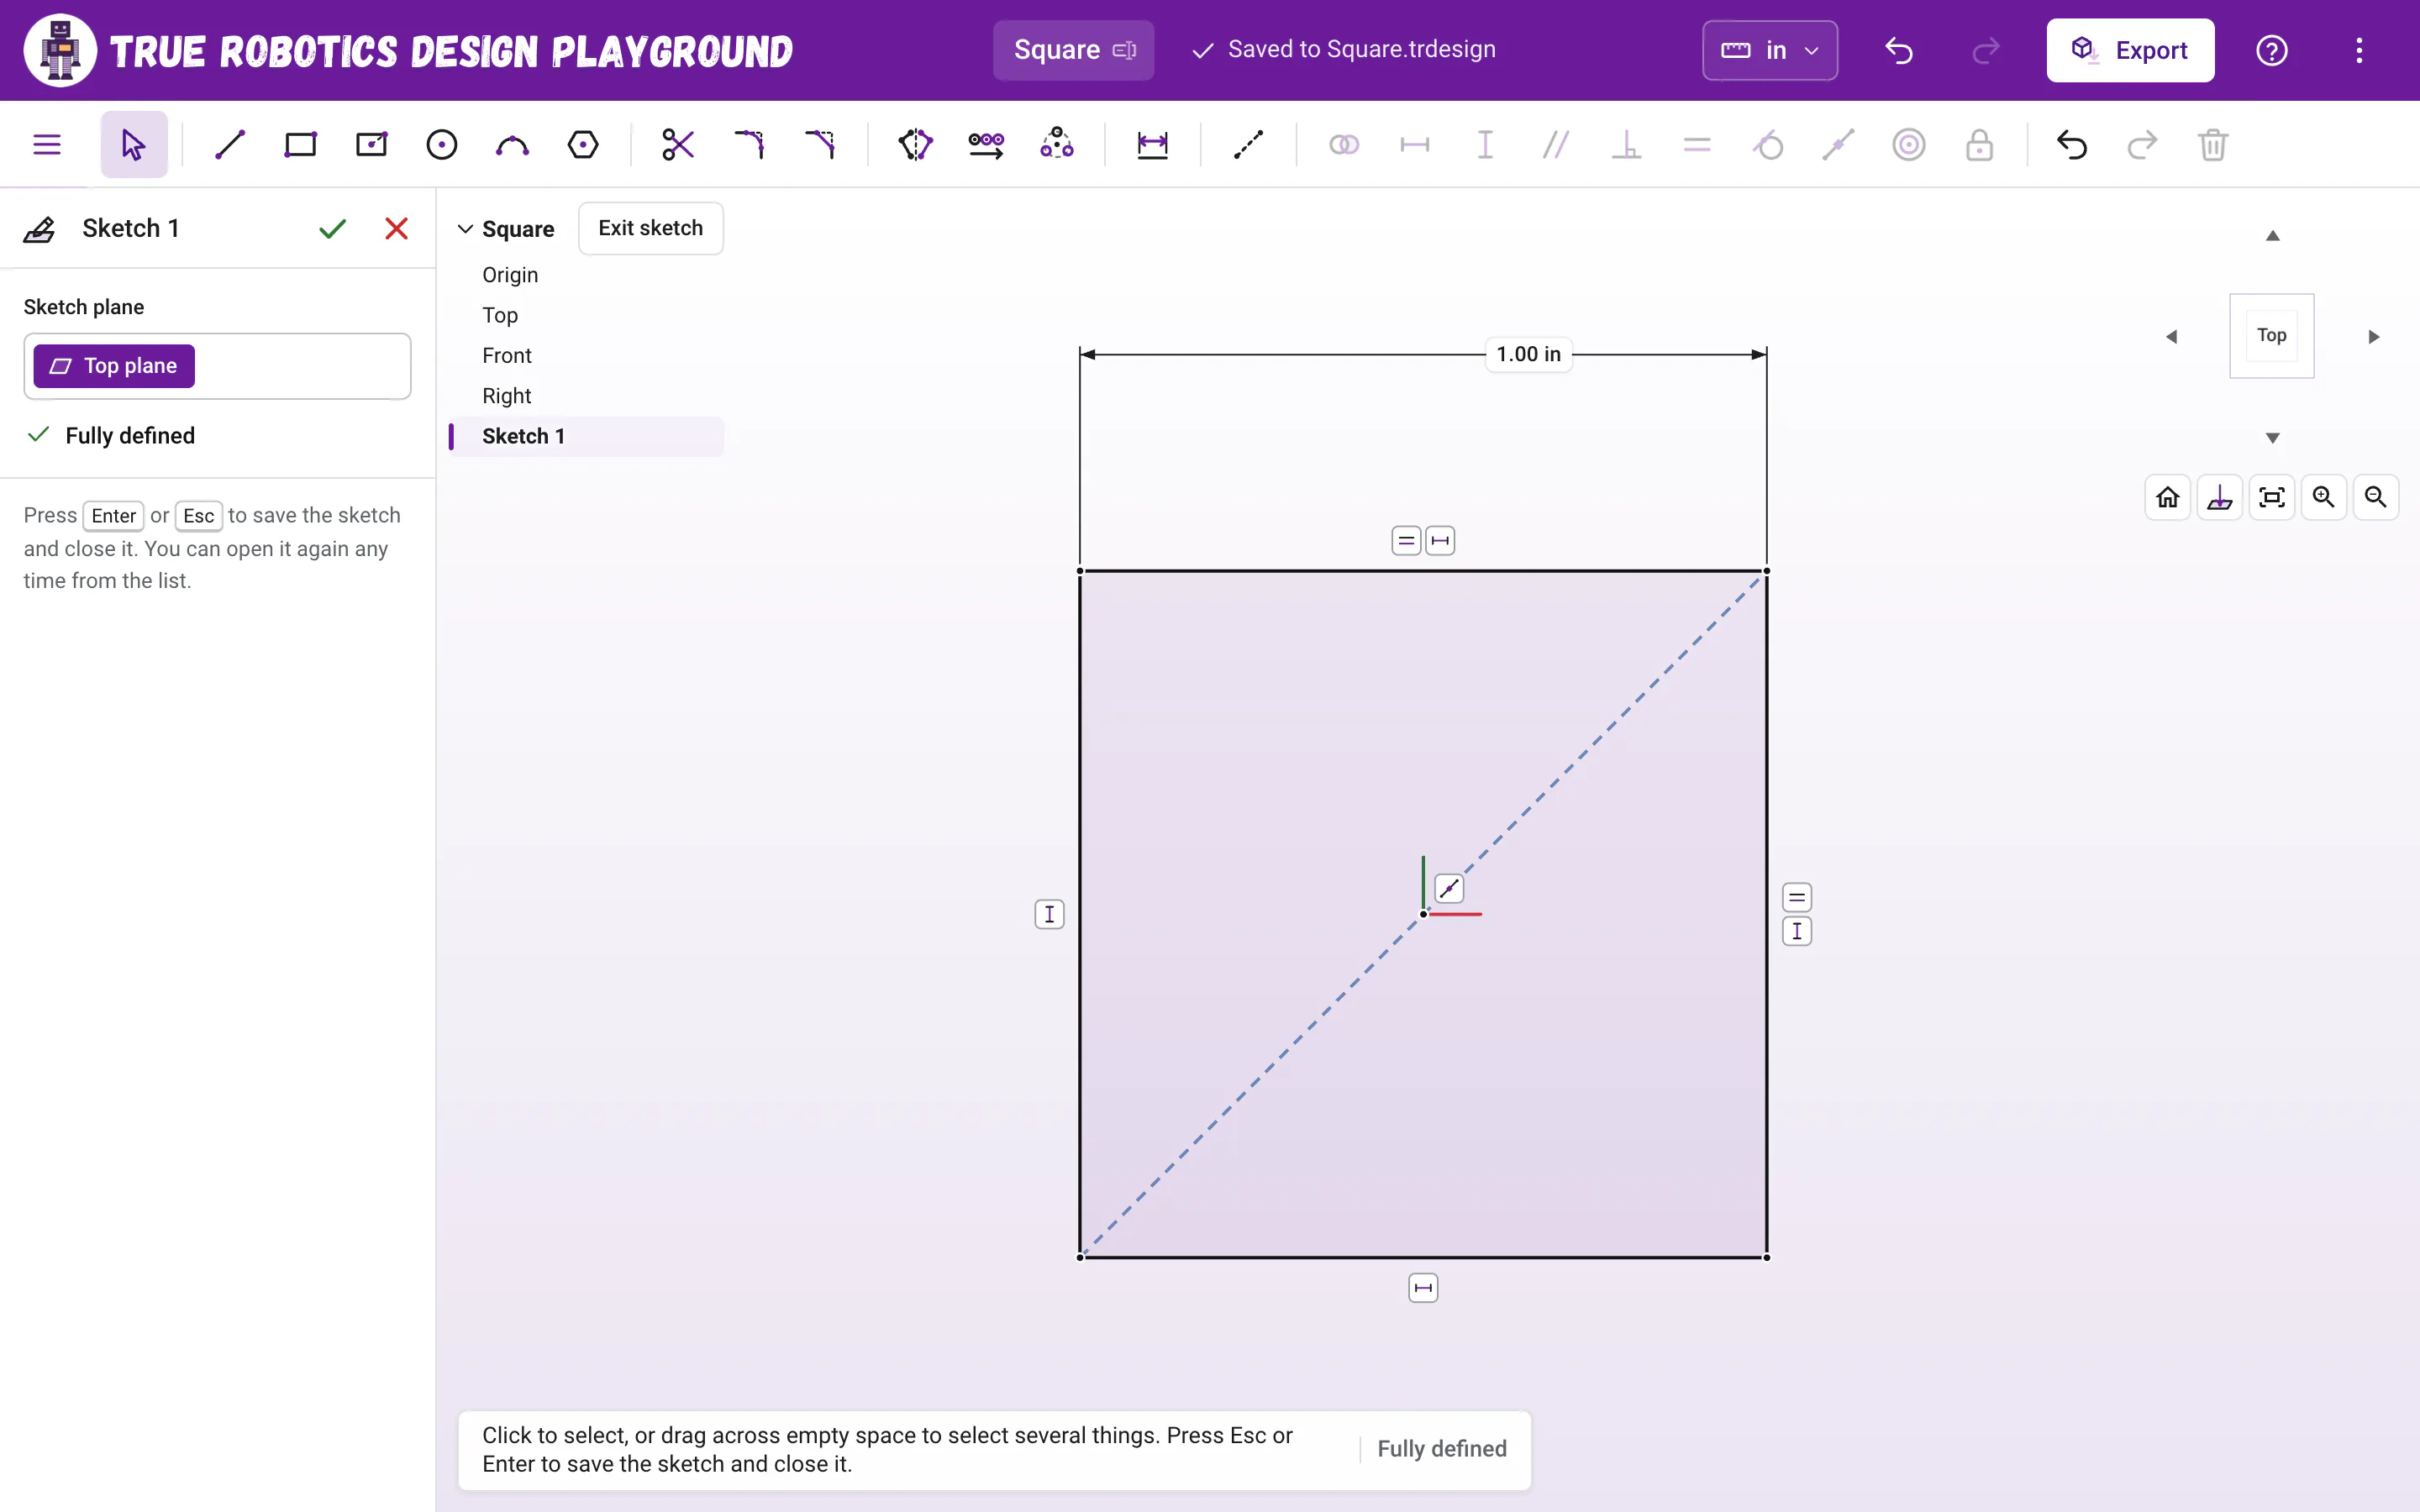
Click the top side, hold Shift and click the right side, then press E for Equal. The rectangle snaps into a square.
Press D for Dimension, click the top side, click above it to place the label, type
1and press Enter. The square turns black and the hint bar says Fully defined.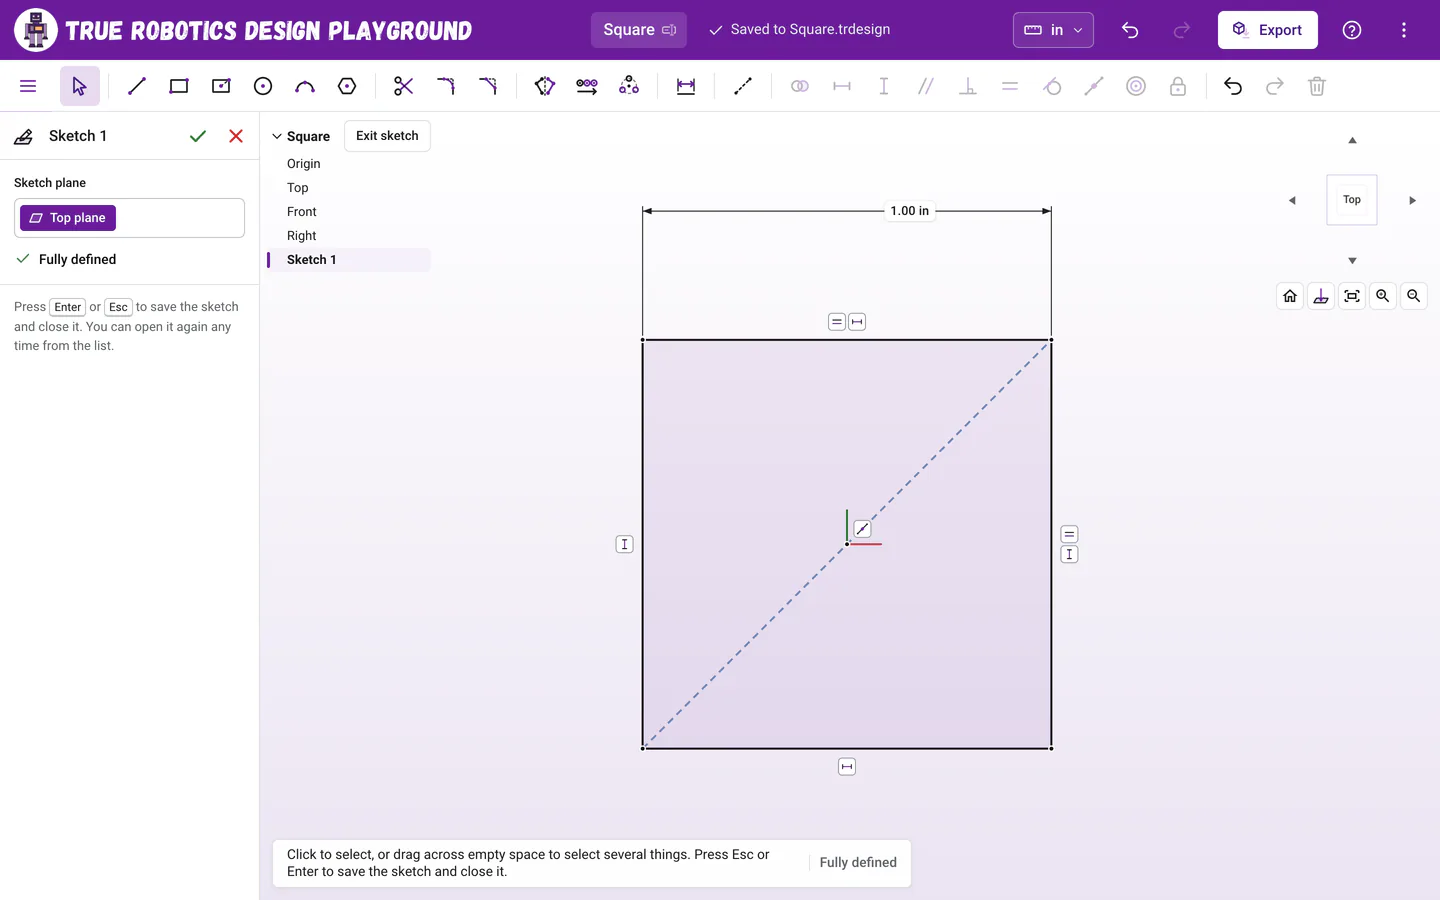
Way 2: a center rectangle, an Equal constraint and one dimension.
This way teaches the big idea of CAD: rules plus one number. Change that one dimension later and the square stays square.
Way 3: How do I draw a square with the Line tool?#
Press L for Line and click the origin.
Point straight to the right until the level icon appears, type
1and press Enter.Point straight up, type
1and press Enter.Point straight to the left, type
1and press Enter.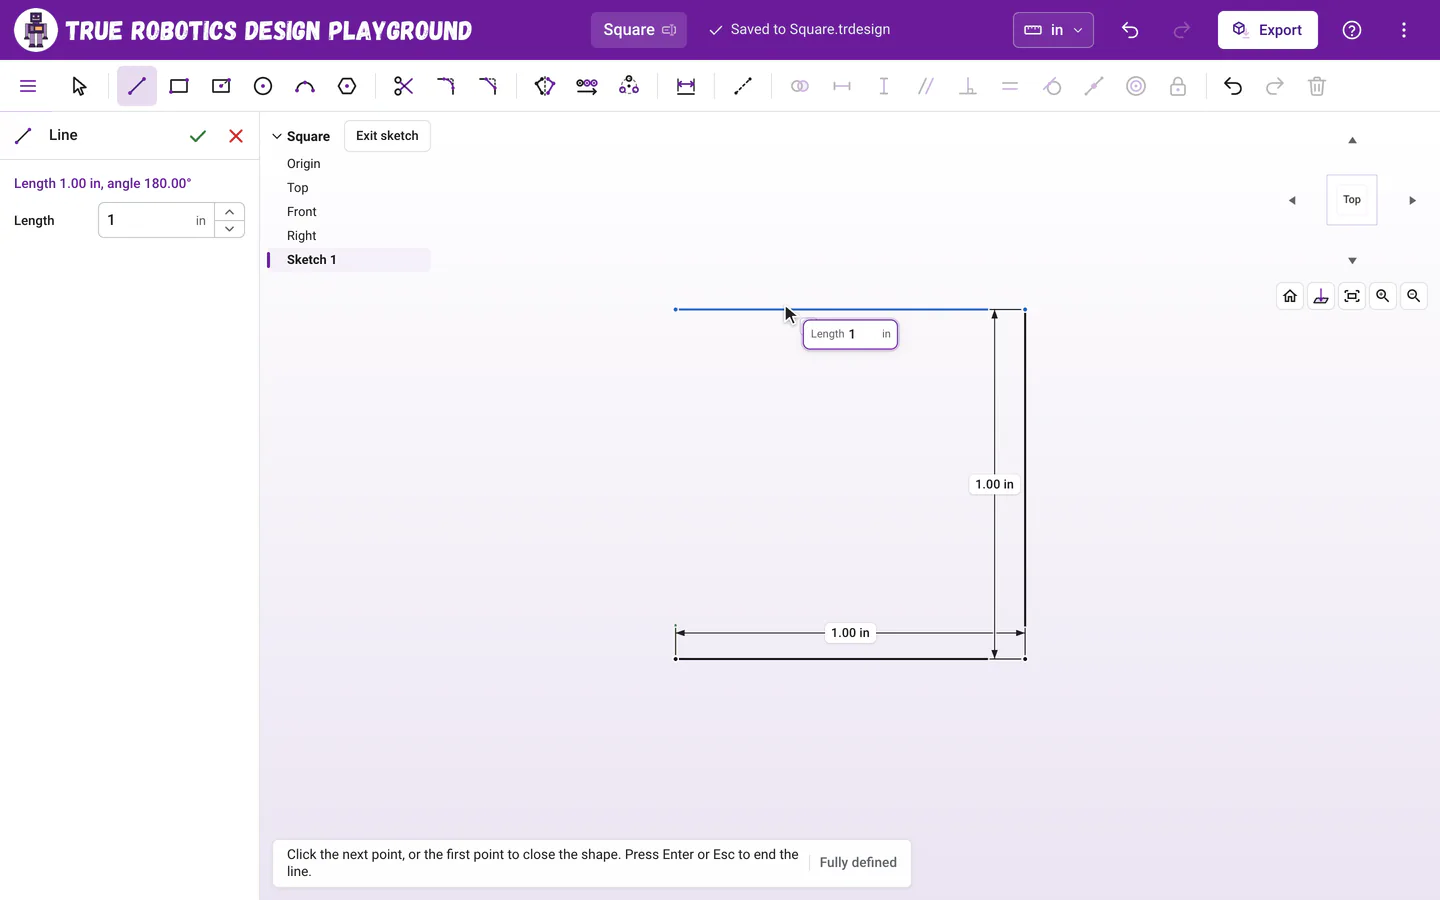
Way 3: point, type 1, press Enter, and repeat. Click the origin again to close the square, then press Esc.
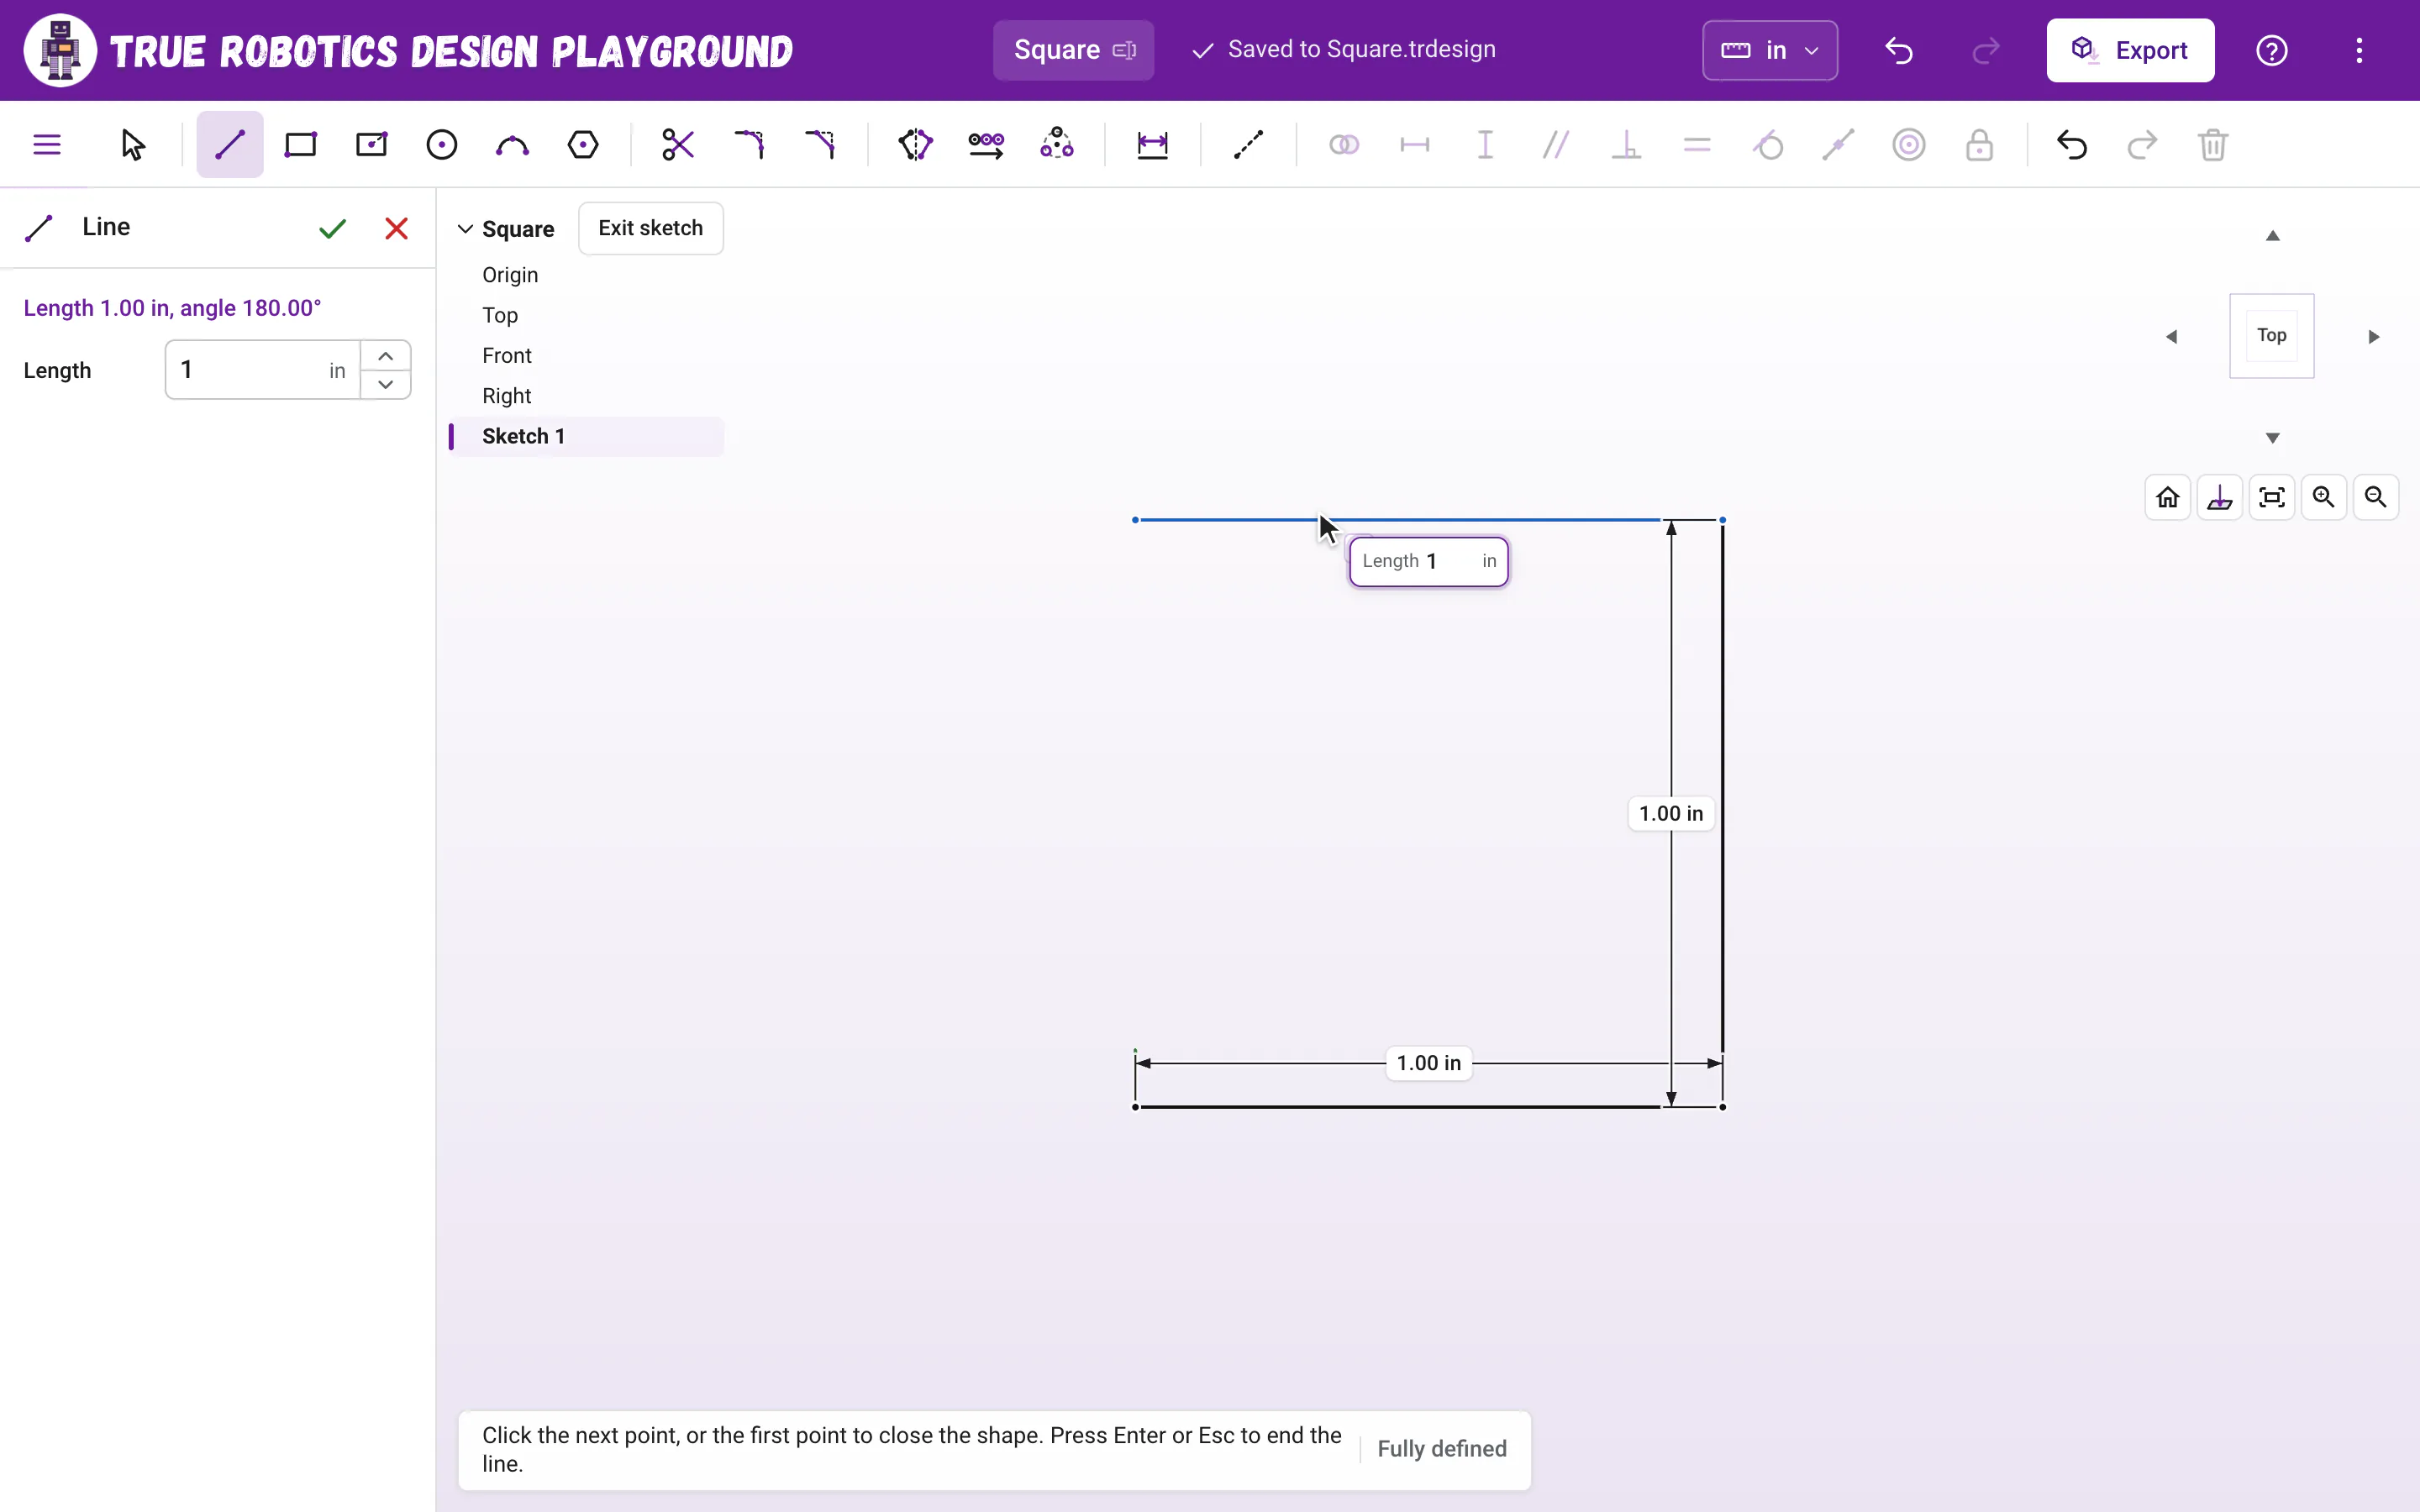
Each typed length became a dimension, and each straight snap became a Horizontal or Vertical constraint, so the square is black and Fully defined.
Way 4: How do I draw a square with the Polygon tool?#
Press P for Polygon. Before you click, type
4and press Enter, or set Sides to4in the tool panel. The panel says Click to place the center (4 sides).Click the origin for the center.
Hold Shift so the corner does not snap level, and click to place a corner. You get a square turned at an angle.
Press Esc, click one side of the square, and press H for Horizontal. The square turns upright.
Press D, click the same side, place the label, type
1and press Enter. All four sides are equal, so one dimension sizes them all, and the hint bar says Fully defined.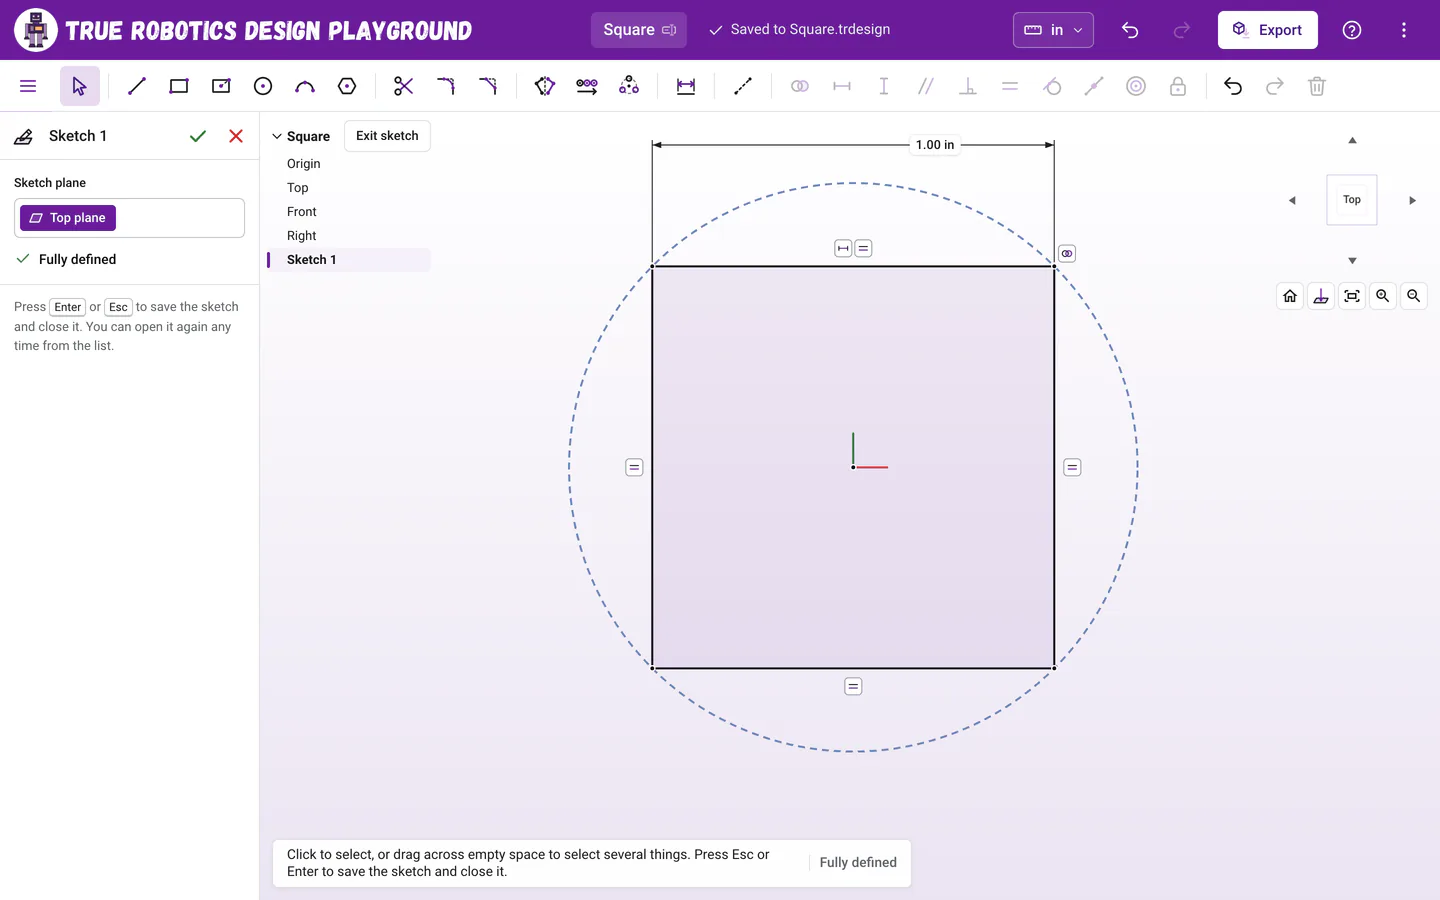
Way 4: a four sided polygon turned upright with Horizontal.
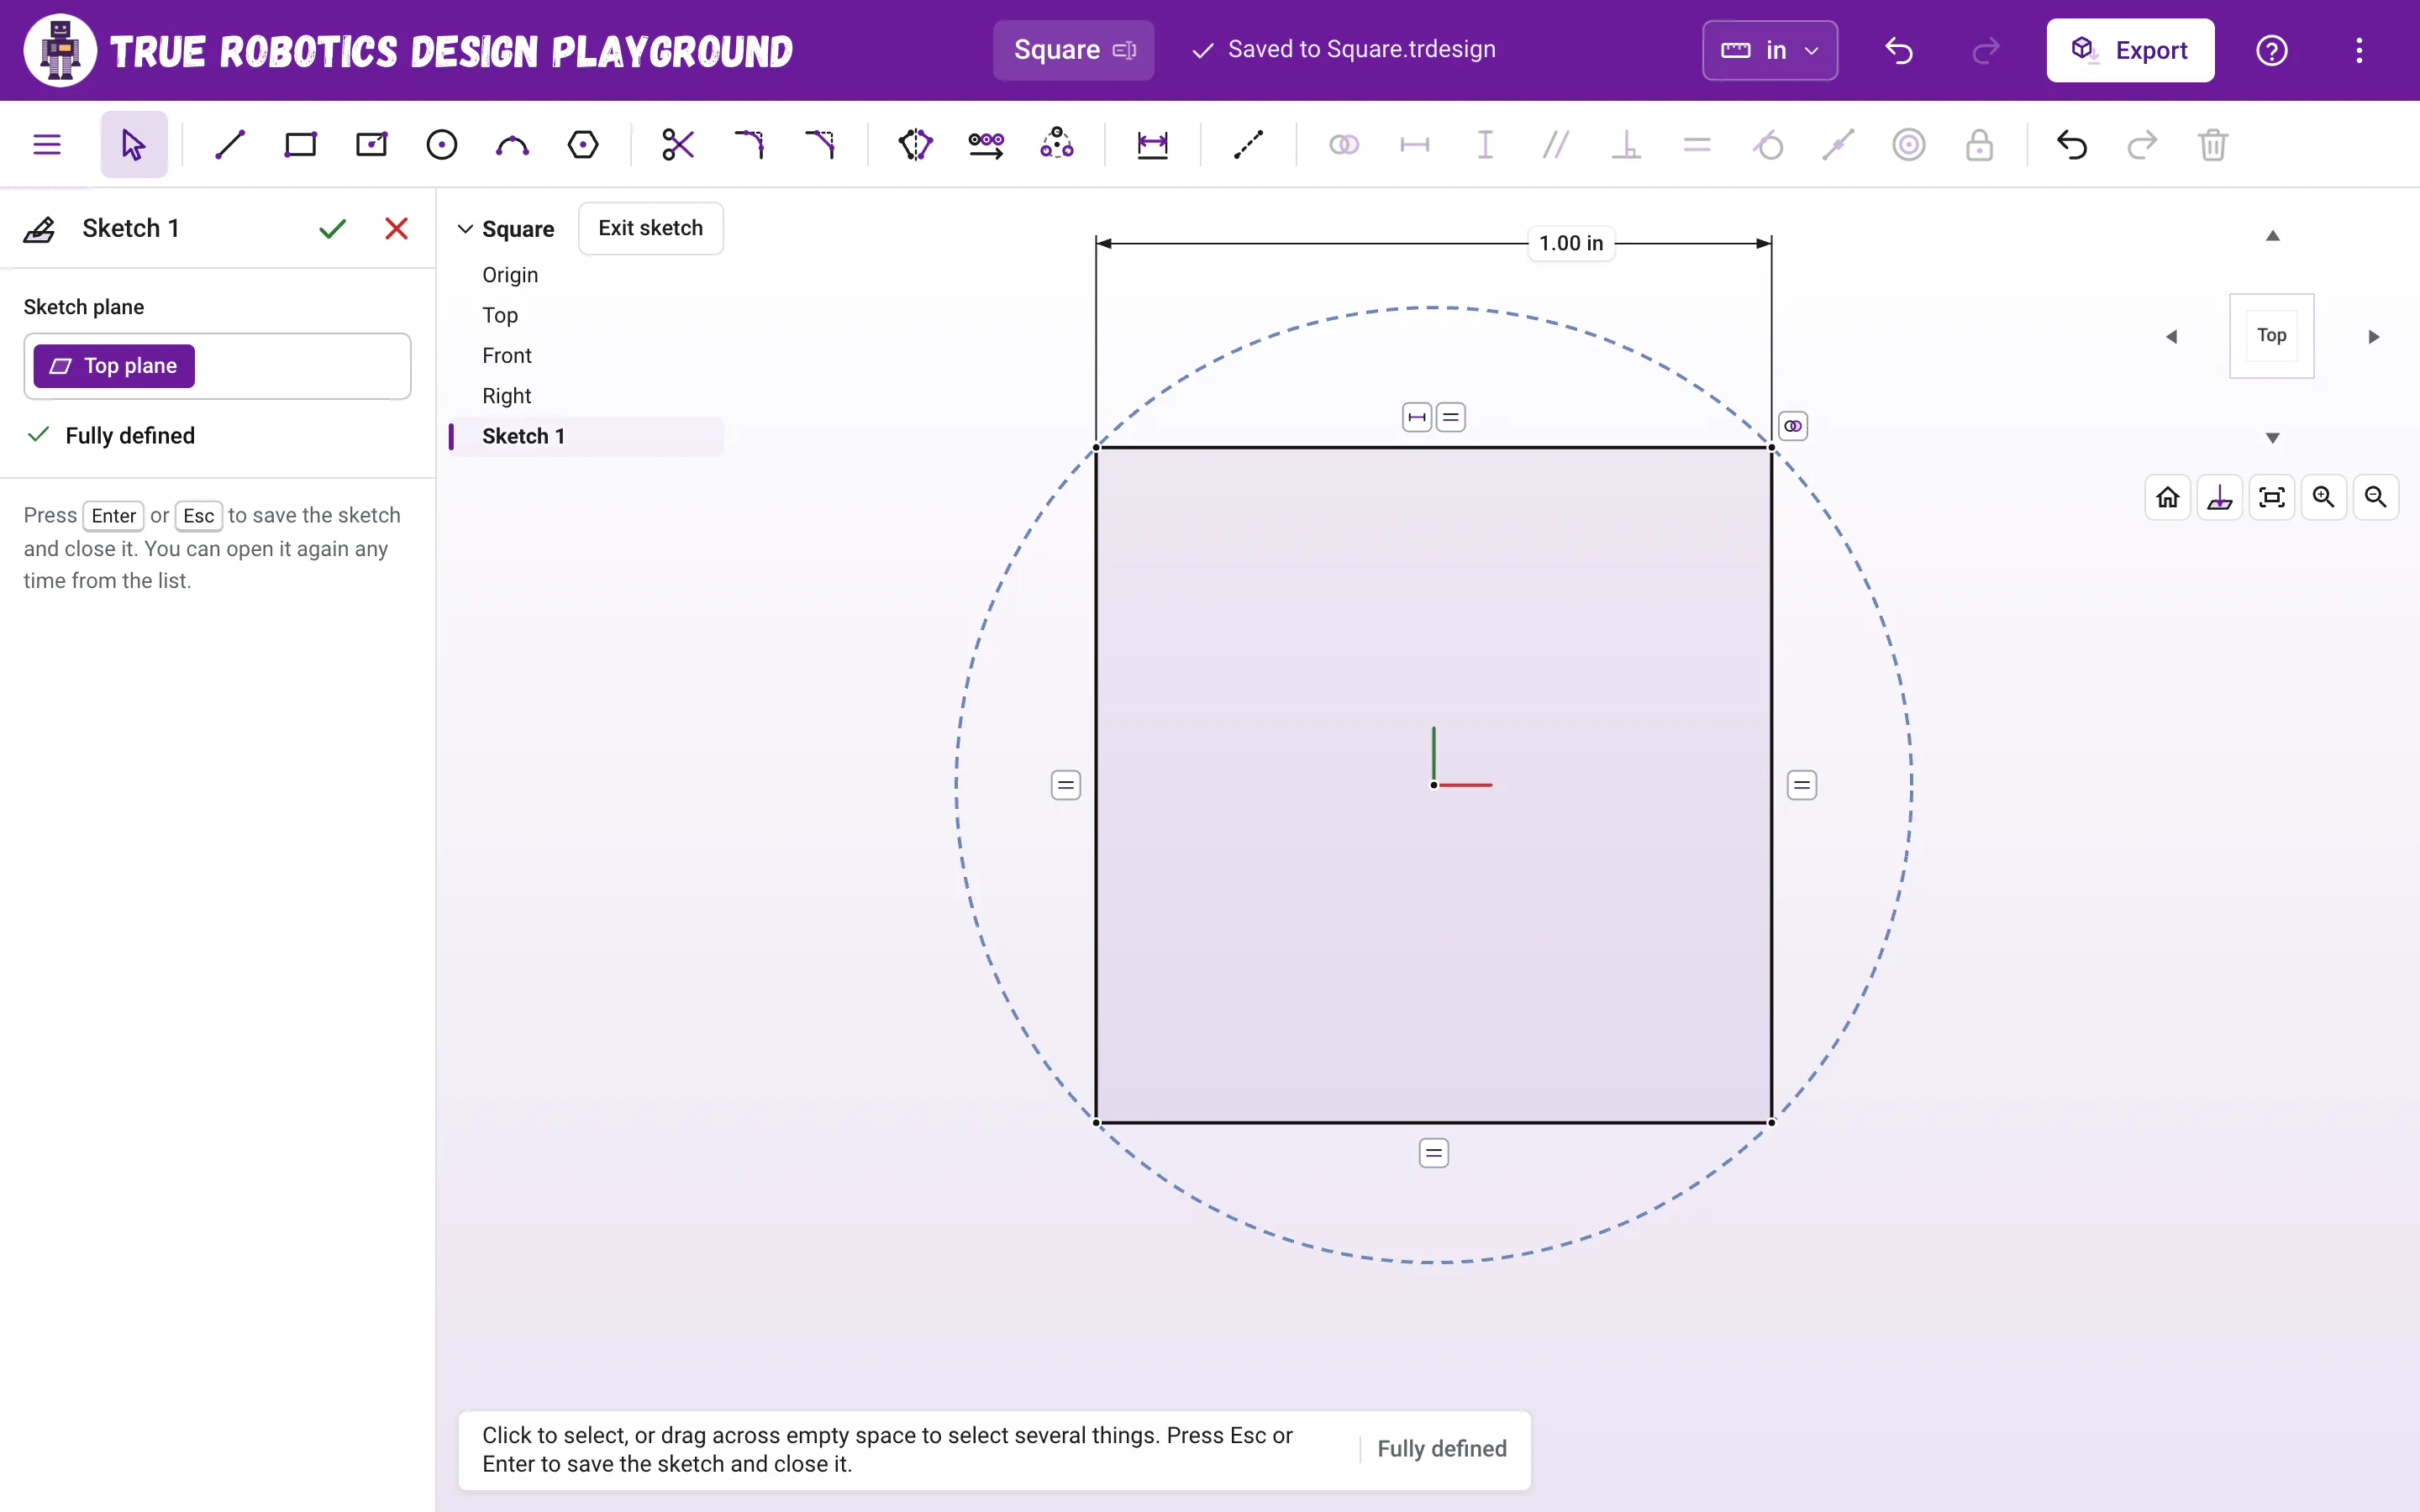
This square is centered on the origin, like the Center rectangle, and its corners sit on a dashed construction circle.
Which way should I use?#
| Way | Where it sits | Best for |
|---|---|---|
| Corner rectangle G | Corner on the origin | The fastest square or plate |
| Center rectangle R and Equal E | Centered on the origin | Parts balanced around the middle |
| Line L | Corner on the origin | Shapes that are not rectangles at all |
| Polygon P and Horizontal H | Centered on the origin | Learning how constraints turn shapes |
Nice work! You have used almost every sketch tool. Next, put circles inside a rectangle in the mounting plate tutorial.