
Tutorials
Make a Robot Wheel Hub
A wheel hub joins a wheel to its axle. In Basic mode of the True Robotics Design Playground you can make one in about ten minutes: a 2 inch cylinder for the flange, a 3/4 inch cylinder for the hub, a 1/4 inch axle hole and four 1/8 inch screw holes, all placed by typing, then grouped into one part.
You will learn: cylinders and cylinder holes, typed sizes and positions, Duplicate for evenly spaced holes, and grouping. Time: about 10 minutes. Size: 2 inches across and 3/4 inch tall.
How do I make a robot wheel hub?#
Start a Basic project Click New Project, then the Basic picture on the left. Click Yes, autosave and save the file as
Wheel Hub. The Basic workspace opens in inches.Make the flange Drag a Cylinder onto the middle of the workplane. In the settings panel, type W
2, D2and H1/4, pressing Enter after each one. This flat disc is the flange that bolts to your wheel.Add the hub Drag another Cylinder onto an empty spot of the workplane. Type W
3/4, D3/4and H3/4, then Position X0, Y0and Z0. It jumps to the middle of the flange and stands 1/2 inch above it.Add the axle hole Drag a Cylinder hole onto an empty spot. Type W
1/4and D1/4(it is already 1 inch tall, enough to go all the way through), then X0, Y0and Z0.Add the first screw hole Drag another Cylinder hole onto an empty spot. Type W
1/8and D1/8, then X3/4, Y0and Z0. It lands on the flange, 3/4 inch from the middle.Copy it three times Click Duplicate in the toolbar, then type X
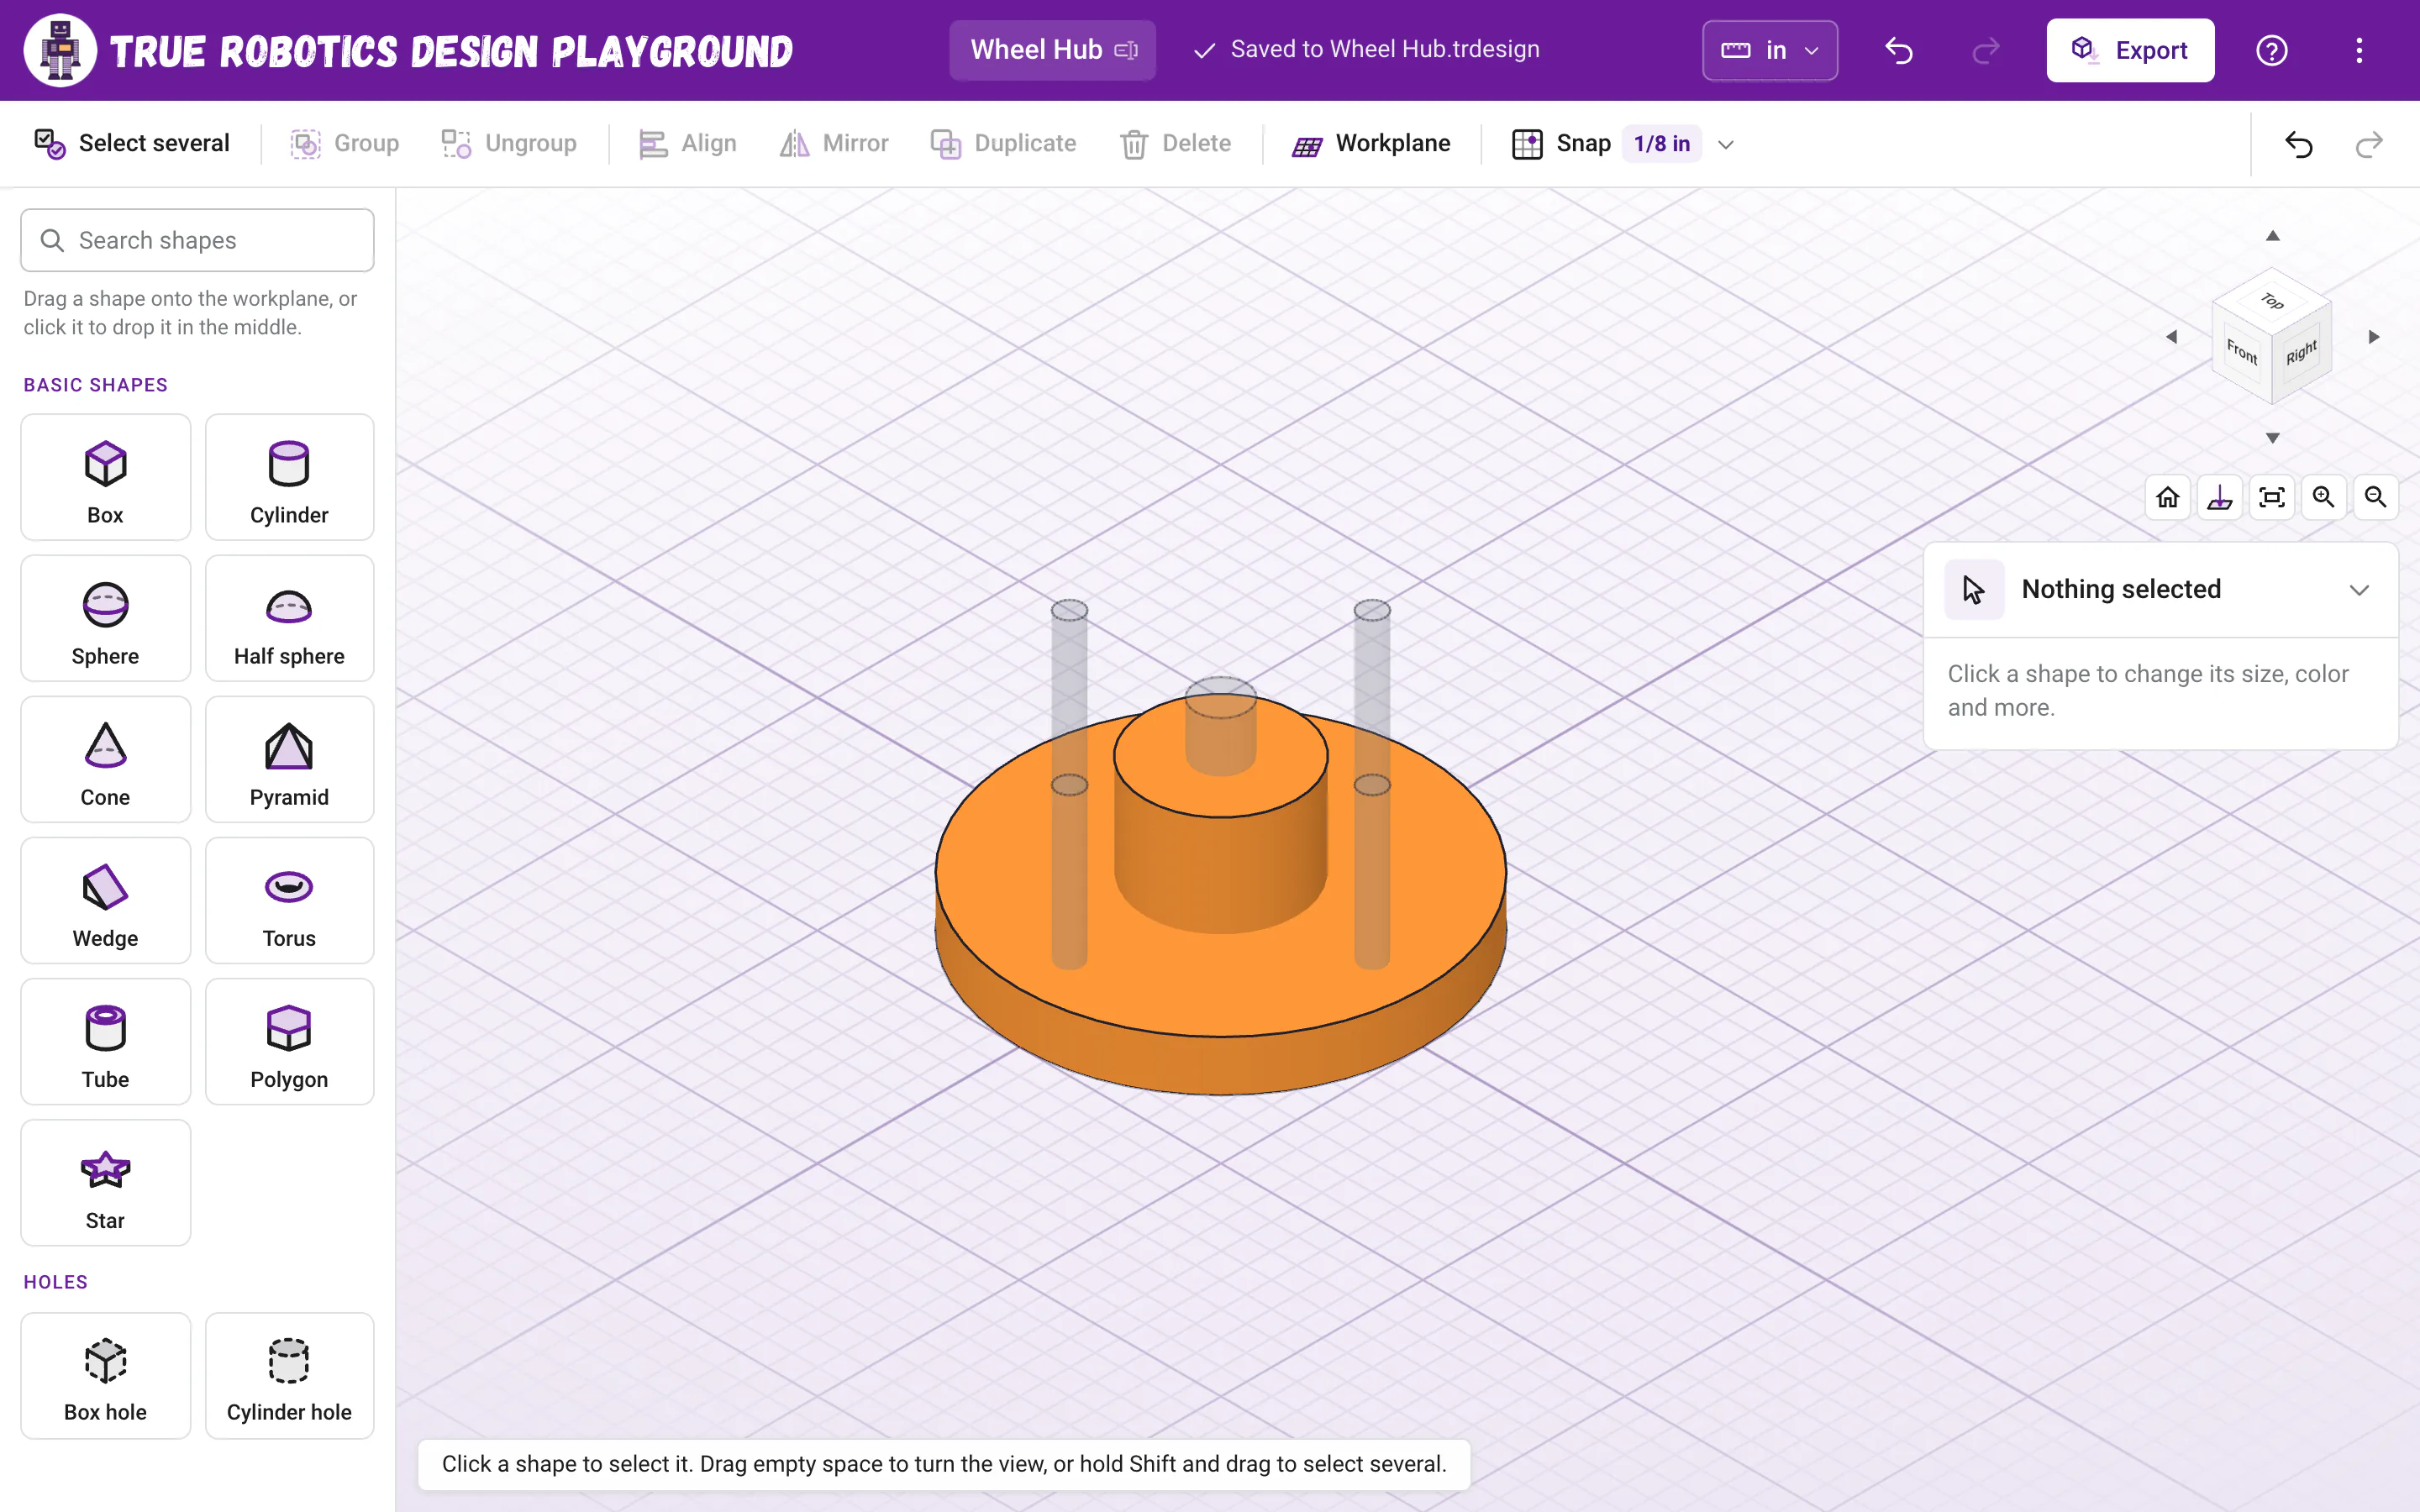
-3/4and Y0. Click Duplicate again and type X0, Y3/4. One more time: Duplicate, then X0, Y-3/4. Now four screw holes sit evenly around the hub.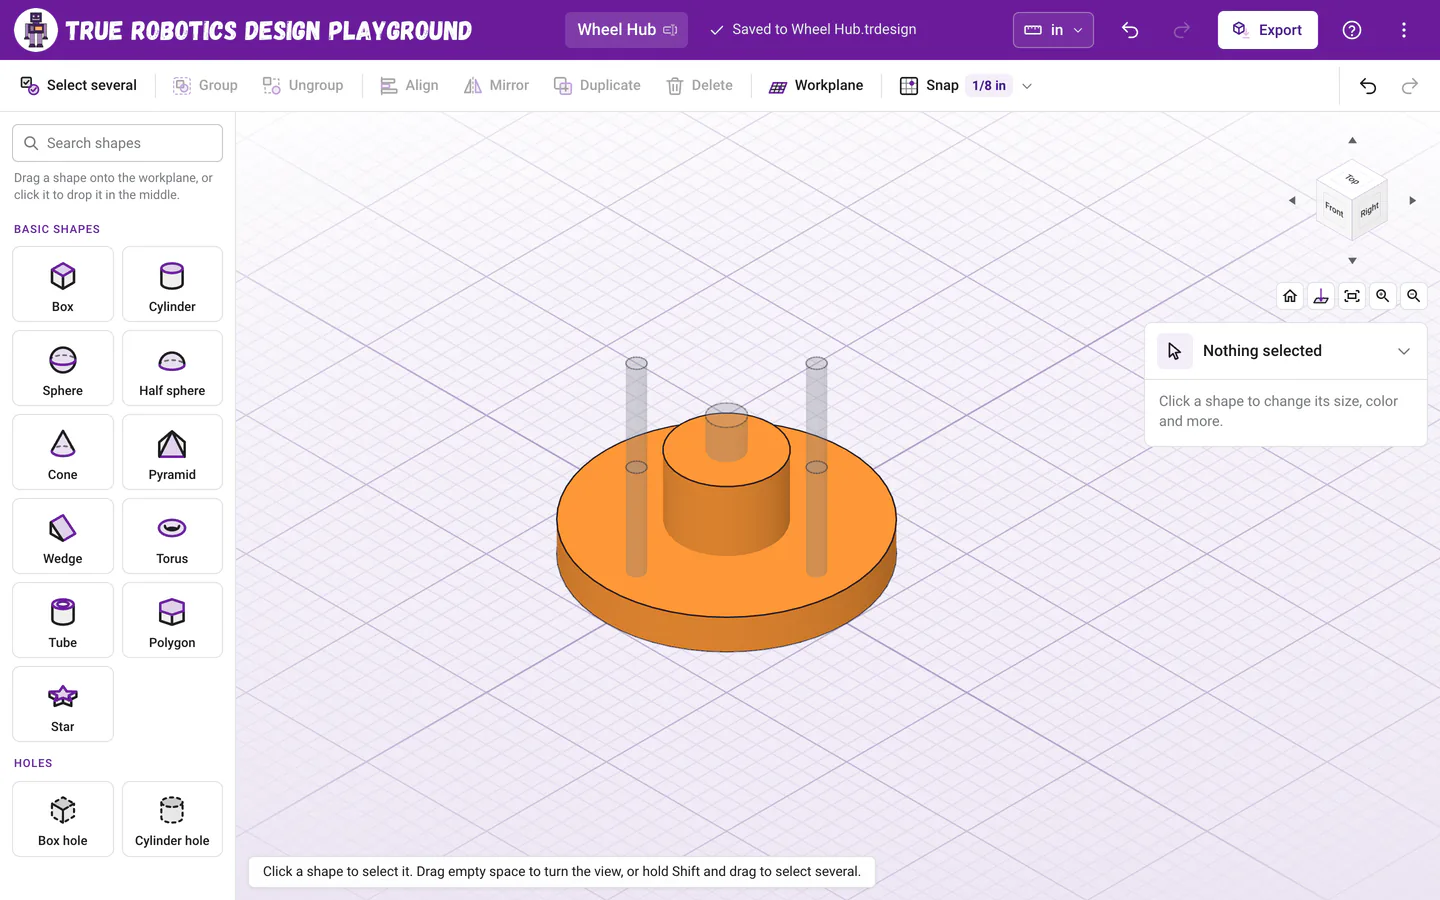
The flange, the hub and five holes, ready to group. Group everything Click an empty spot in the view, press Ctrl+A, then Ctrl+G. The flange and the hub join into one part, and all five holes cut through.
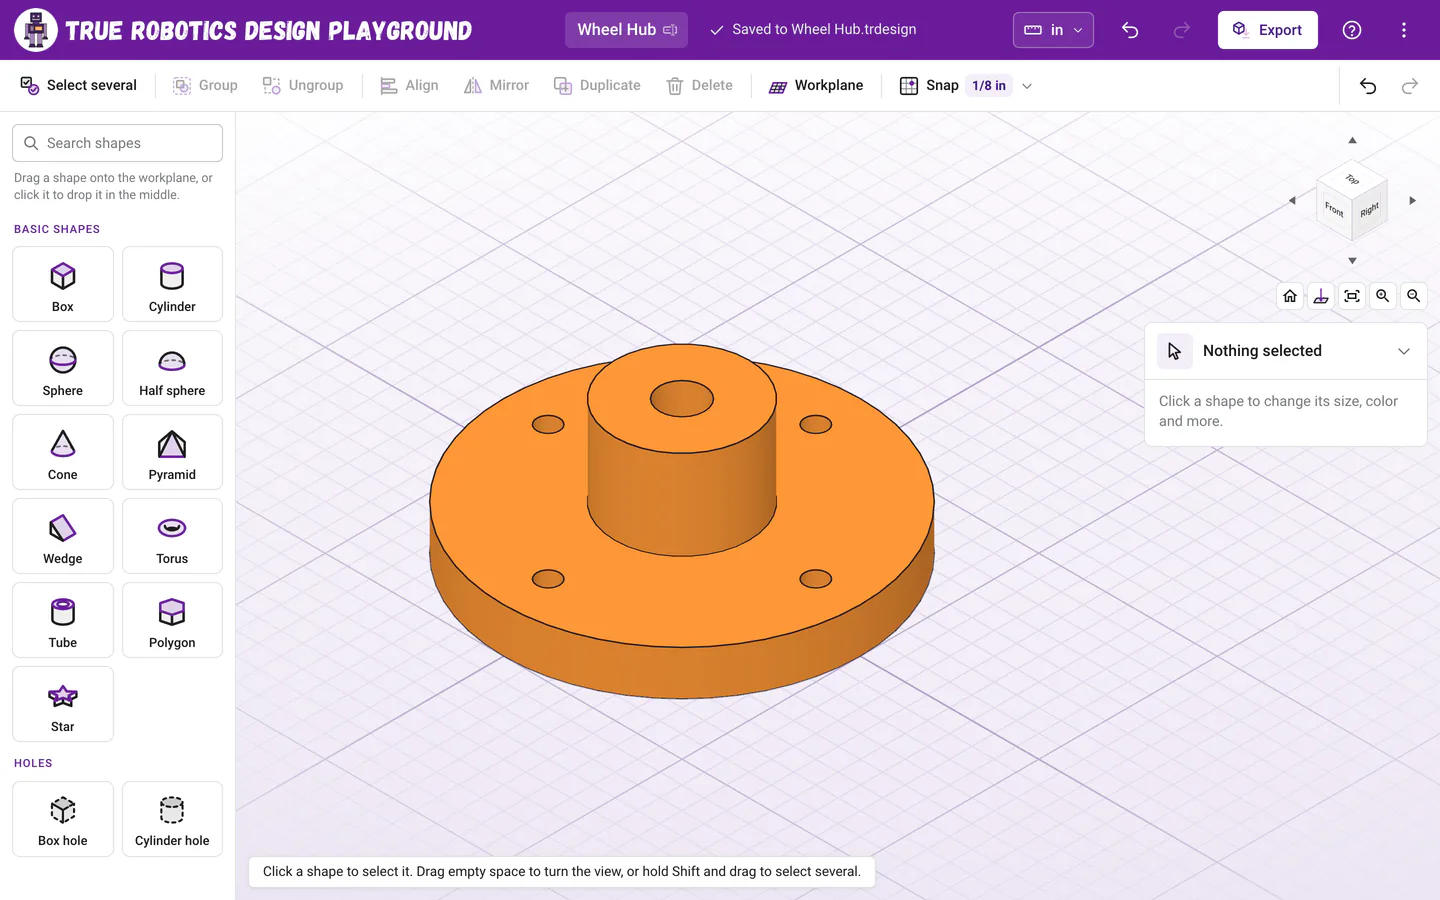
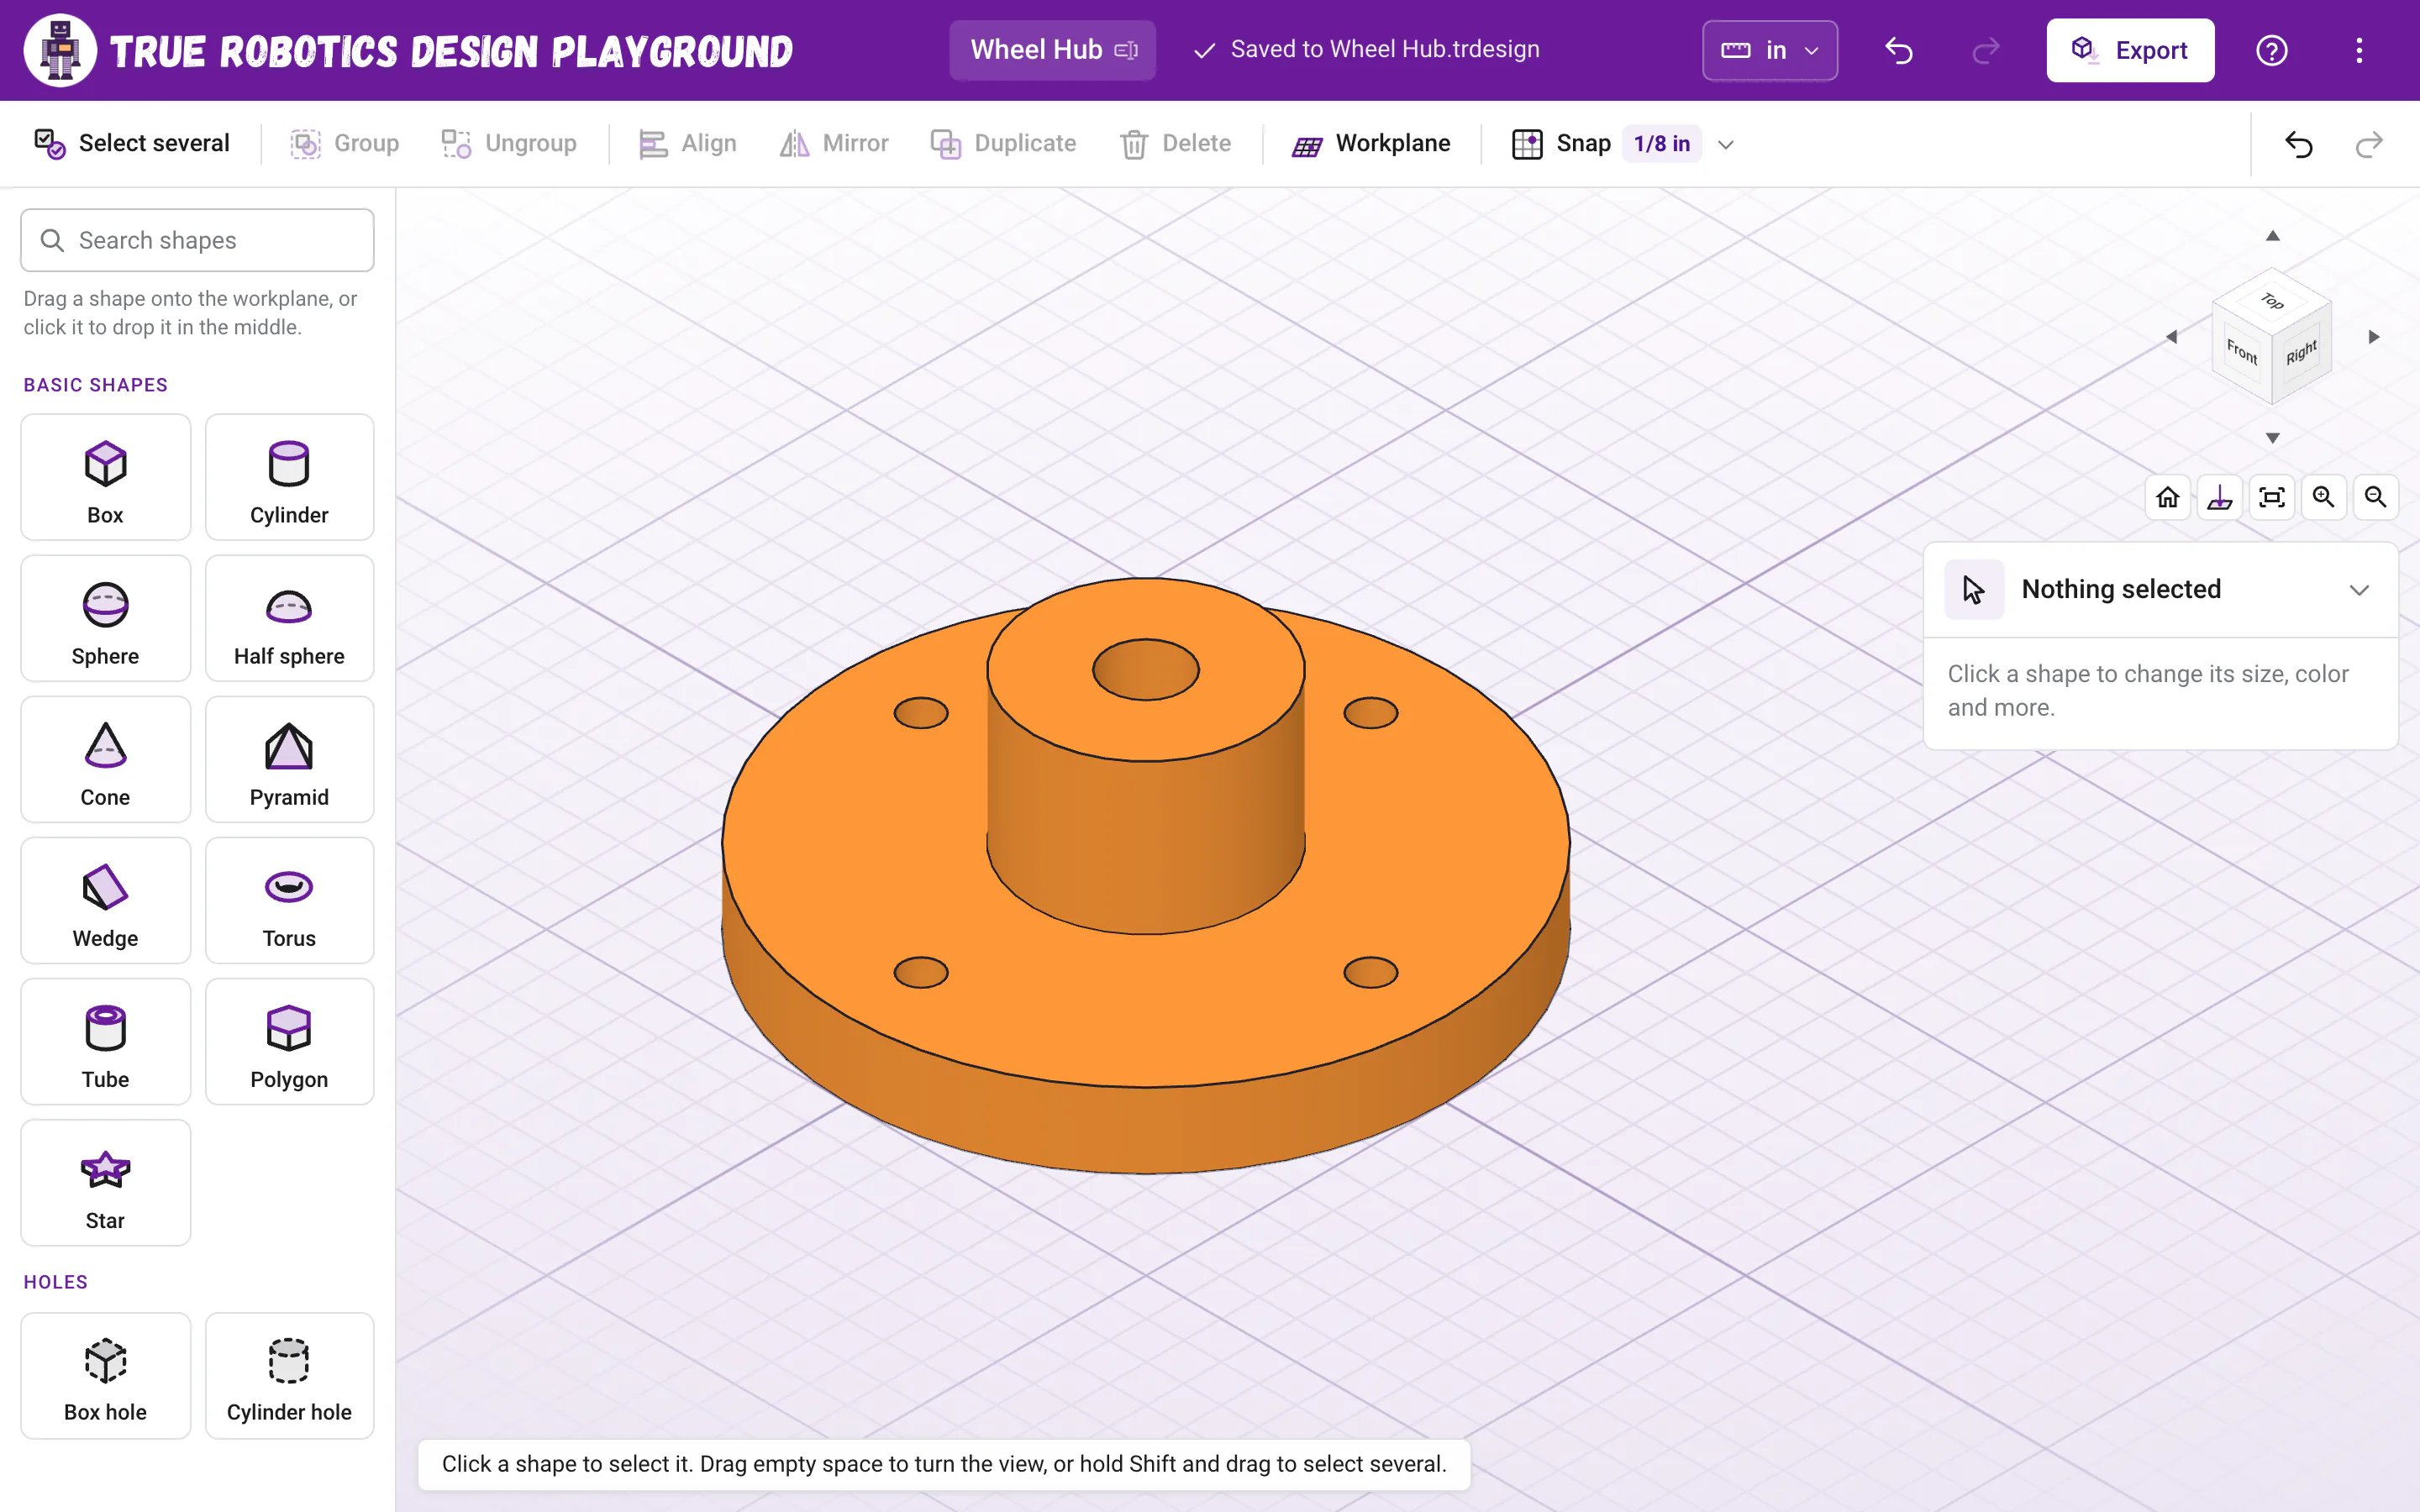
Your wheel hub, ready to bolt to a wheel. Export it Click Export, keep STL, choose Fine so the small holes print nice and round, and click Export.
Why drop each shape on an empty spot?#
A shape dropped on top of another shape lands on that face, so its bottom starts up in the air. Dropping on the empty workplane and typing Z 0 keeps every bottom flat on the workplane, so the holes start at the very bottom and cut all the way through. If a hole ever looks like it stops short, select it and check its Z.
Tip: Fit it to your robot
Measure your axle and your screws, then type those sizes in place of 1/4 and 1/8, plus about 0.01 inch so they slide in after printing.
How do I change the bolt pattern?#
If the hub is already grouped, select it and press Ctrl+Shift+G to ungroup it. Click one screw hole, type a new X or Y, then select everything and group it again. Turning the whole hub works too: select the group and drag a curved arrow, and the holes turn with it in 15 degree steps.
Great job! Ready for sketches and dimensions? Try Standard mode with your first part in five minutes, or keep building with holes and groups.