
Basic mode
Basic Mode: Build with Shapes
Basic mode is the building block way to design in the True Robotics Design Playground. You drag shapes like boxes, cylinders and cones onto a gridded workplane, type their exact sizes, turn any shape into a hole, and group shapes so the solids join and the holes cut. It is the quickest way to start, and it exports STL and STEP files.
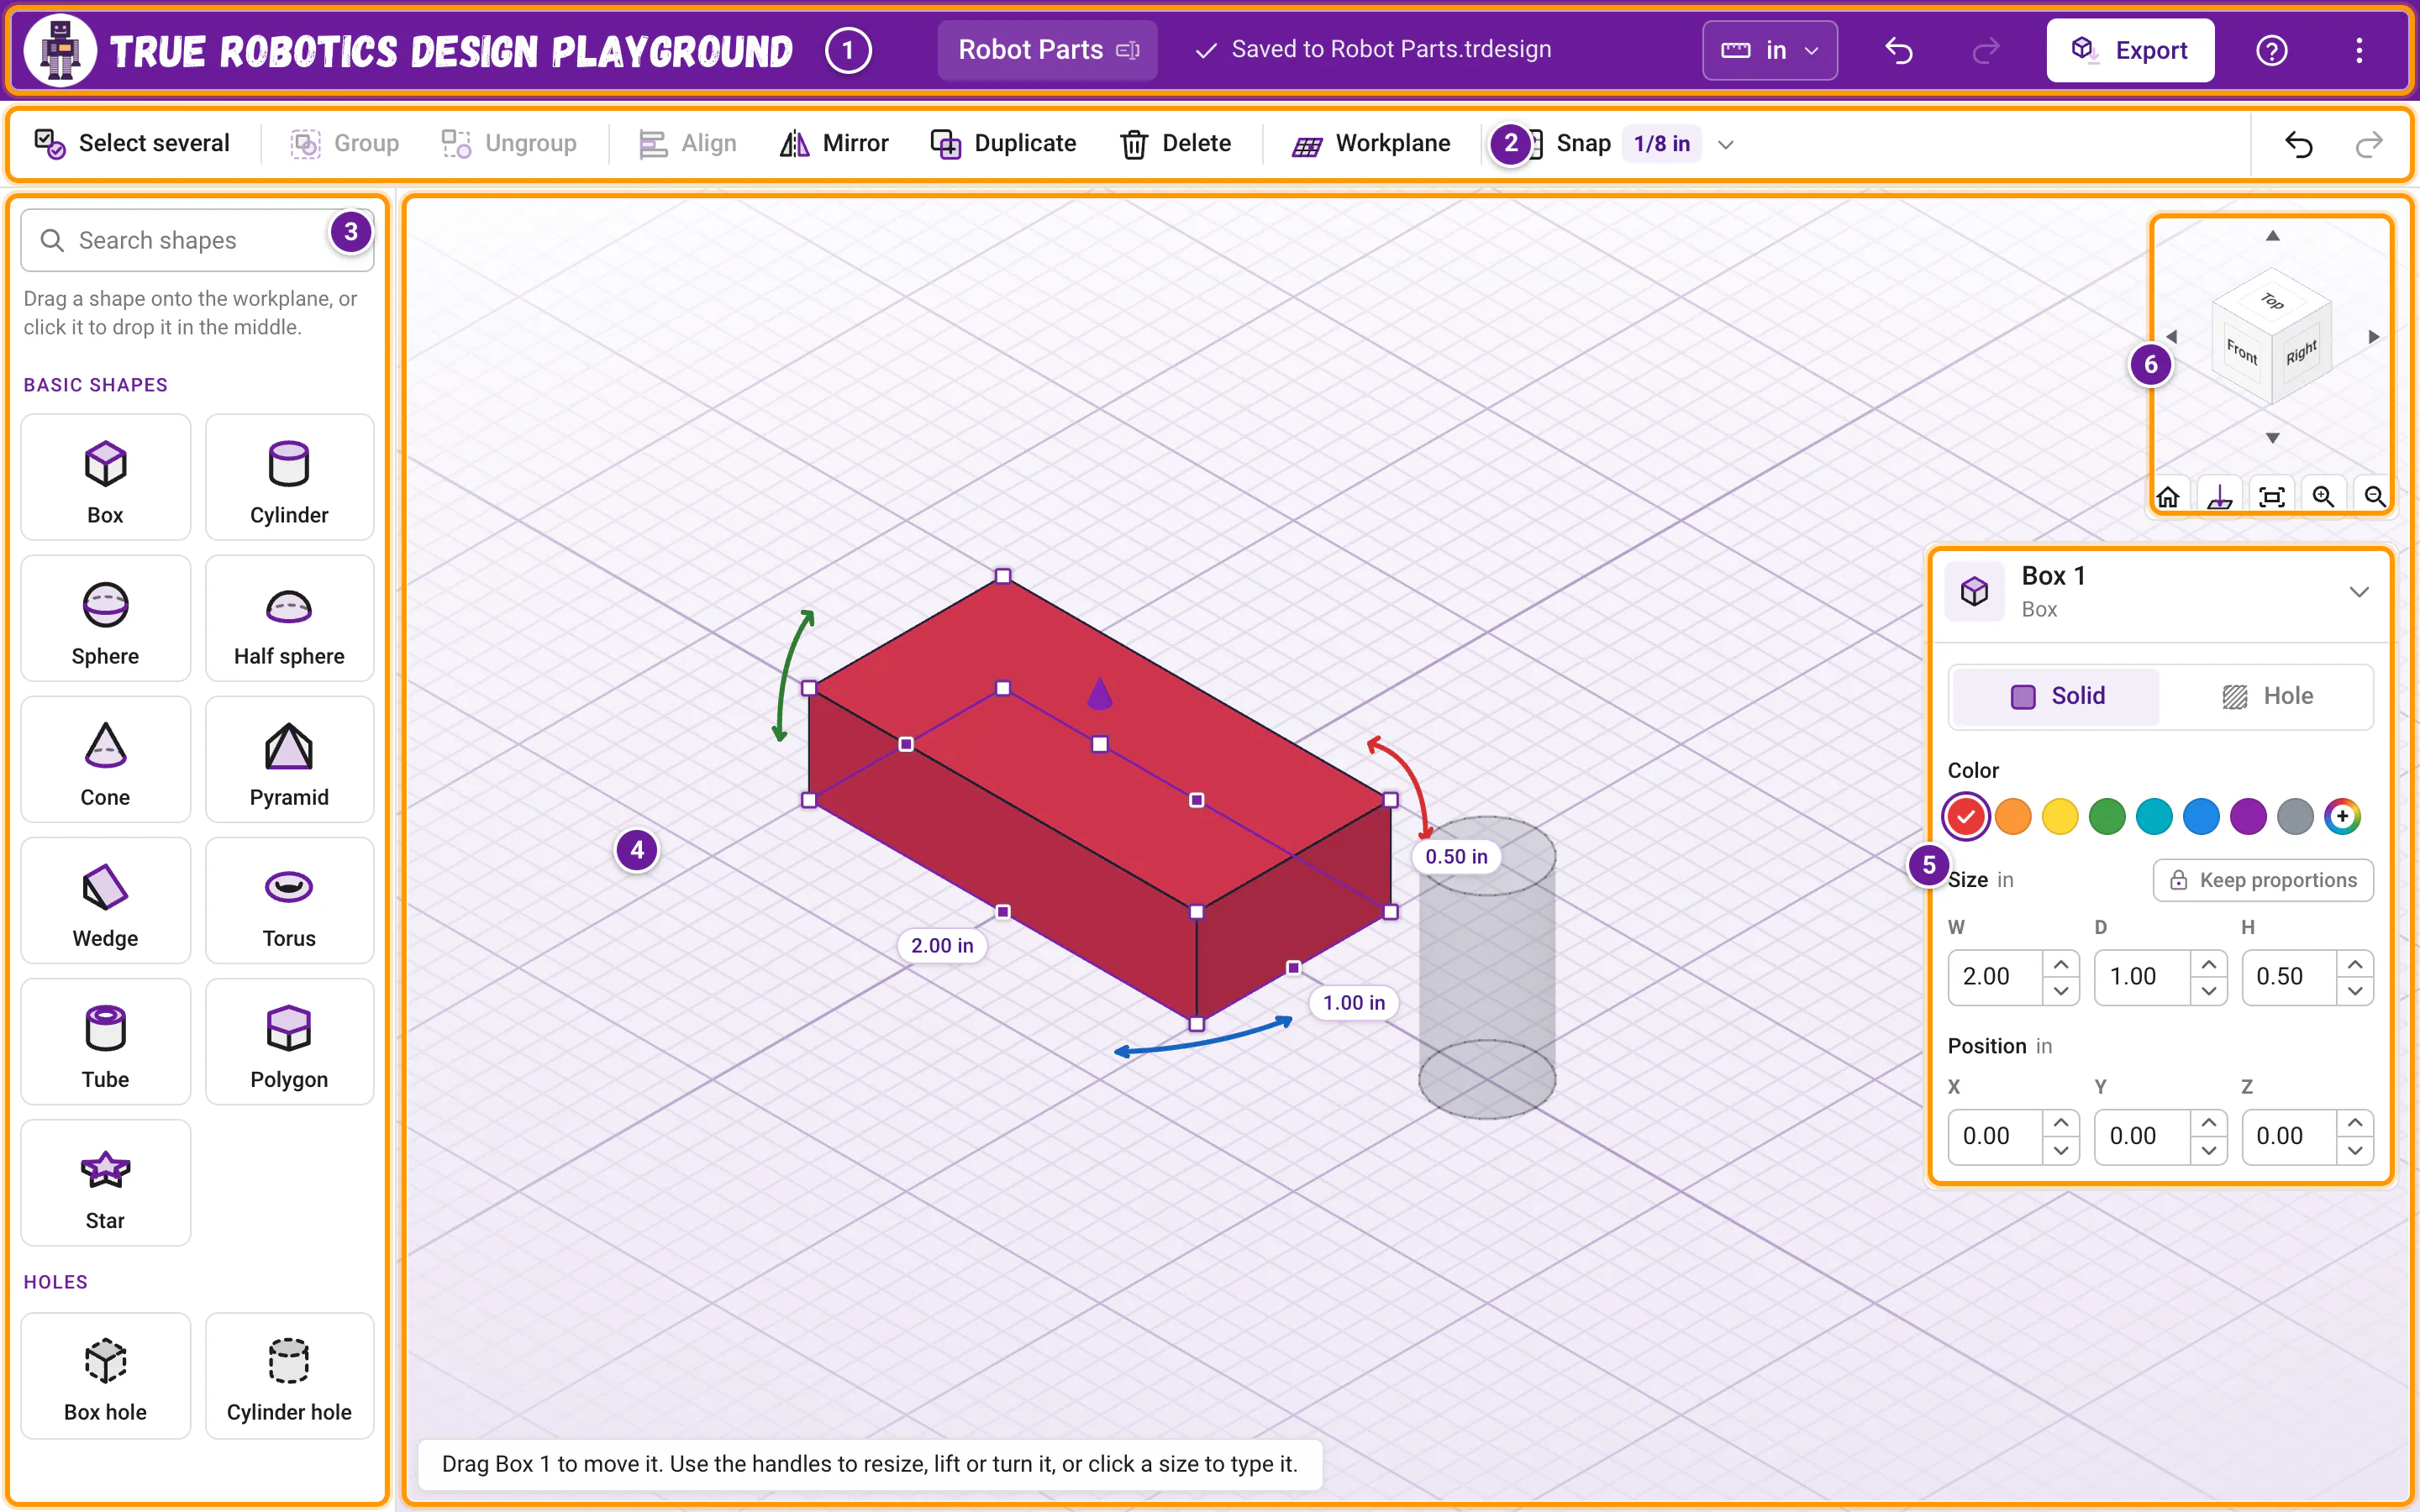
The numbers in the picture match the list under What is on the screen? below. Hover over any button in the app to see its name and its keyboard shortcut.
What is Basic mode?#
Think of a box of building blocks that you can stretch to any size. You pick a shape from the catalog on the left, drop it on the workplane, and size it exactly by typing on its labels. Need a hole? Any shape can be a hole, and when you group it with a solid it cuts right through. Group a few shapes and you have a real part, like a phone stand or a robot wheel hub, ready for the 3D printer.
If you have used Tinkercad, Basic mode will feel familiar right away. Everything you make saves as a .trdesign project, the same as Standard mode, and it all stays in inches unless you pick centimeters.
How do I start a Basic project?#
Click New Project On the home screen, click New Project (or press N).
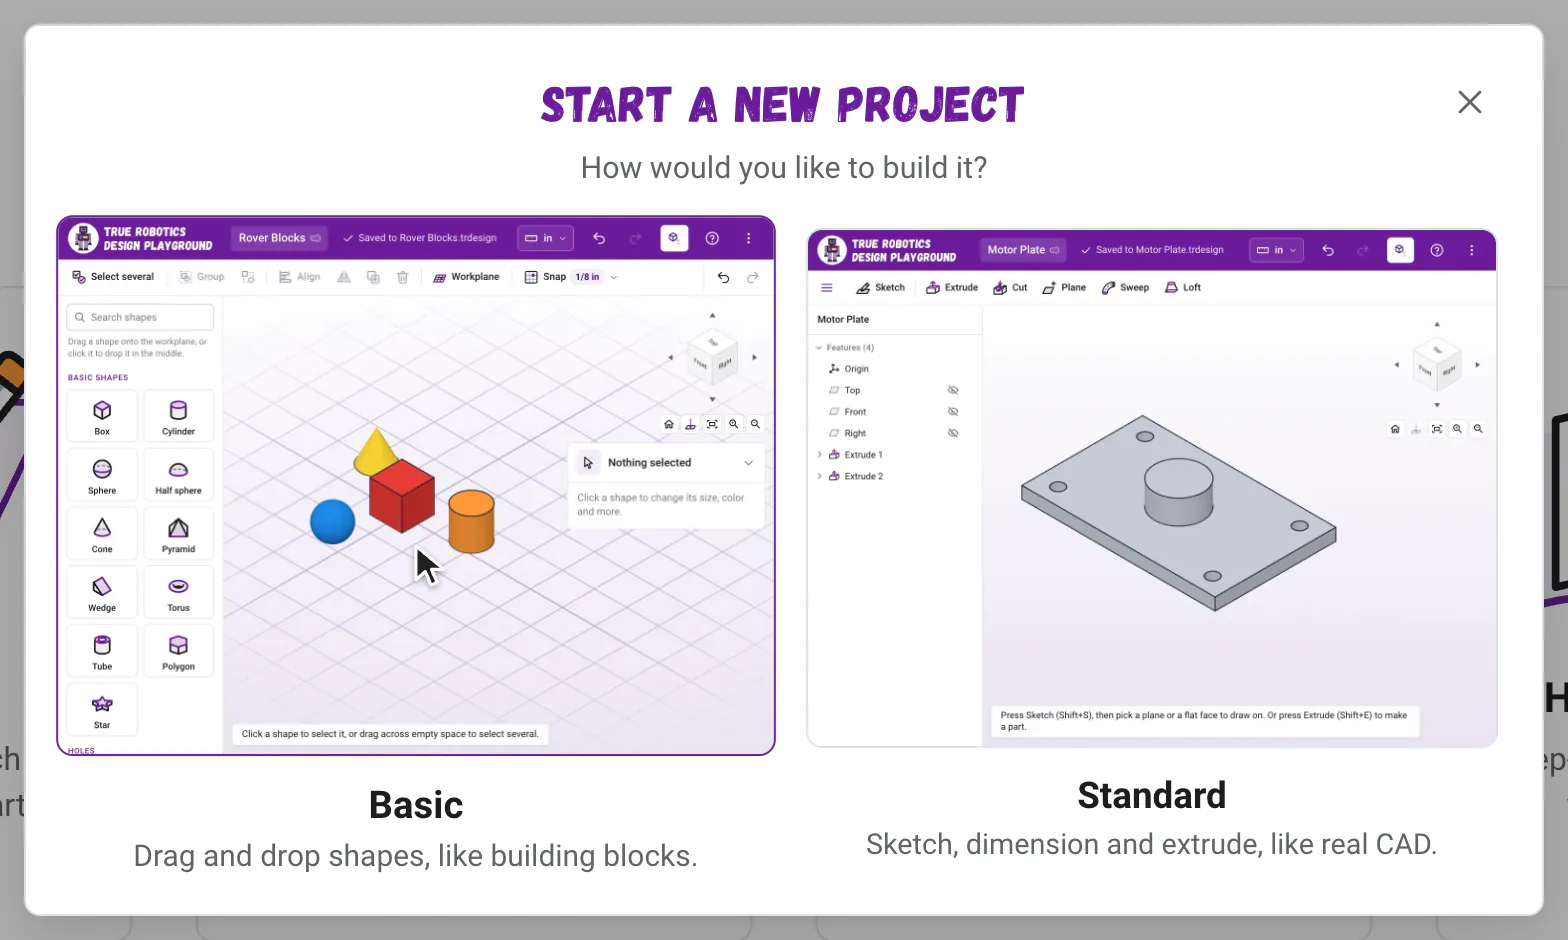
Click the Basic picture A window asks How would you like to build it? and shows both workspaces. Click Basic, the picture on the left. The Basic card has the keyboard first, so Enter picks it too.
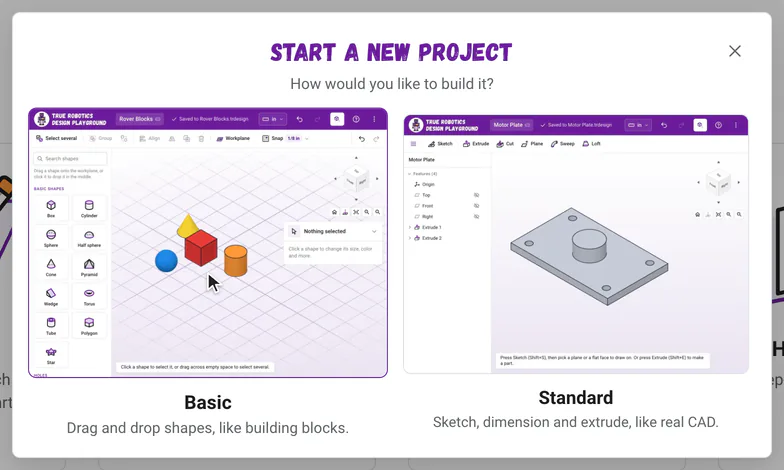
Basic, on the left, builds with shapes like building blocks. Standard, on the right, sketches and extrudes like real CAD. Turn on autosave The project opens in inches and asks Would you like to autosave this project? Click Yes, autosave and save the file with a name like
Phone Stand. In Safari, on an iPad or in Firefox, Yes saves in the browser instead. The Basic workspace shows an empty workplane, ready for your first shape.
Basic or Standard: which should I pick?#
| Basic | Standard | |
|---|---|---|
| How you build | Drag shapes onto a workplane and combine them. | Draw a flat sketch, then extrude, cut, sweep or loft it. |
| Exact sizes | Type sizes on the shape's labels or in the settings panel. | Dimensions and constraints drive the sketch. |
| Holes | Make any shape a hole and group it. | Sketch a circle and use Cut. |
| Changing it later | Click a shape and change it, anytime. | Edit any feature in the feature tree, and everything after it rebuilds. |
| Great for | First designs, younger students, quick ideas and parts made of simple shapes. | Precise parts with curved outlines, slots and patterns, and learning how pro CAD tools work. |
| Saving and export | A .trdesign project, and STL or STEP files. | A .trdesign project, and STL or STEP files. |
Start in Basic when you are new to 3D design or want an idea on the screen in minutes. Move to Standard when you want the exact outline of a part to come from a sketch, like a bracket with rounded ends or a plate with a slot. Lots of students use both: Basic to try an idea, Standard to make the final part.
Good to know: A project keeps its mode
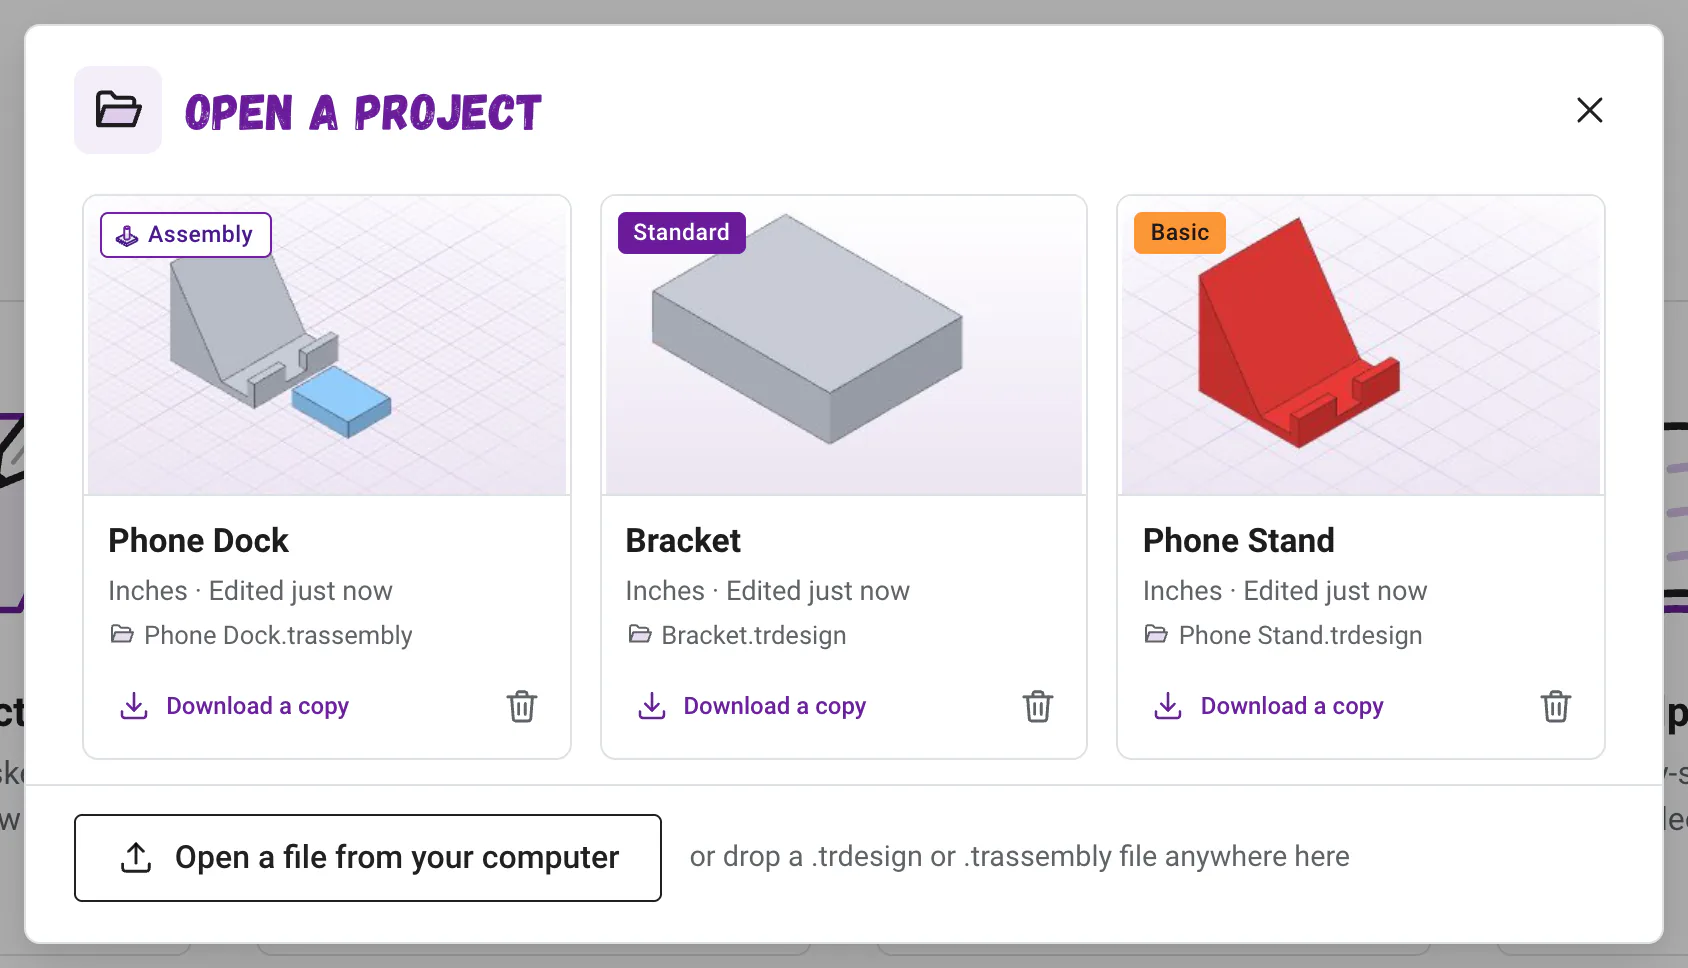
Each project stays Basic or Standard, the way you made it. The Open Project list marks every project with a small Basic or Standard badge, so you always know which is which.
What is on the screen?#
- The purple app bar is the same as in Standard: your project name, the save status, the units, Undo and Redo, Export, the ? help button and the three dots menu. The ? button opens the help page for what you are doing, like this one, or Shapes while the workplane is empty.
- The toolbar holds the shape tools listed below, then Undo and Redo at its right end.
- The shape catalog on the left lists every shape and the two hole shapes, with a search box at the top. See Shapes.
- The 3D view shows the gridded workplane, the flat surface your shapes sit on. Darker lines mark every inch (or centimeter), and the light lines mark the snap grid. Drag on empty space to turn the view, right drag to pan and scroll to zoom; hold Shift and drag across empty space to select several shapes with a box. A hint at the bottom left always says what to do next.
- The settings panel at the right shows the selected shape: Solid or Hole, its color, its own settings, and its exact size and position. On a phone it folds up along the bottom of the screen.
- The view cube turns the view, just like in Standard. Its buttons go to the Home view, zoom to fit everything and zoom in and out. See Moving around the 3D view.
- GroupShortcut: Ctrl+GJoin shapes into one. Holes cut through the solids.
- UngroupShortcut: Ctrl+Shift+GTake a group apart into its shapes again.
- AlignShortcut: LLine up the selected shapes by their sides or middles.
- MirrorShortcut: MFlip the selection left to right, front to back or upside down.
- DuplicateShortcut: Ctrl+DMake a copy in the same spot, ready to move.
- DeleteShortcut: DeleteRemove the selected shapes. Backspace works too.
- WorkplaneShortcut: WBuild on a face of a shape. Over empty space, W puts it back on the ground.
- SnapPick how far shapes move with each step, from 1/16 in to 1 in.
How does a Basic design come together?#
Drag shapes in Drag a shape from the catalog onto the workplane, or click it to drop it in the middle. Shapes shows every one.
Size them Click a size label, type the size you want and press Enter, or drag the handles. Move, resize and rotate has every trick.
Put them in place Drag shapes to move them, use the arrow keys, or type an exact position in the settings panel.
Add holes Drag in a Box hole or a Cylinder hole, or press H to turn any shape into a hole.
Group them Select everything and press Ctrl+G. The solids join into one part, and the holes cut through. See Holes and groups.
Export Click Export in the purple bar for an STL file for your 3D printer, or a STEP file for another CAD program. See Export STL and STEP.
Can I use Basic mode on a phone or a tablet?#
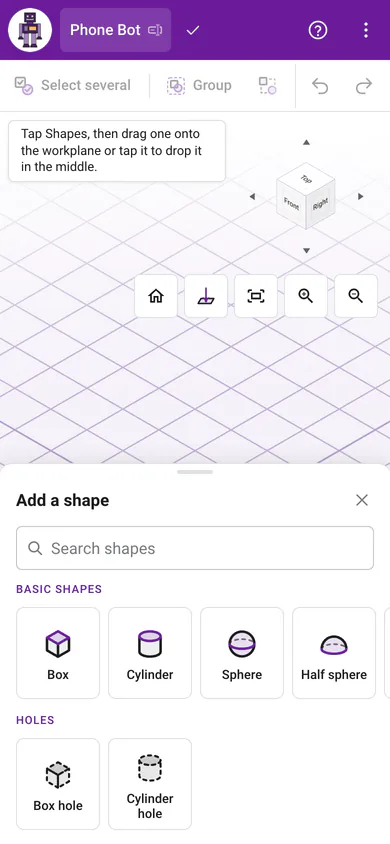
Yes. On a tablet, the catalog stays on the left and the handles grow to finger size. On a phone, tap Shapes to slide the catalog up from the bottom, then tap a shape to drop it in the middle or drag it onto the workplane. Tap a shape to select it, tap Select several to pick more than one (to group a hole with a solid, say), and drag with one finger on empty space to turn the view. The settings panel folds along the bottom; tap its header to open it.
Where should I go next?#
- Shapes: every shape in the catalog and its settings.
- Move, resize and rotate: handles, typed sizes, the arrow keys, the snap grid, Align, Mirror and the workplane.
- Holes and groups: cut holes and join shapes into one part.
- Make a phone stand and make a robot wheel hub: two Basic tutorials, start to finish.
Have fun building! There is no wrong first shape, and Ctrl+Z is always there if you change your mind.
Questions and answers#
Is Basic mode like Tinkercad?
Yes. Basic mode works with shapes on a gridded workplane, holes and groups, the same way Tinkercad does, and it runs in the browser with no login.
Can I change a Basic project into a Standard one?
No. A project keeps the mode it was made in. When you are ready to sketch and extrude, start a new Standard project, and keep your Basic project just as it is.
Does Basic mode save and export like Standard?
Yes. Say Yes to autosave and a Basic project saves to a .trdesign file as you work, just like a Standard one, and Export makes STL files for 3D printing or STEP files for other CAD programs.
Which mode does a new project start in?
You choose every time. The New Project window shows Basic on the left and Standard on the right, and the Basic card has the keyboard first, so Enter picks Basic. Click Standard when you want to sketch and extrude instead.