
Building parts
Sketching on Faces
In the True Robotics Design Playground you can sketch right on a flat face of a part. Click the face so it turns purple, press Sketch, and the view turns to look straight at it, with the face's outline shown in gray. Draw your shape, finish the sketch, then extrude it with Add to build up material or with Remove to cut into the part.
Read what happens in this video
We click the top face of the base and press Sketch, and the face outline shows in gray. A 2 by 1/8 inch rectangle from the corner becomes the wall, and a 1 1/2 inch Add extrude raises it into one L shaped part. Then we sketch a 1/4 inch circle on the front of the wall, place it 1 inch across and 1 inch up, and cut it out with Cut, which is already set to Remove and Through all.
The steps in the video:
- Click the top face of the base, then click Sketch.
- Press G and click the corner of the face, right on the origin.
- Move to the right, type 2, press Tab, type 1/8 and press Enter. Press Esc.
- Press Enter to finish. Press Shift + E and type 1 1/2 for the wall.
- Press Enter to add the wall. Click Home under the view cube and press F.
- Click the front face of the wall, then click Sketch.
- Press C, click the wall, type 1/4 and press Enter. Then press Esc.
- Press D. Click the origin, then the circle. Place the label, type 1 and press Enter.
- Click the origin and the circle again, place the label, type 1 and press Enter.
- Press Esc and Enter to finish. Press Shift + C for Cut, then press Enter.
- Click Home under the view cube and press F to see the finished bracket.
How do I sketch on a face?#
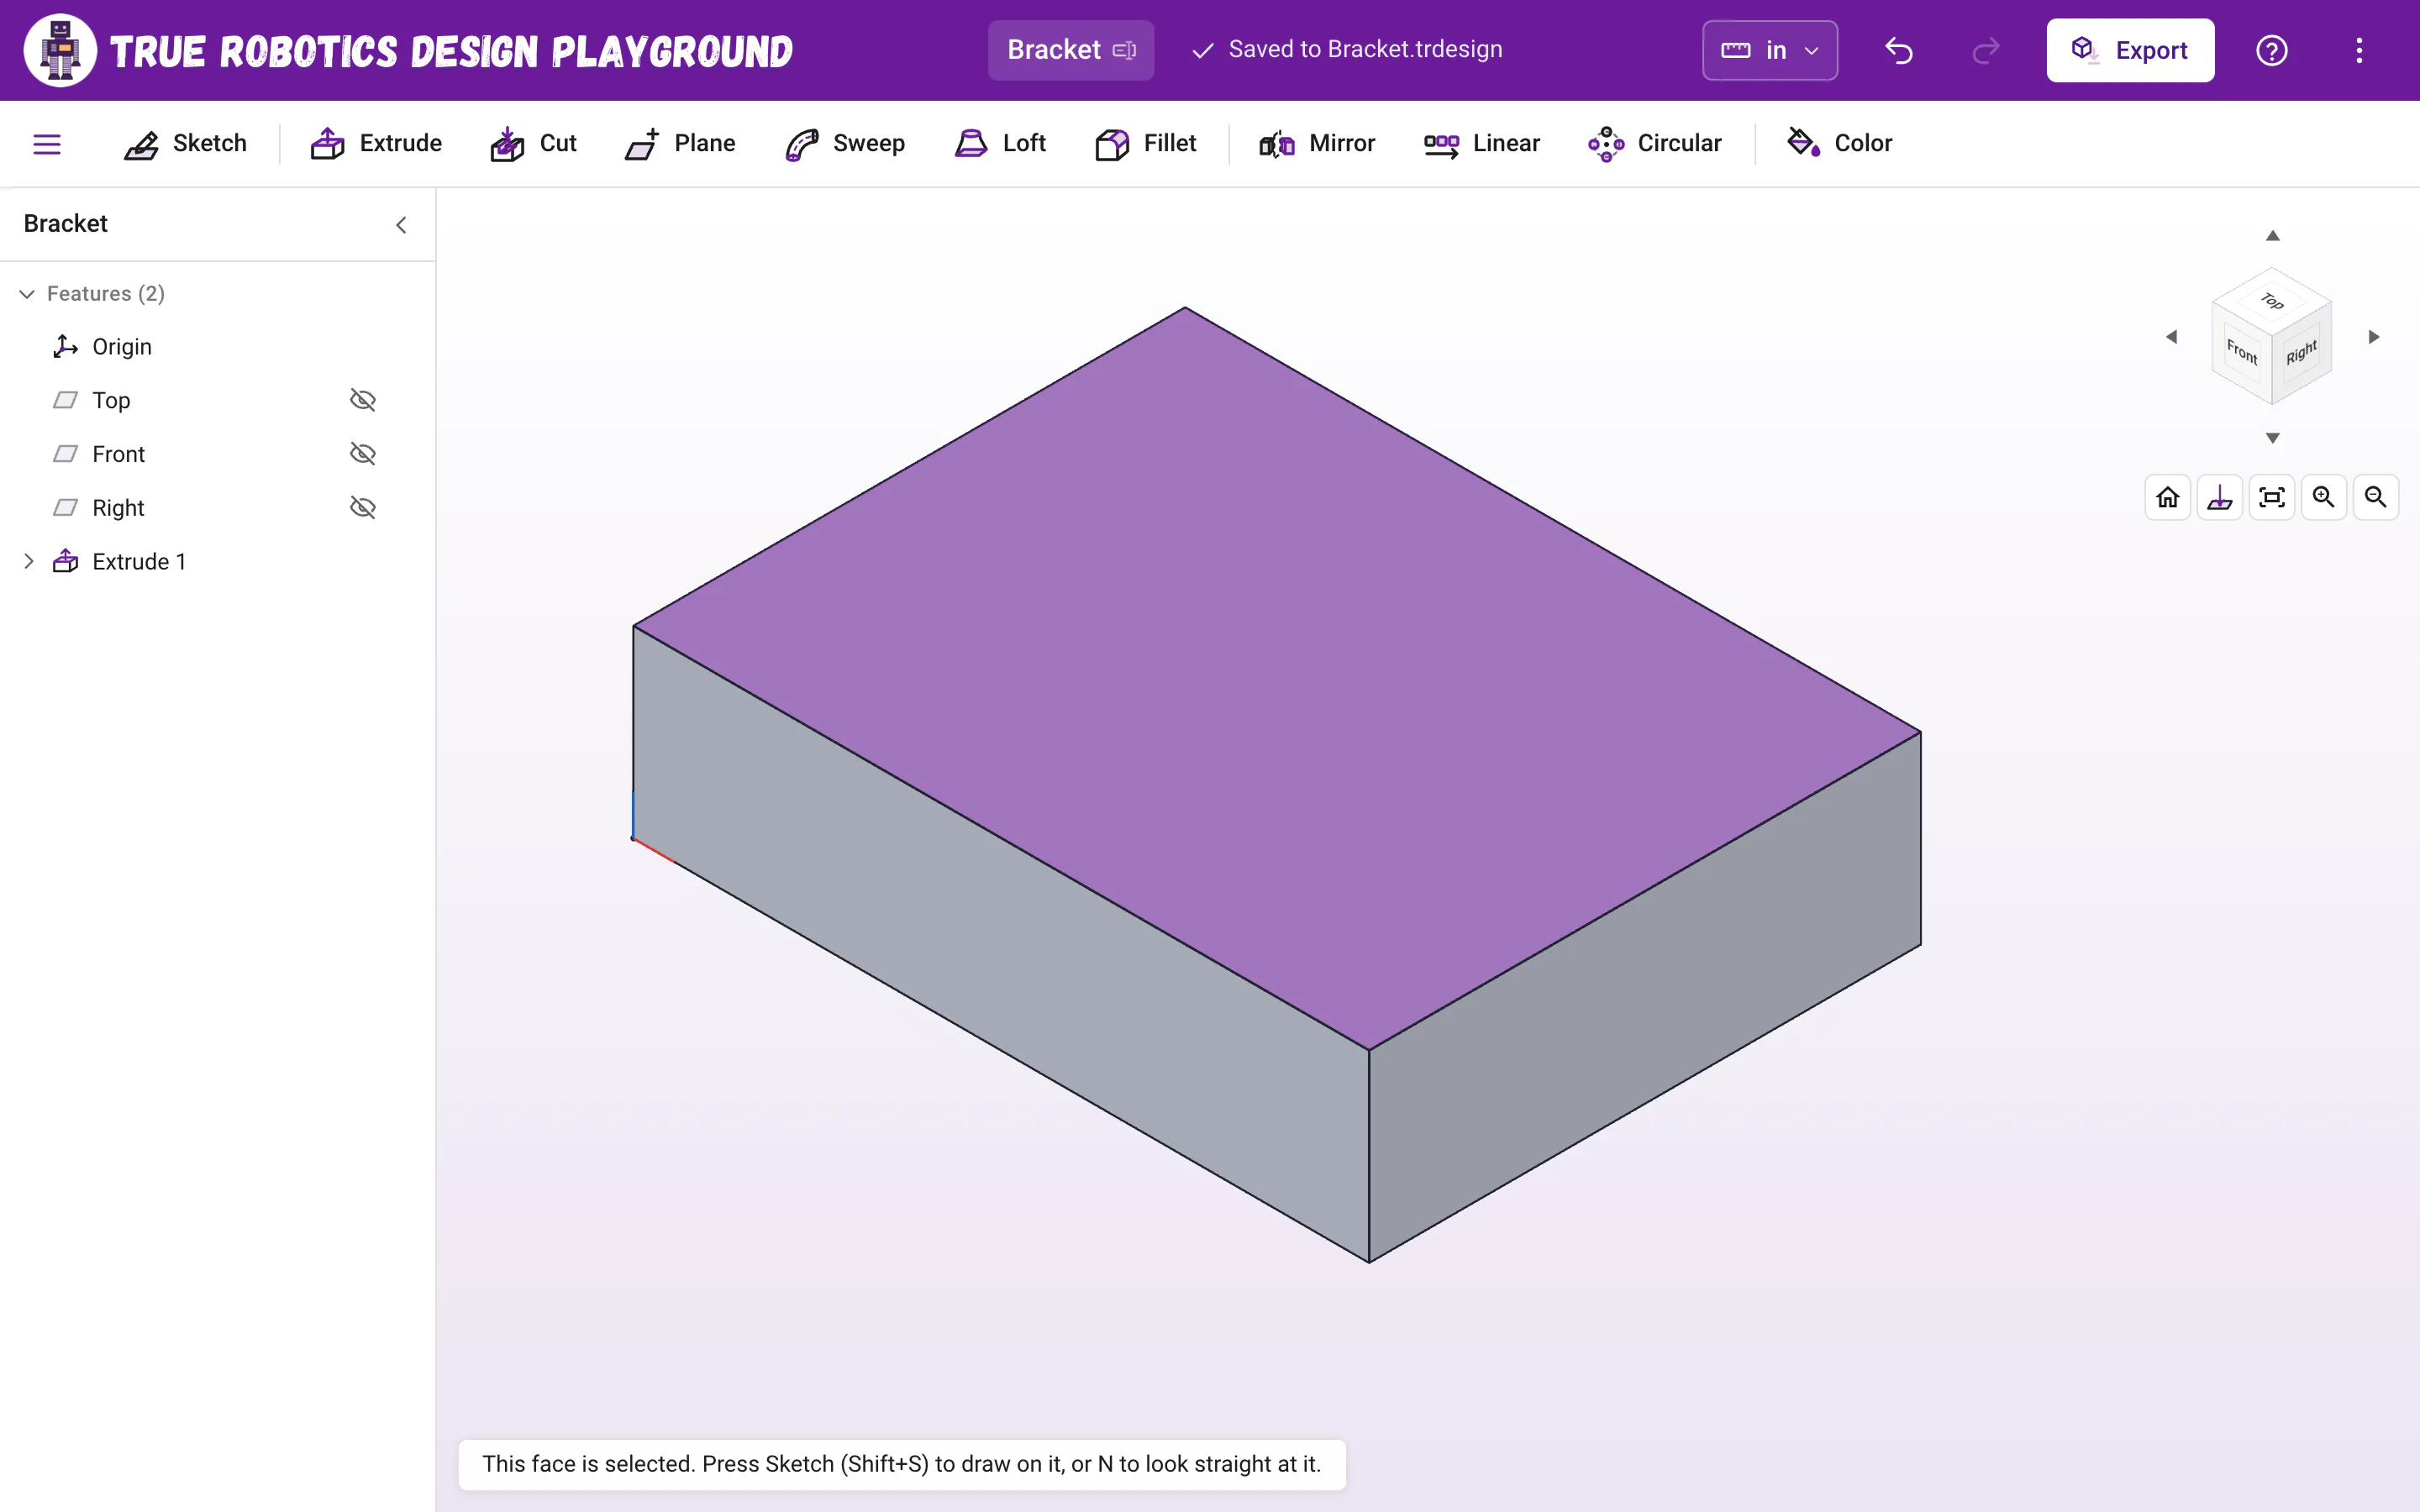
Click a flat face of a part. It glows orange as you point at it and turns purple when you click.
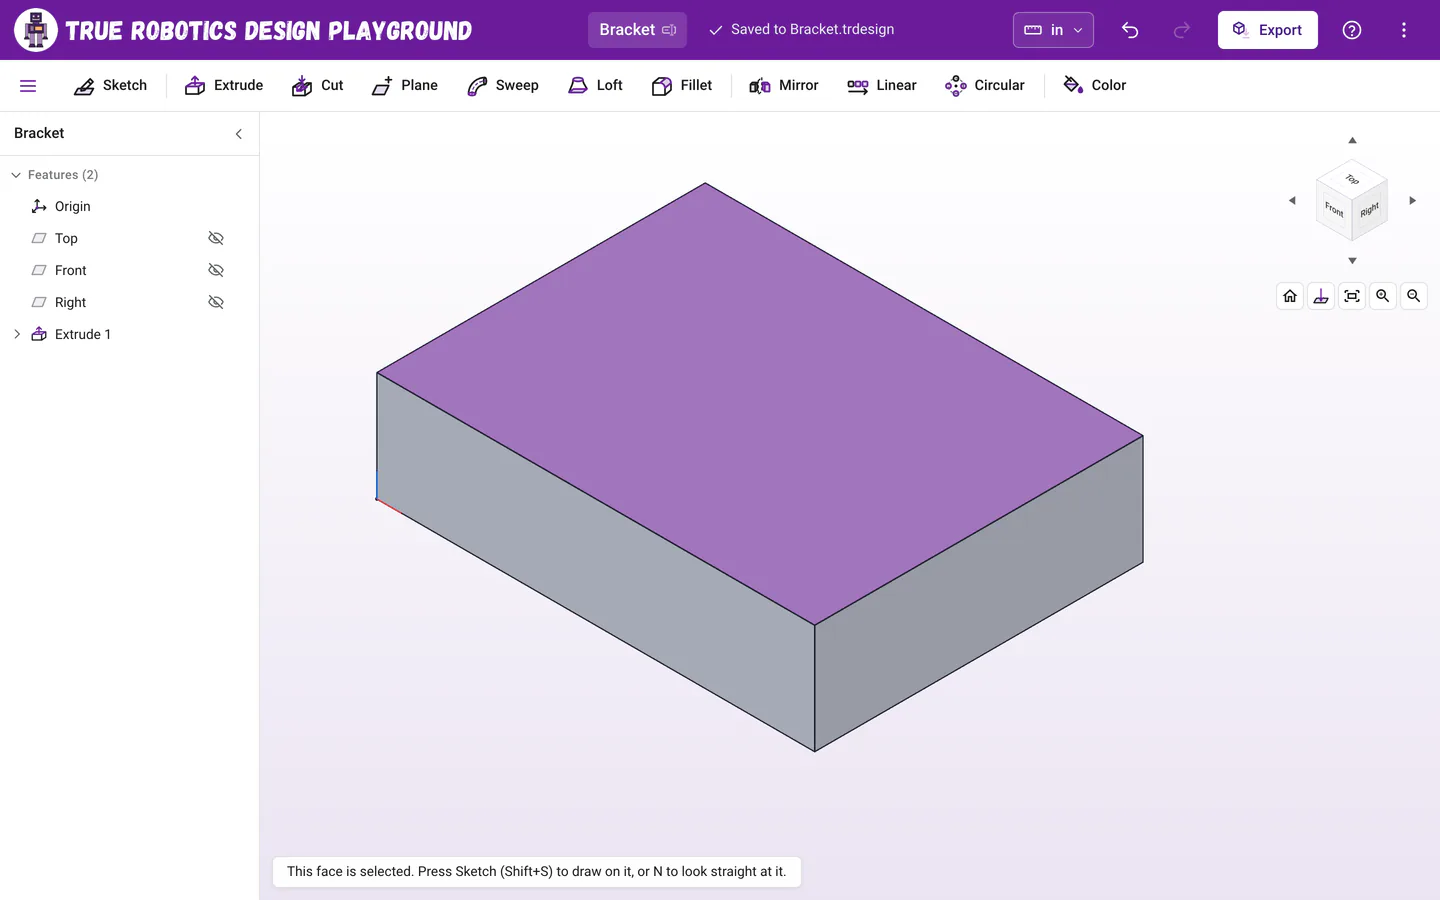
Click a flat face to select it, then press Sketch. Click Sketch or press Shift+S. The view turns to look straight at the face and fits it on screen, and the Sketch panel on the left names it under Sketch plane, like Top face of Extrude 1.
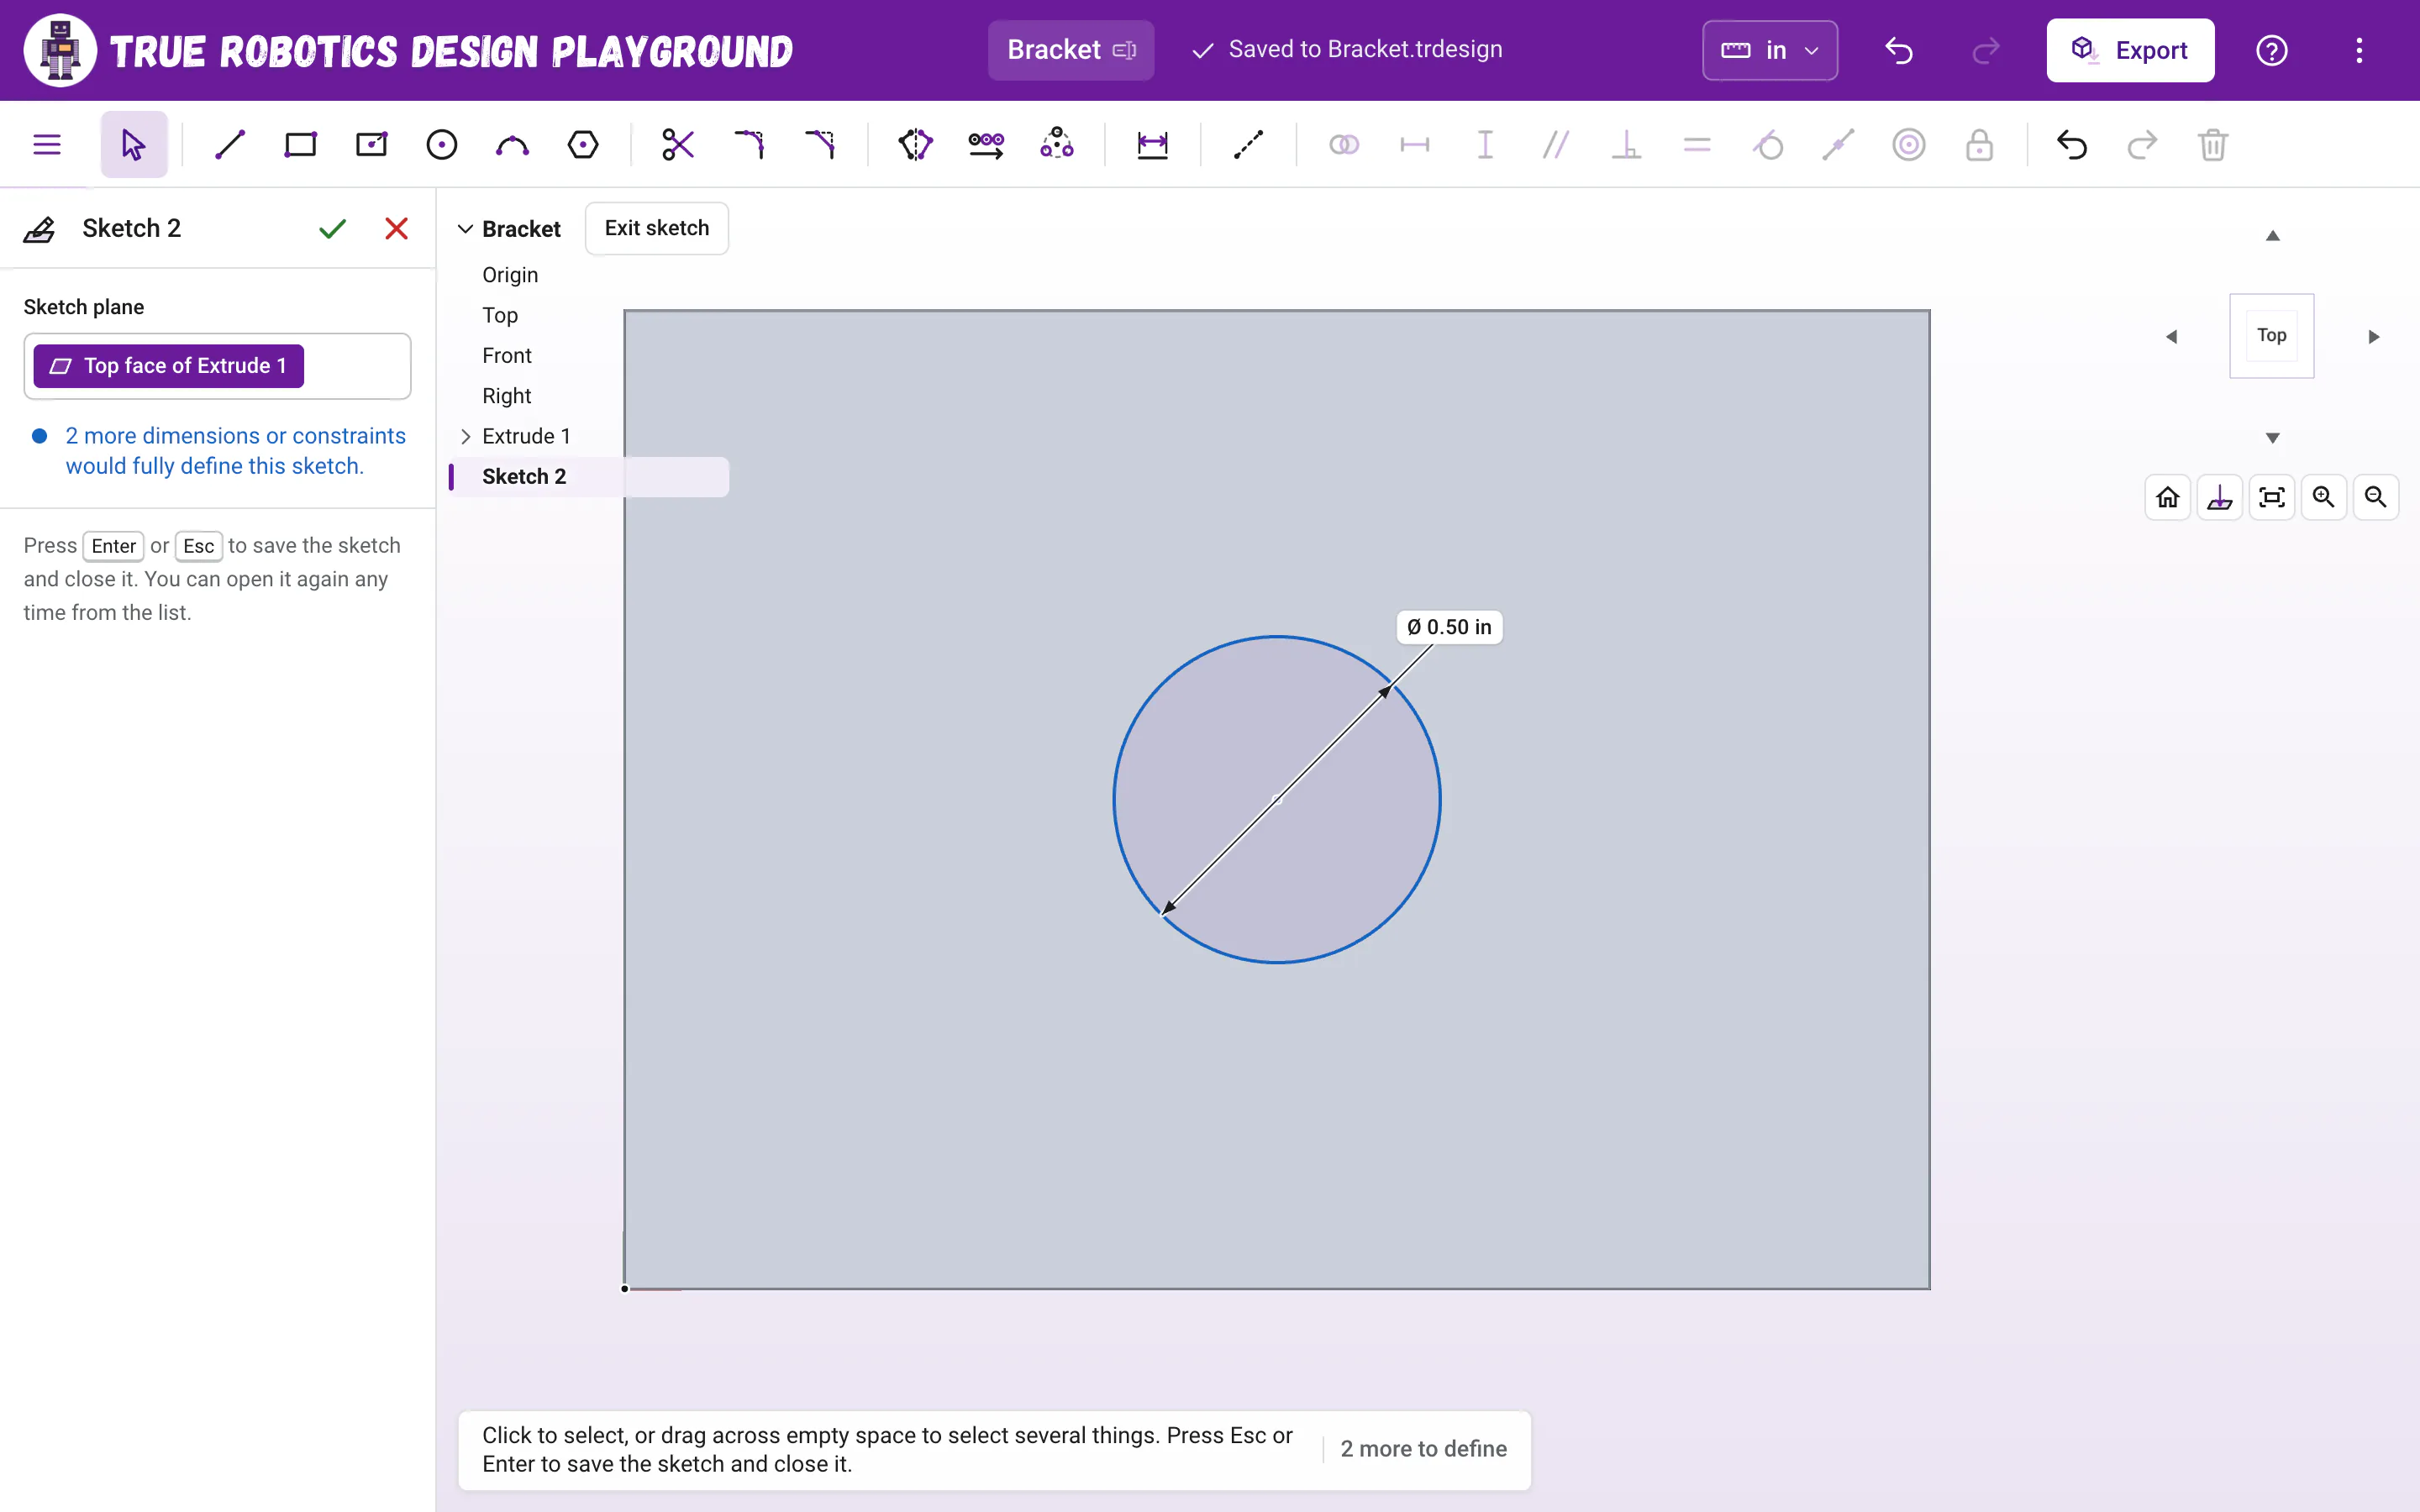
Draw your shape. The face's outline shows as gray lines, and your pointer snaps to its corners and edges.
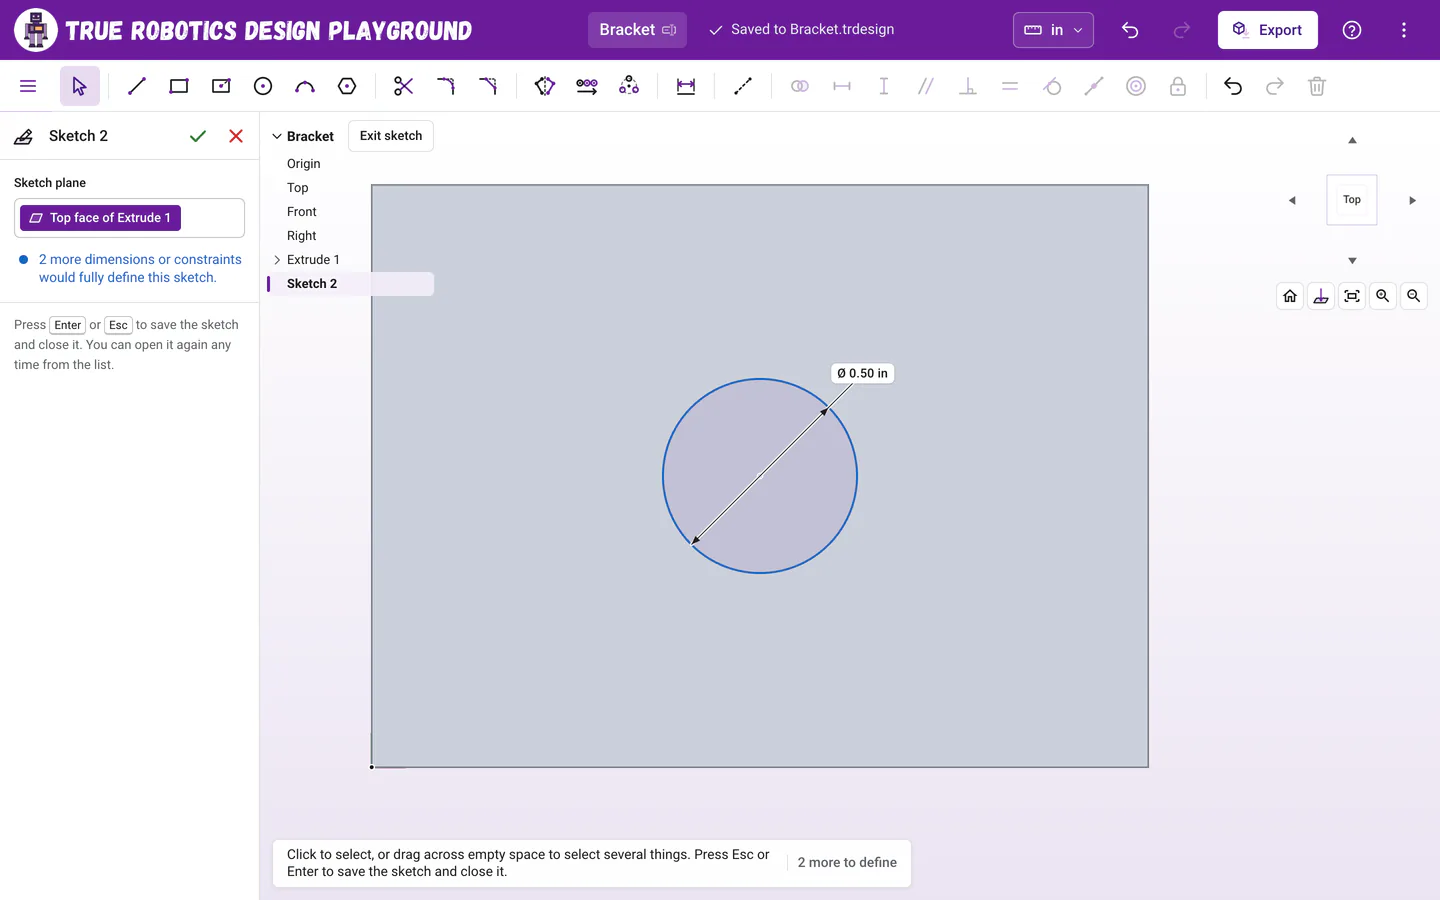
The face outline shows in gray so you can line things up with the part. Press Enter or click Exit sketch to finish, then Extrude with Add to build up from the face, or Cut (Shift+C) to cut into it.
What are the gray lines?#
They are the outline of the face you are sketching on, shown as a reference. Your pointer snaps to their corners and edges, which is great for lining a shape up with the edge of the part. They are not part of your sketch, so they never extrude and never add constraints. For exact placement, add dimensions from the origin.
Where is the origin on a face?#
A face sketch has its own origin point, right where the main origin lines up with the face. If your first sketch started on the origin, that point lands on a corner or edge of the part, which makes it easy to dimension from. That is one more reason to start every part on the origin.
Do face sketches follow my changes?#
Yes. A face sketch remembers which face it sits on, like Top face of Extrude 1. Make Extrude 1 deeper and the sketch rides up with the top face, and a hole you cut from it still goes all the way through. If you delete or change a feature so the face is gone, the sketch shows a warning in the feature tree: The face this sketch was on is gone, so the sketch stayed where it was.
Which way do extrudes from a face go?#
- Add and New go out of the face, away from the part.
- Remove and Intersect go into the part, so cuts work without flipping.
- Click Flip direction to go the other way.
How do I build a part up in layers?#
Most parts grow one feature at a time: a base plate, then a wall sketched on its top face and extruded with Add, then holes sketched on the wall and cut with Cut. Each feature lands in the feature tree, and because every sketch remembers its face, changing the base later updates everything built on it. The L bracket tutorial builds a part exactly this way.
Good to know: Flat faces only
You can sketch on planes and flat faces. The round side of a cylinder is not flat, so the app asks you to pick a plane or a flat face instead.
Face sketches are how simple blocks turn into real robot parts. Try one on your next design!