
Tutorials
Make a Robot Mounting Plate with Holes
This True Robotics Design Playground tutorial makes a 3 by 1 1/2 inch mounting plate with four screw holes, a part students can print and bolt onto a robot. You draw the plate from the origin, add a dashed construction rectangle to place the holes, drop four circles on its corners, and extrude everything 1/8 inch thick in one step.
Read what happens in this video
We draw a 3 by 1 1/2 inch plate from the origin, then turn on Construction and draw a dashed 2 1/2 by 1 inch rectangle inside it. Two 1/4 inch dimensions place it evenly, and a 1/8 inch circle snaps onto each of its corners. The sketch turns fully defined, and a 1/8 inch extrude makes the finished plate.
The steps in the video:
- Press G for the Corner rectangle, click the origin and move up and to the right.
- Type 3, press Tab, type 1 1/2 and press Enter for the plate.
- Press Q for Construction. Hold Shift so it does not snap, and click just inside the corner.
- Type 2 1/2, press Tab, type 1 and press Enter. Press Q to turn Construction off.
- Press D. Click both left sides, place the label, type 1/4 and press Enter.
- Click both bottom sides, place the label, type 1/4 and press Enter.
- Press C. Click each corner of the dashed rectangle, type 1/8 and press Enter.
- Press Esc and F. Drag the 1.5 in label out a little so it is easy to read.
- Press Enter to finish. Click Extrude, type 1/8 and press Enter.
- Click Home under the view cube and press F to see the plate.
You will learn: typed rectangles, construction geometry, distances between lines, typed circle diameters and extruding a plate with holes. Time: about 15 minutes.

How do I make a mounting plate with holes?#
Start a new project Click New Project, then Standard. Click Yes, autosave, save the file as
Mounting Plate, and the project opens in inches.Sketch on Top Click Top in the feature tree, then click Sketch (or press Shift+S).
Draw the plate Press G for the Corner rectangle, click the origin, then type
3, press Tab, type1 1/2and press Enter. The 3 by 1 1/2 inch plate is black, so it is fully defined.Turn on construction Press Q. The Construction button in the toolbar stays highlighted, so the next shapes you draw come out dashed.
Draw the hole pattern rectangle The Corner rectangle is still on. Hold Shift so nothing snaps, and click inside the plate a little up and to the right of its bottom left corner. Move the pointer up and to the right, then type
2 1/2, press Tab, type1and press Enter. A dashed rectangle appears inside the plate.Turn off construction Press Q again so your holes come out as regular circles.
Place the hole pattern Press D for Dimension. Click the plate's left side, then the dashed rectangle's left side, click between them to place the label, type
1/4and press Enter. Do the same with the two bottom sides. The dashed rectangle now sits 1/4 inch in from every edge.Add four holes Press C for Circle. Click a corner of the dashed rectangle (it snaps there), type
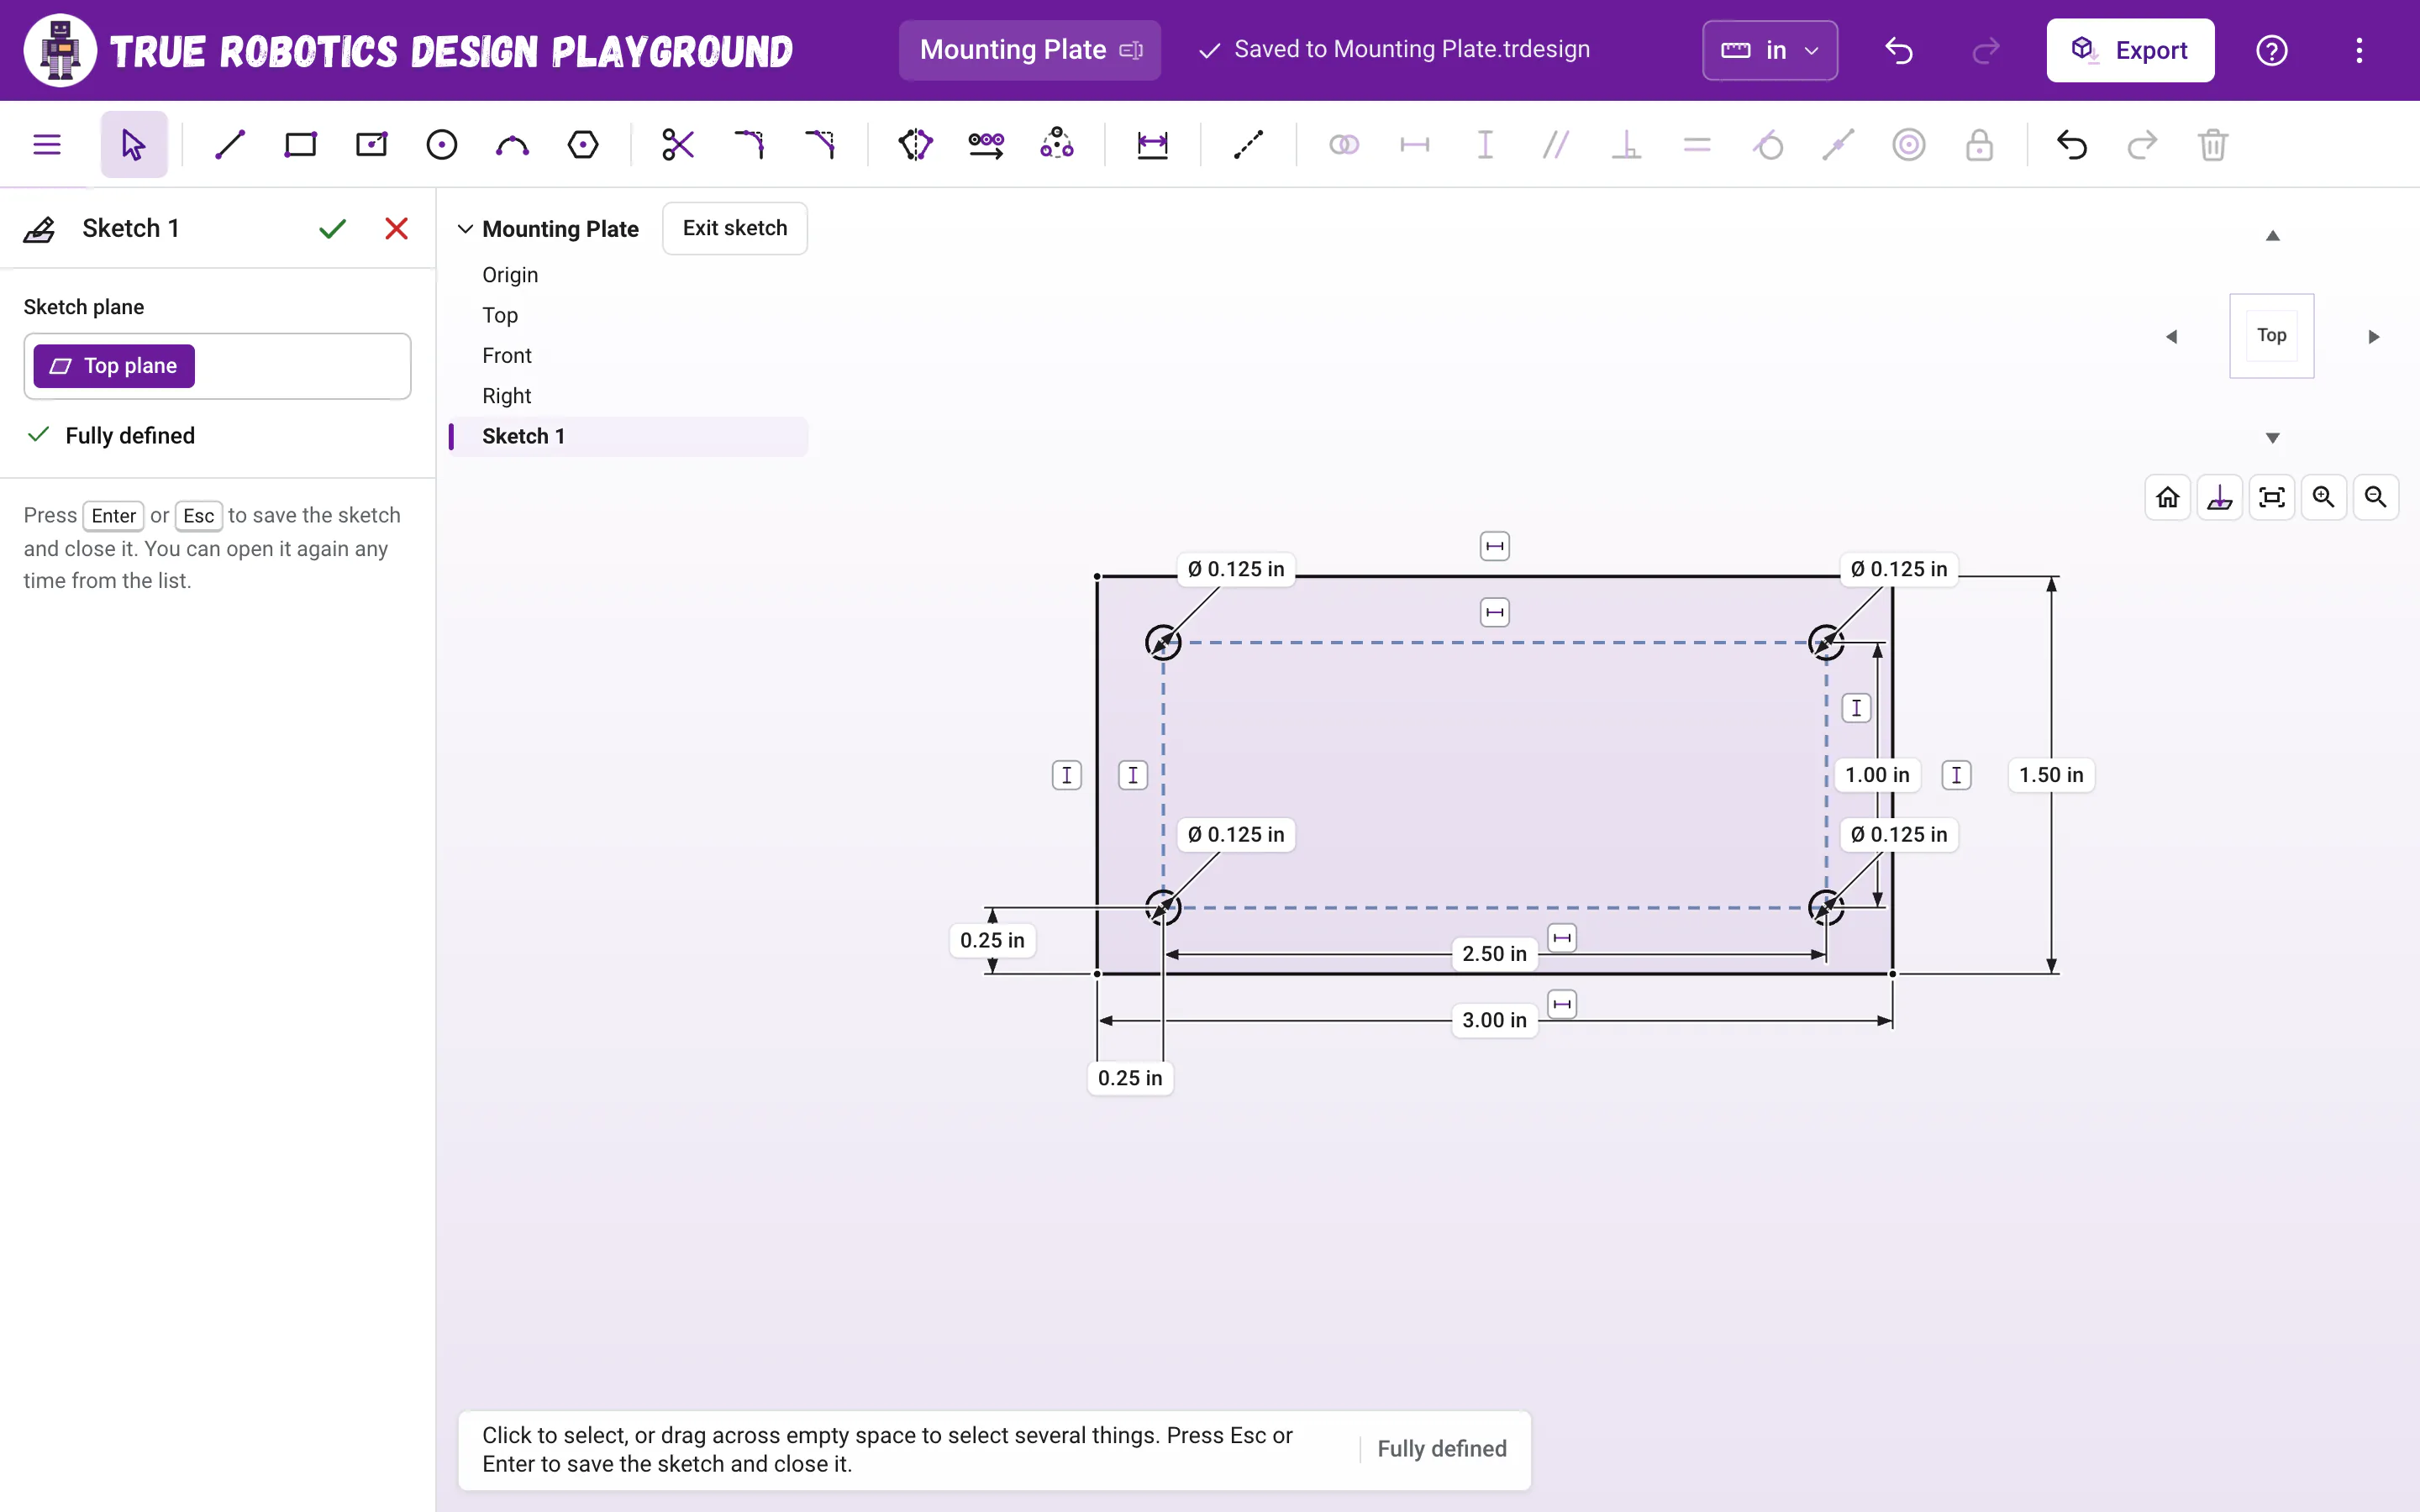
1/8and press Enter. Do the same at the other three corners, then press Esc to put the Circle tool away.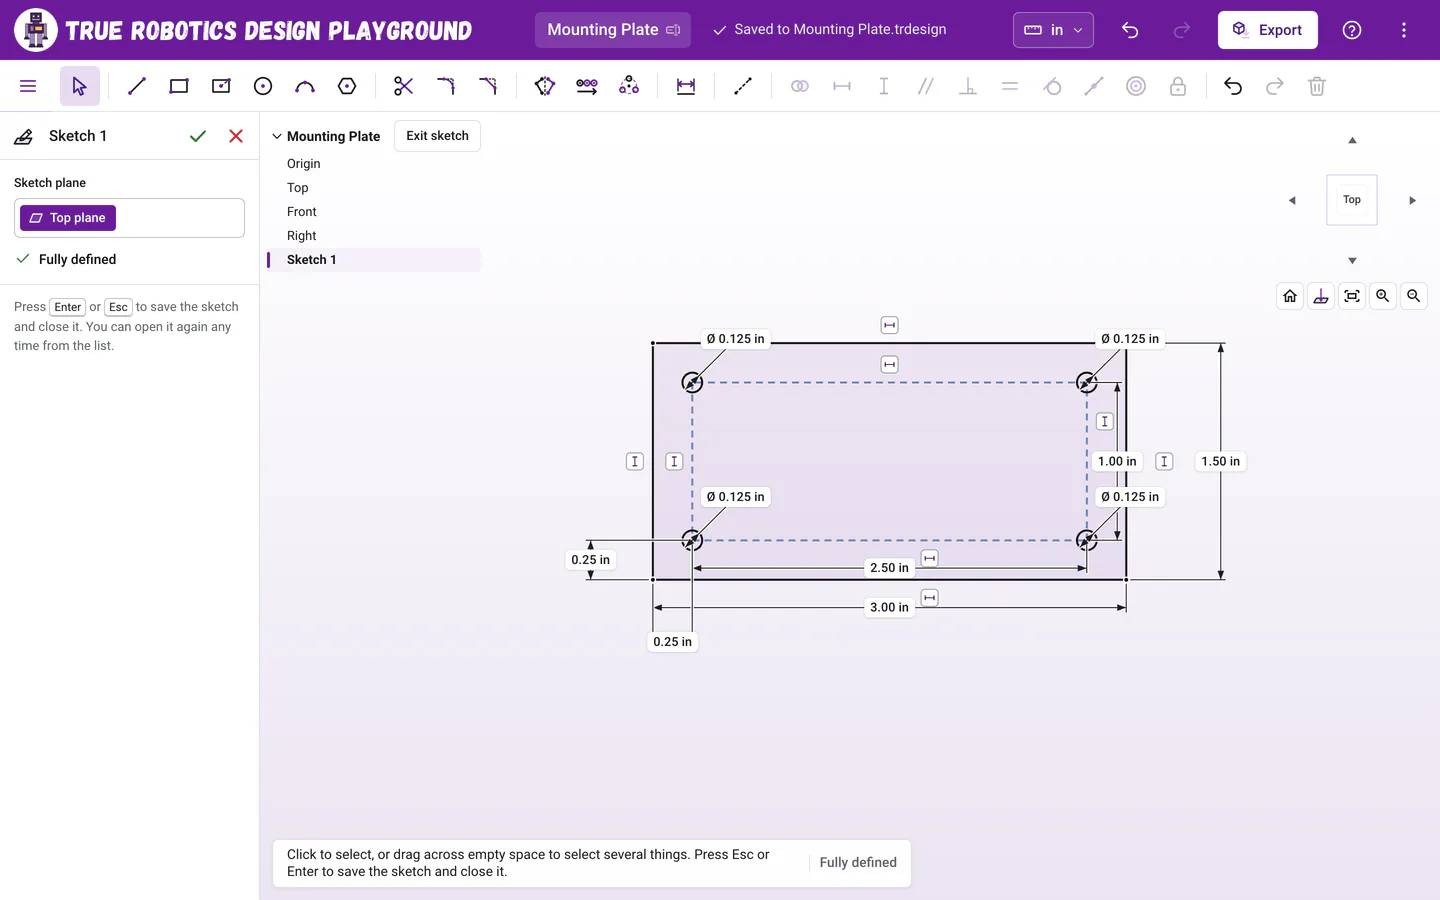
A dashed construction rectangle holds all four holes in place. Check that it is fully defined Everything is black, and the Sketch panel on the left says Fully defined. Press Enter, or click Exit sketch, to finish the sketch.
Extrude the plate Press Shift+E. The plate with its four holes is already picked. Type
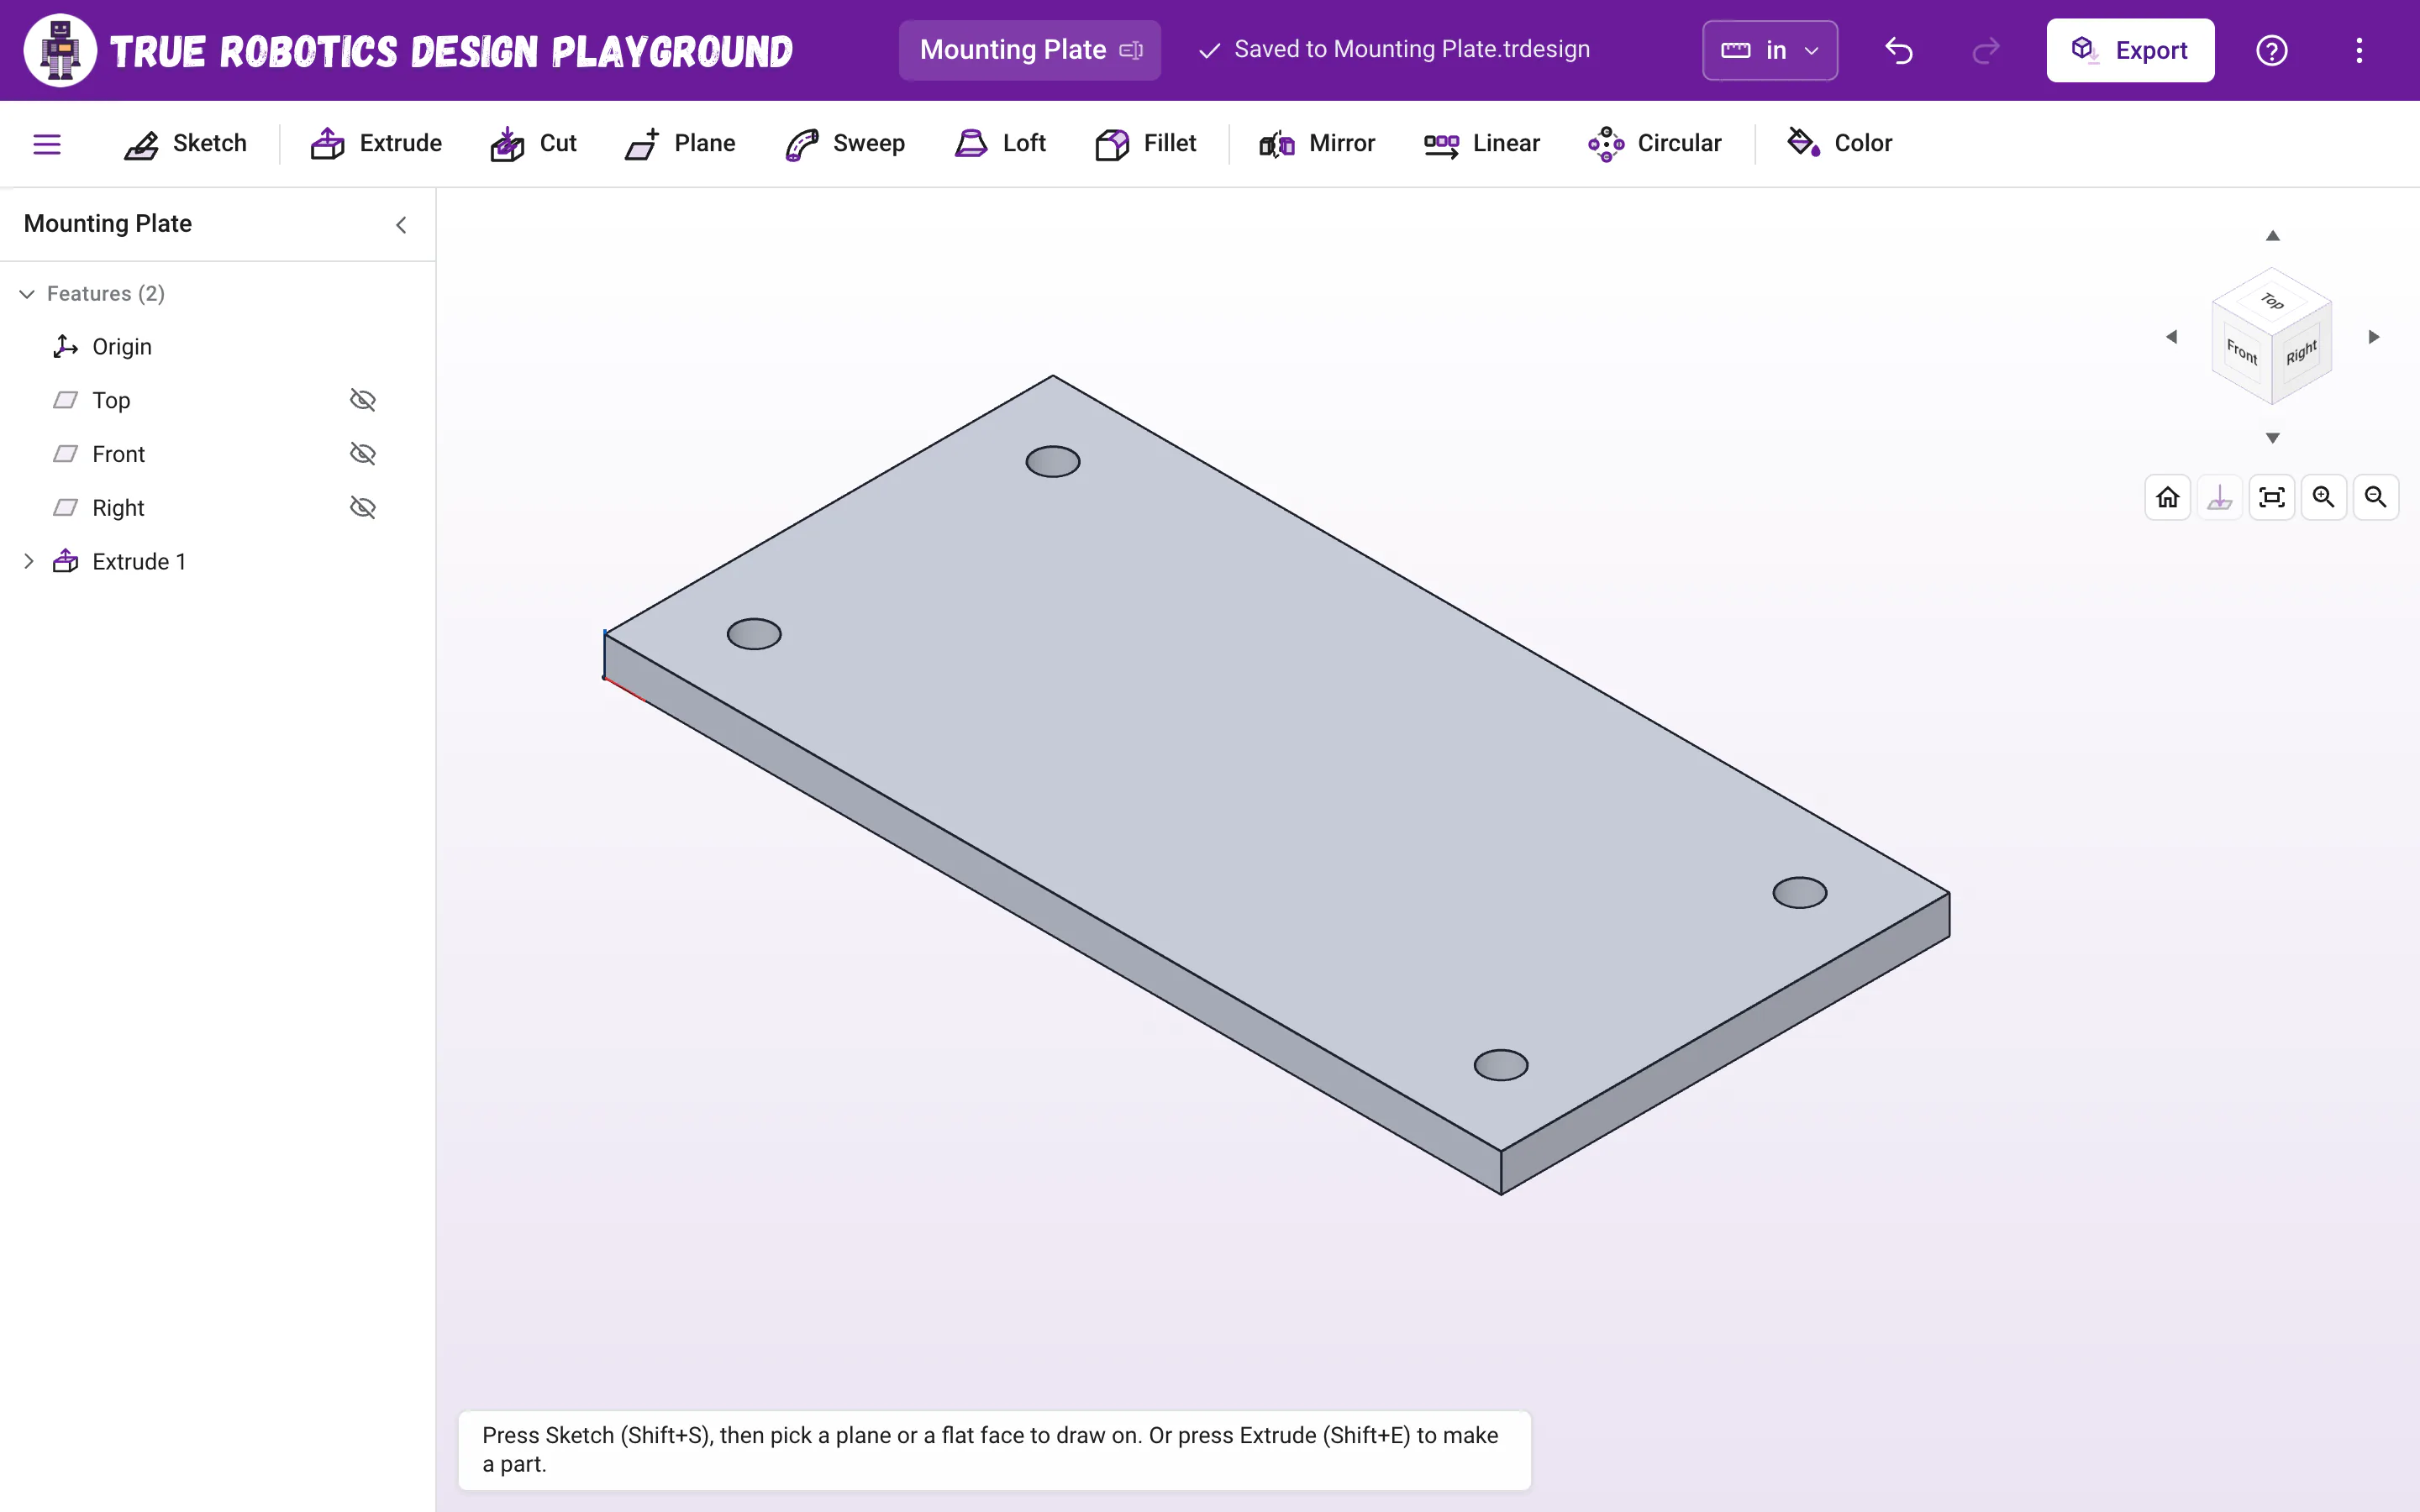
1/8and press Enter. You have a mounting plate 1/8 inch thick.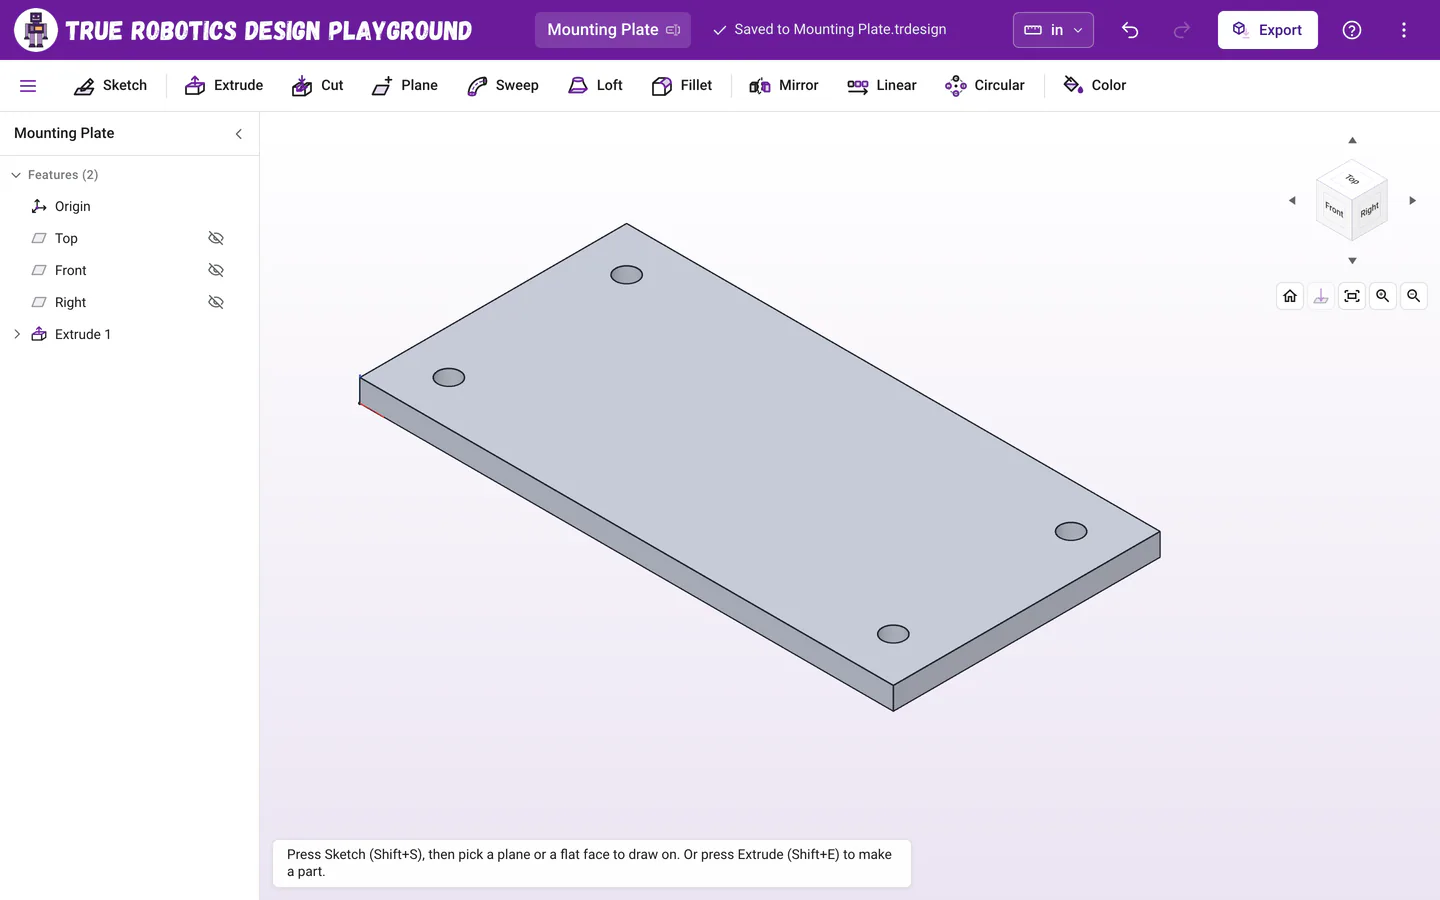
The finished mounting plate, ready to export. Export it Click Export, choose Fine for rounder holes and click Export.
Why use a construction rectangle for the holes?#
The four holes hang on the corners of one dashed rectangle, so they move together. Want the holes 3/8 inch from the edges instead? Click the little arrow next to Extrude 1, double-click Sketch 1, change the two 1/4 dimensions to 3/8 and the dashed rectangle's sizes to 2 1/4 and 3/4, and all four holes follow. The construction rectangle never becomes solid, so it never shows up in your part.
How do I pick the right hole size?#
We used 1/8 inch holes, a snug fit for small #4 screws. Using metric M3 screws? Type 3.4 mm instead, and the app converts it for you. Measure the screws your class uses, and remember that printed holes come out a little small, so add about 0.01 inch to the screw's size. To change all four holes at once later, select all four circles, press E for Equal, and then one diameter dimension controls them all.
Tip: Match your robot
Measure the distance between the mounting holes on the part of your robot you are attaching to, and use those numbers for the dashed rectangle. Then your plate bolts right on.
You built a real robot part! Next, try the hex standoff to hold your plate off the robot.