
Sketching
Circle Tool
The Circle tool in the True Robotics Design Playground draws a circle from its center. Press C, click where the center goes, then click to set the size or type the diameter and press Enter. A circle inside a closed shape becomes a hole when you extrude. The tool stays on afterward, so you can place one hole after another.
- CircleShortcut: CRound holes, round bosses and wheels, sized by their diameter.
Read what happens in this video
Inside a 3 by 2 inch rectangle, we press C for the Circle tool and click where the first hole goes. Typing 1/2 and pressing Enter makes an exact half inch circle, and the tool stays on for the second hole. After finishing the sketch, a 1/4 inch extrude turns it into a plate with two holes.
The steps in the video:
- Press G for the Corner rectangle and click the origin.
- Move up and to the right, type 3, press Tab, type 2 and press Enter.
- Press F to zoom to fit the rectangle.
- Press C for the Circle tool and click where the first hole goes.
- Type 1/2 for the diameter and press Enter.
- Click where the second hole goes, type 1/2 and press Enter.
- Press Esc, then press Enter to finish the sketch.
- Press Shift + E, type 1/4 and press Enter to make the plate.
- Click the Home button under the view cube, then press F to zoom to fit.
How do I draw a circle with an exact diameter?#
In a sketch, press C or click the Circle button. The tool panel on the left says Click to place the center.
Click where the center goes. It snaps to points, the origin and the corners of other shapes.
Move the pointer out. The tool panel shows the live size, like Diameter 0.50 in.
Click to set the size, or type the diameter and press Enter. A typed size adds a diameter dimension with a Ø label.
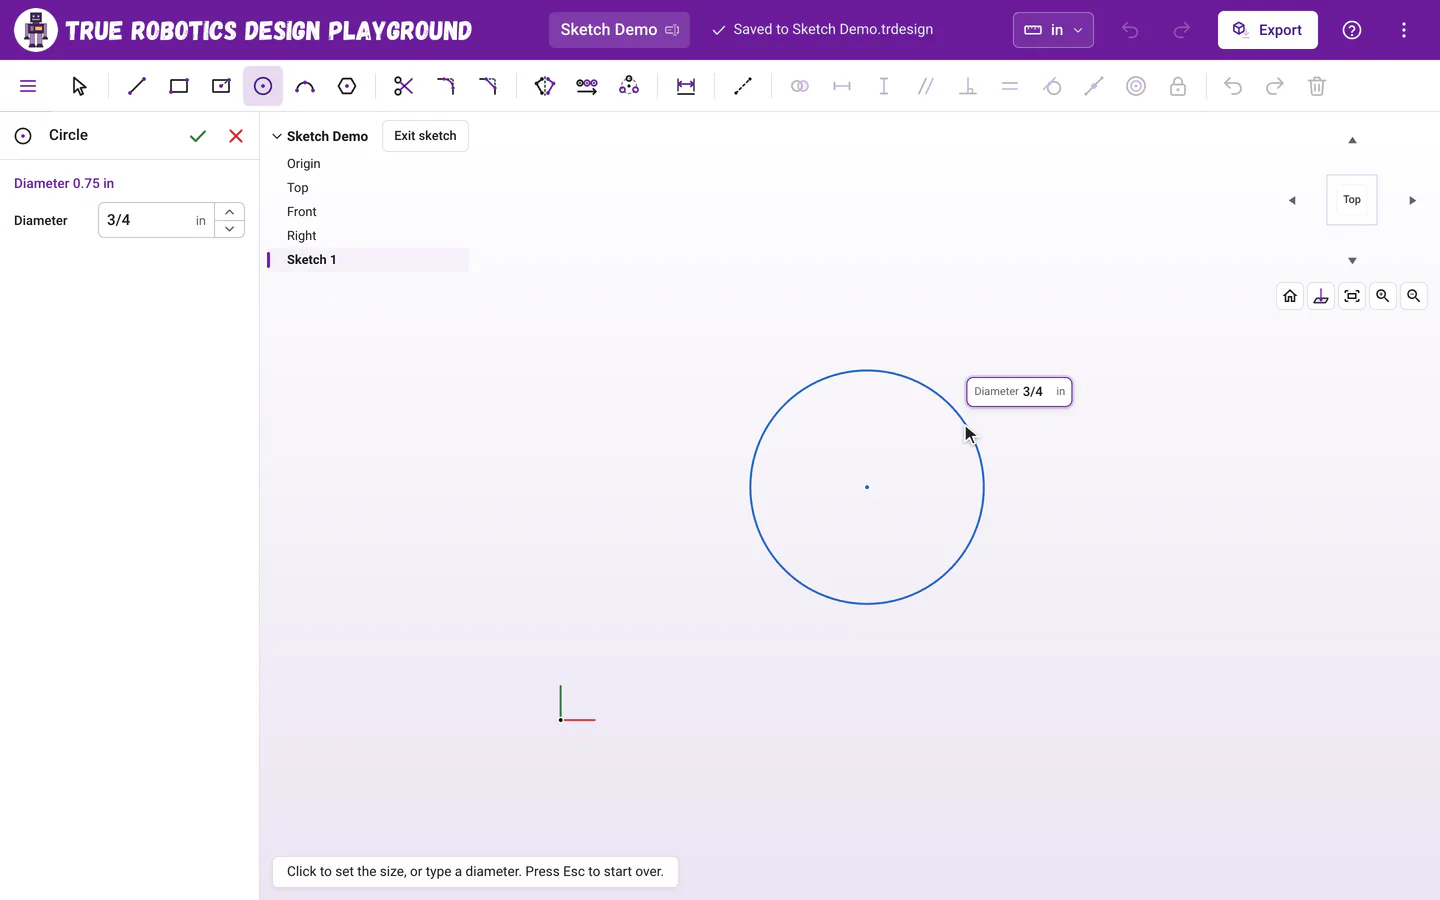
Type a diameter and press Enter for an exact circle. The Circle tool stays on, so click the next center for another circle. Press Esc when you are done.
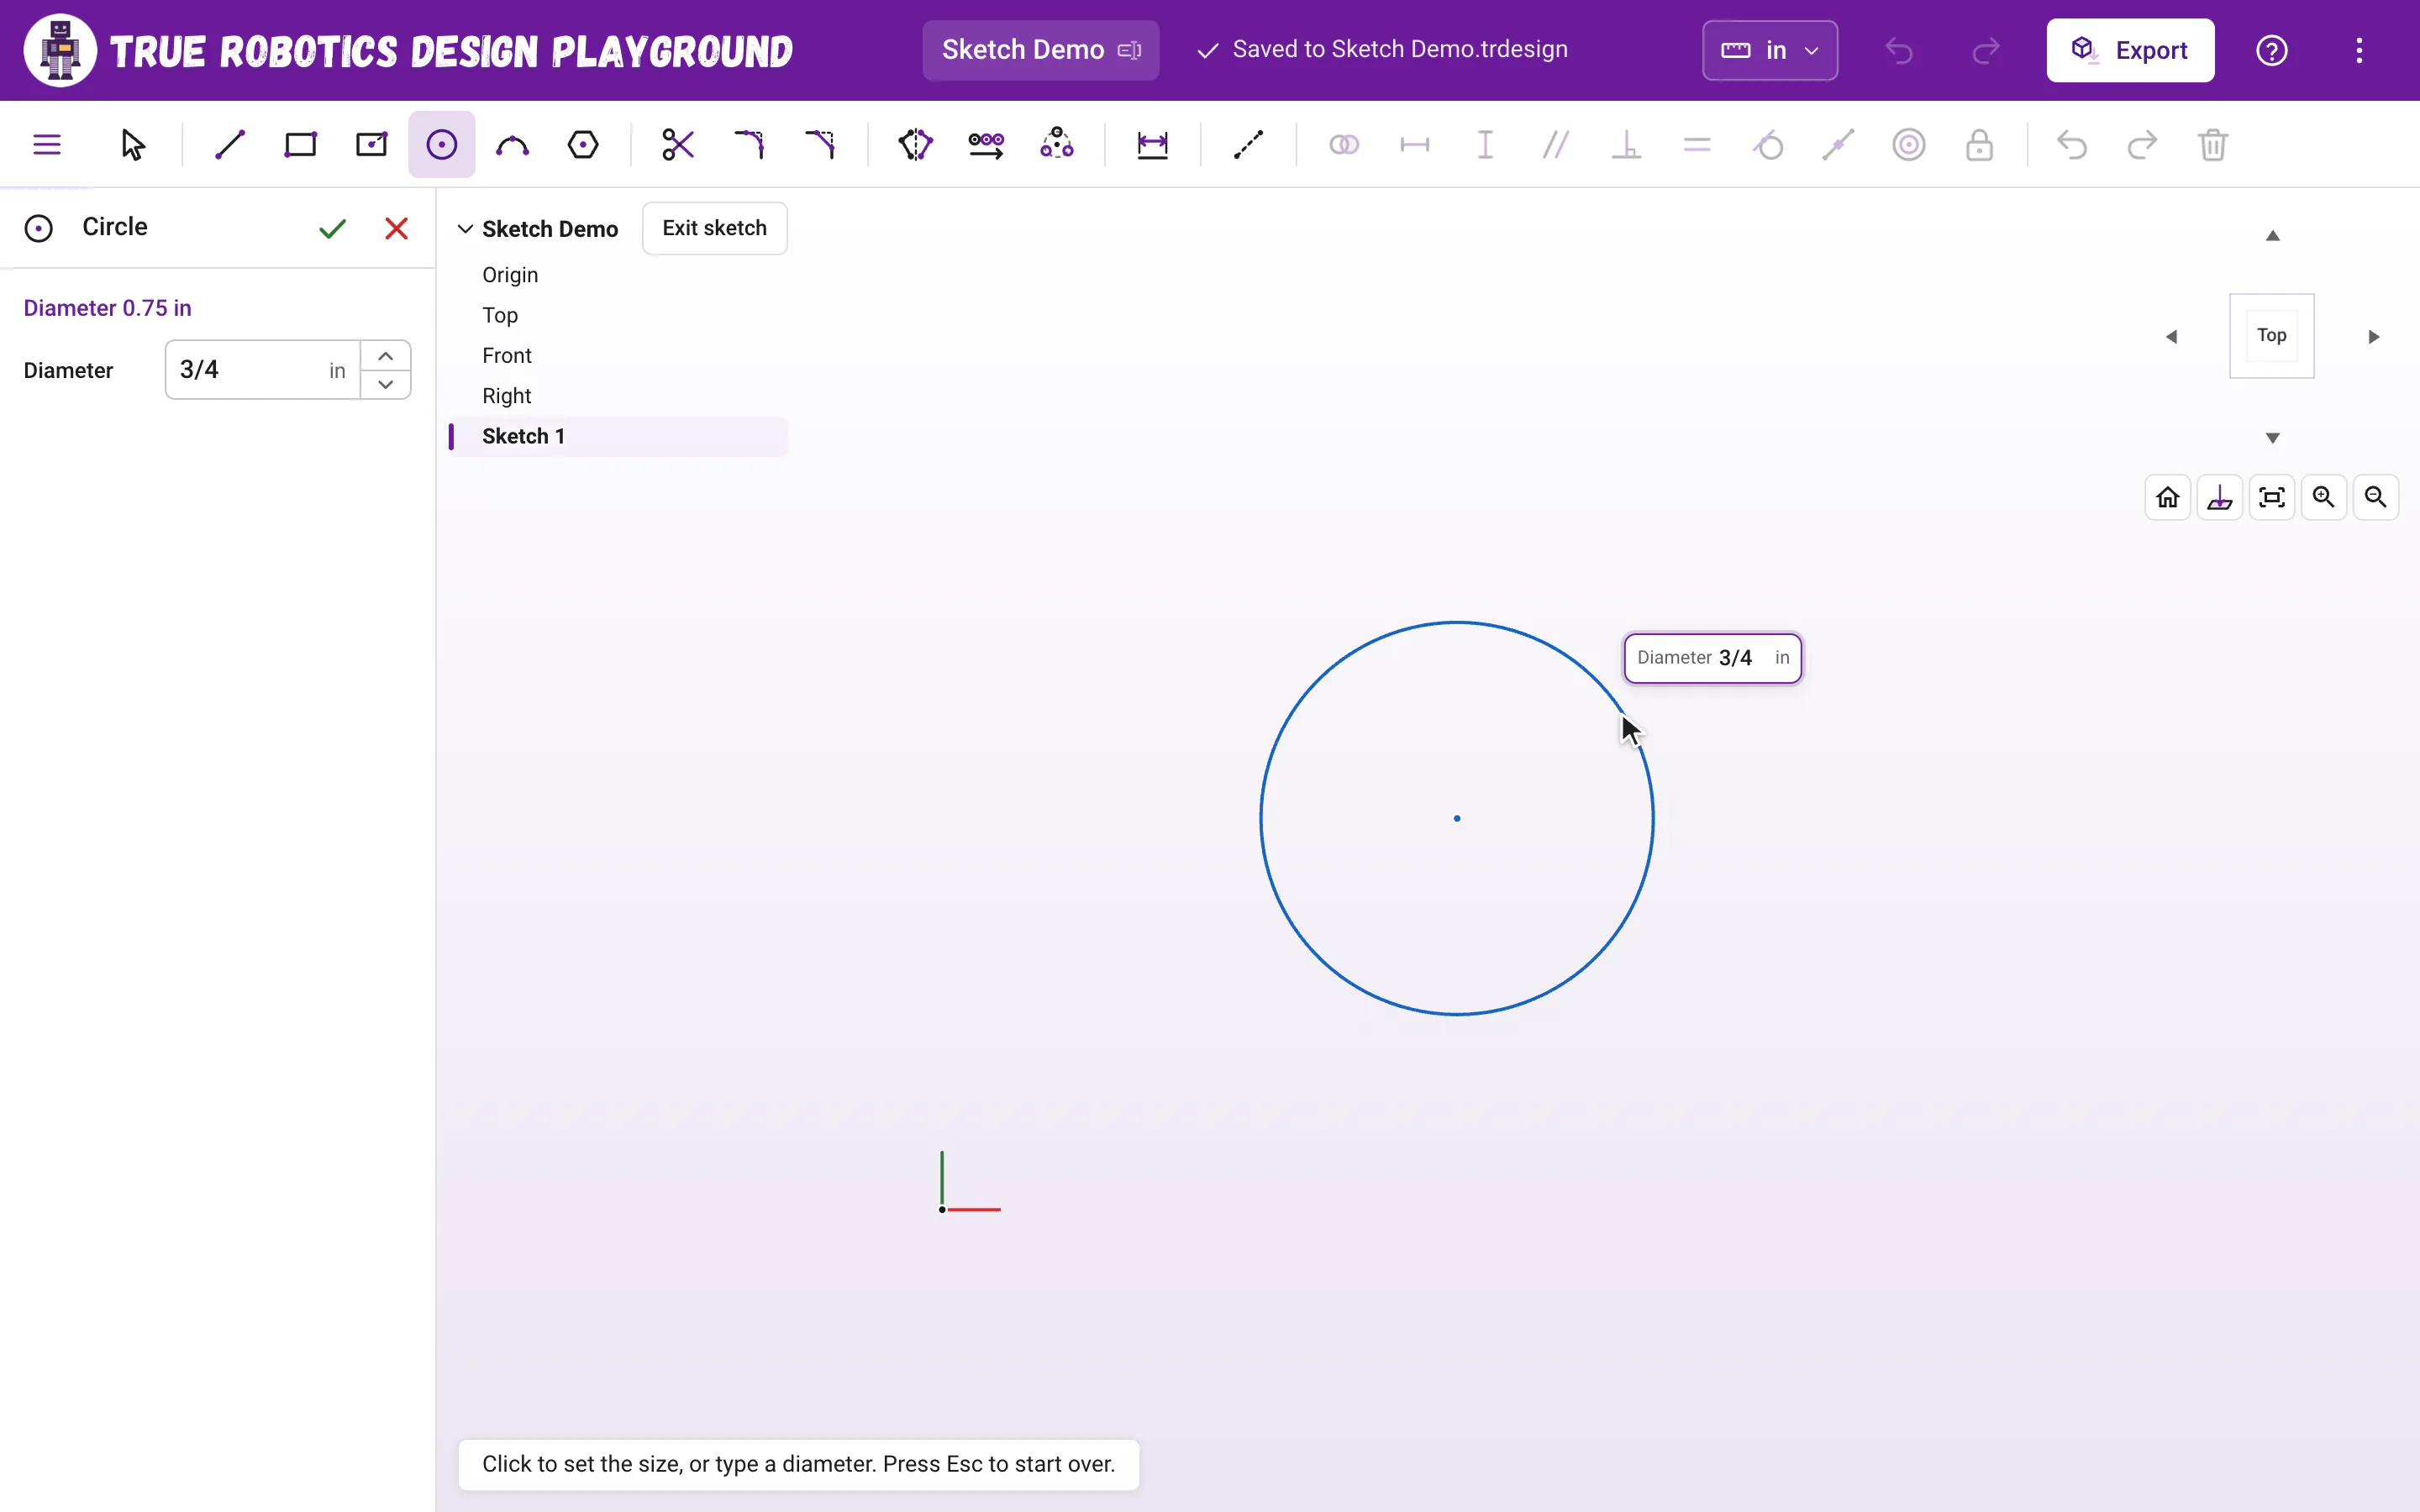
The Diameter box in the tool panel does the same job. Type in it while a circle is in progress, or afterward to change the circle you just drew. Click the green check when you are done to go back to Select.
How do I make a hole?#
Draw the circle inside a closed shape, like a rectangle. When you extrude the sketch, the shape becomes solid and the circle stays empty. To cut a hole into a part you already made, sketch the circle on the part's face and press Cut. Sketching on faces shows how.
How do I make several holes the same size?#
Type the same diameter for each one. Want a row of holes or a ring of them? Draw one, then use Linear pattern or Circular pattern. Or draw them any size, select them all (click one, hold Shift and click the rest), press E for Equal, and dimension just one. Then changing that one number resizes every hole at once.
How do I place a hole exactly?#
Use the Dimension tool. Click the circle and then a side of your shape to set how far the center is from that edge, or click the circle and the origin. Dimensions to a circle always measure from its center.
How do I change a circle's size?#
With the Select tool, drag the circle's edge. If it has a diameter dimension, double-click the Ø label instead and type the new size. When the edge of a new circle snaps onto a point, that point stays on the circle.
Tip: Holes print a little small
3D printed holes usually come out slightly smaller than drawn. For a screw or an axle that should slide through, add about 0.01 inch (0.2 to 0.4 mm) to the diameter, then test print and adjust. You can type it just like that: 1/8 + 0.01.
Circles are your go-to for screw holes. Put them to work in the mounting plate tutorial.