
Tutorials
Make an L Bracket with a Face Sketch
An L bracket joins two parts at a right angle. In the True Robotics Design Playground you build it in three steps: extrude a 2 by 1 inch base 1/8 inch thick, sketch a thin rectangle on its top face and extrude it 1 1/2 inches up with Add, then sketch a circle on the wall and cut a hole straight through it.
Read what happens in this video
We click the top face of the base and press Sketch, and the face outline shows in gray. A 2 by 1/8 inch rectangle from the corner becomes the wall, and a 1 1/2 inch Add extrude raises it into one L shaped part. Then we sketch a 1/4 inch circle on the front of the wall, place it 1 inch across and 1 inch up, and cut it out with Cut, which is already set to Remove and Through all.
The steps in the video:
- Click the top face of the base, then click Sketch.
- Press G and click the corner of the face, right on the origin.
- Move to the right, type 2, press Tab, type 1/8 and press Enter. Press Esc.
- Press Enter to finish. Press Shift + E and type 1 1/2 for the wall.
- Press Enter to add the wall. Click Home under the view cube and press F.
- Click the front face of the wall, then click Sketch.
- Press C, click the wall, type 1/4 and press Enter. Then press Esc.
- Press D. Click the origin, then the circle. Place the label, type 1 and press Enter.
- Click the origin and the circle again, place the label, type 1 and press Enter.
- Press Esc and Enter to finish. Press Shift + C for Cut, then press Enter.
- Click Home under the view cube and press F to see the finished bracket.
You will learn: sketching on a face, snapping to the face's corner, building up with Add, sketching on a side face and cutting with Cut. Time: about 10 minutes.
How do I make an L bracket?#
Make the base Click New Project, then Standard. Click Yes, autosave and save the file as
L Bracket. Click Top in the list on the left, click Sketch, press G, click the origin, type2, Tab,1, Enter, and press Enter again to finish. Press Shift+E, type1/8and press Enter. You have a 2 by 1 inch base, 1/8 inch thick.Sketch on the top face Click the top face of the base so it turns purple, then click Sketch. The face outline shows in gray, and the sketch's origin sits on the base's front left corner.
Draw the wall Press G, click the origin at the front left corner, and move the pointer up and to the right. Type
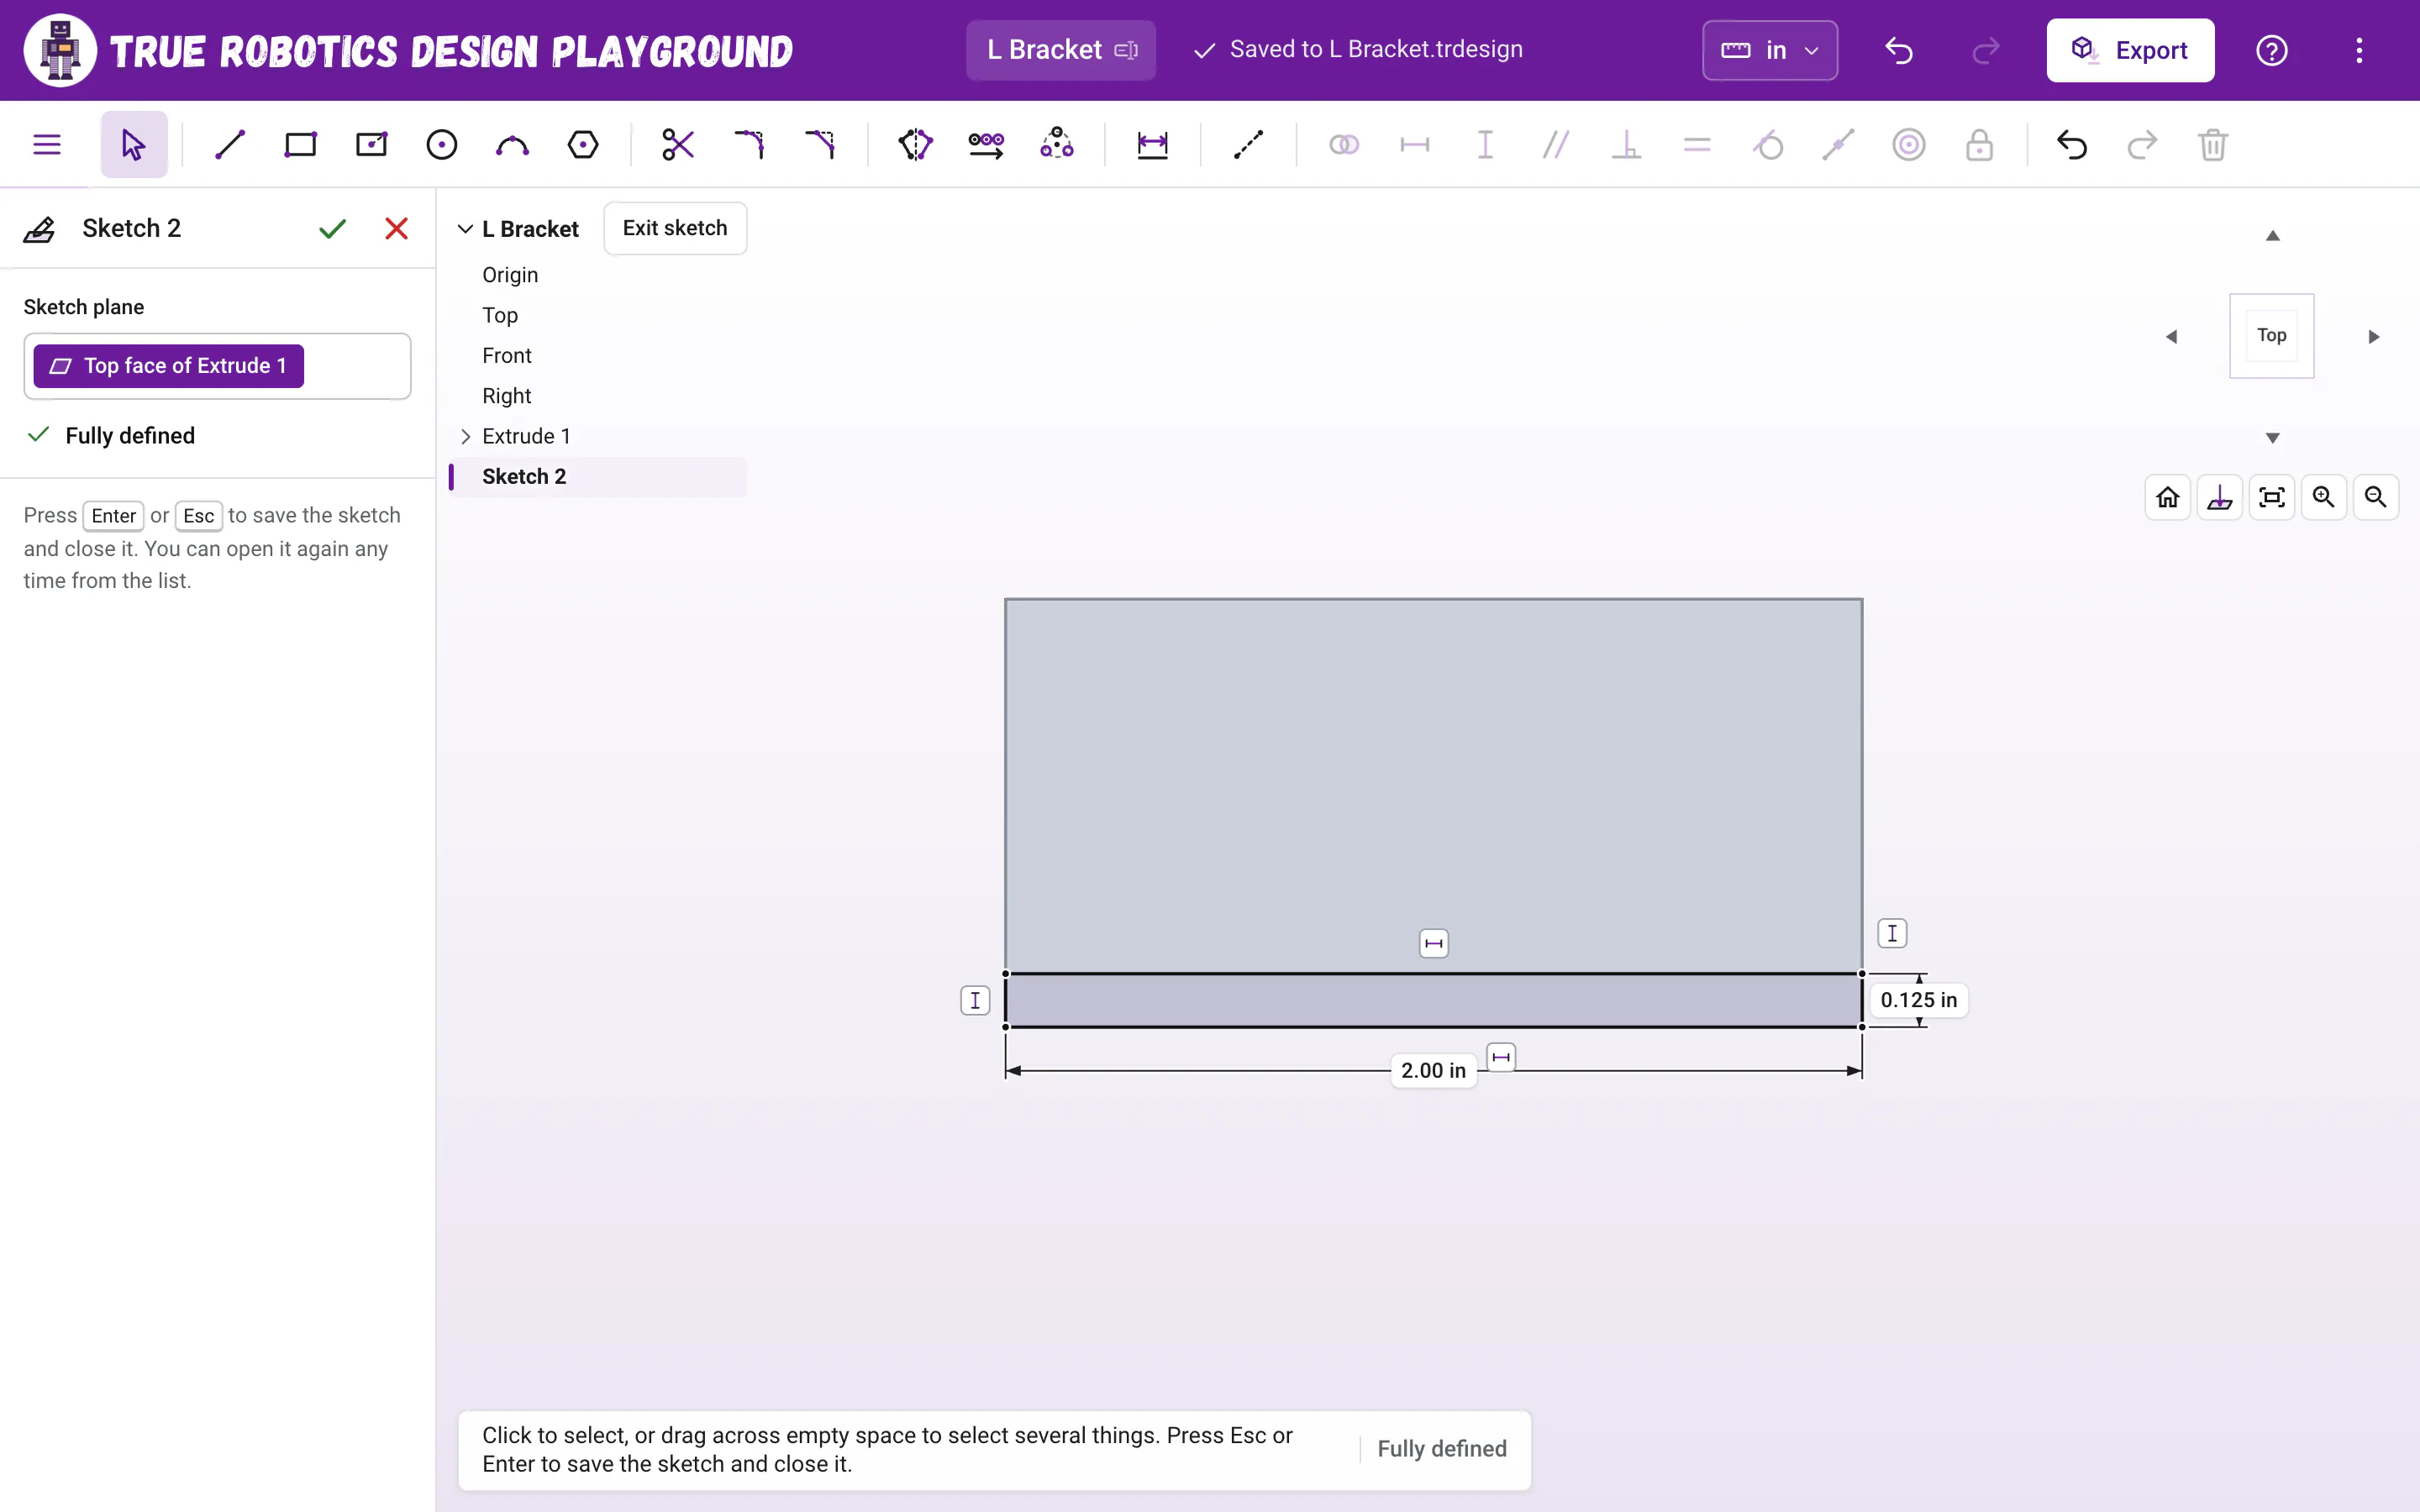
2, press Tab, type1/8and press Enter. A thin strip runs along the front edge, and the hint bar at the bottom says Fully defined.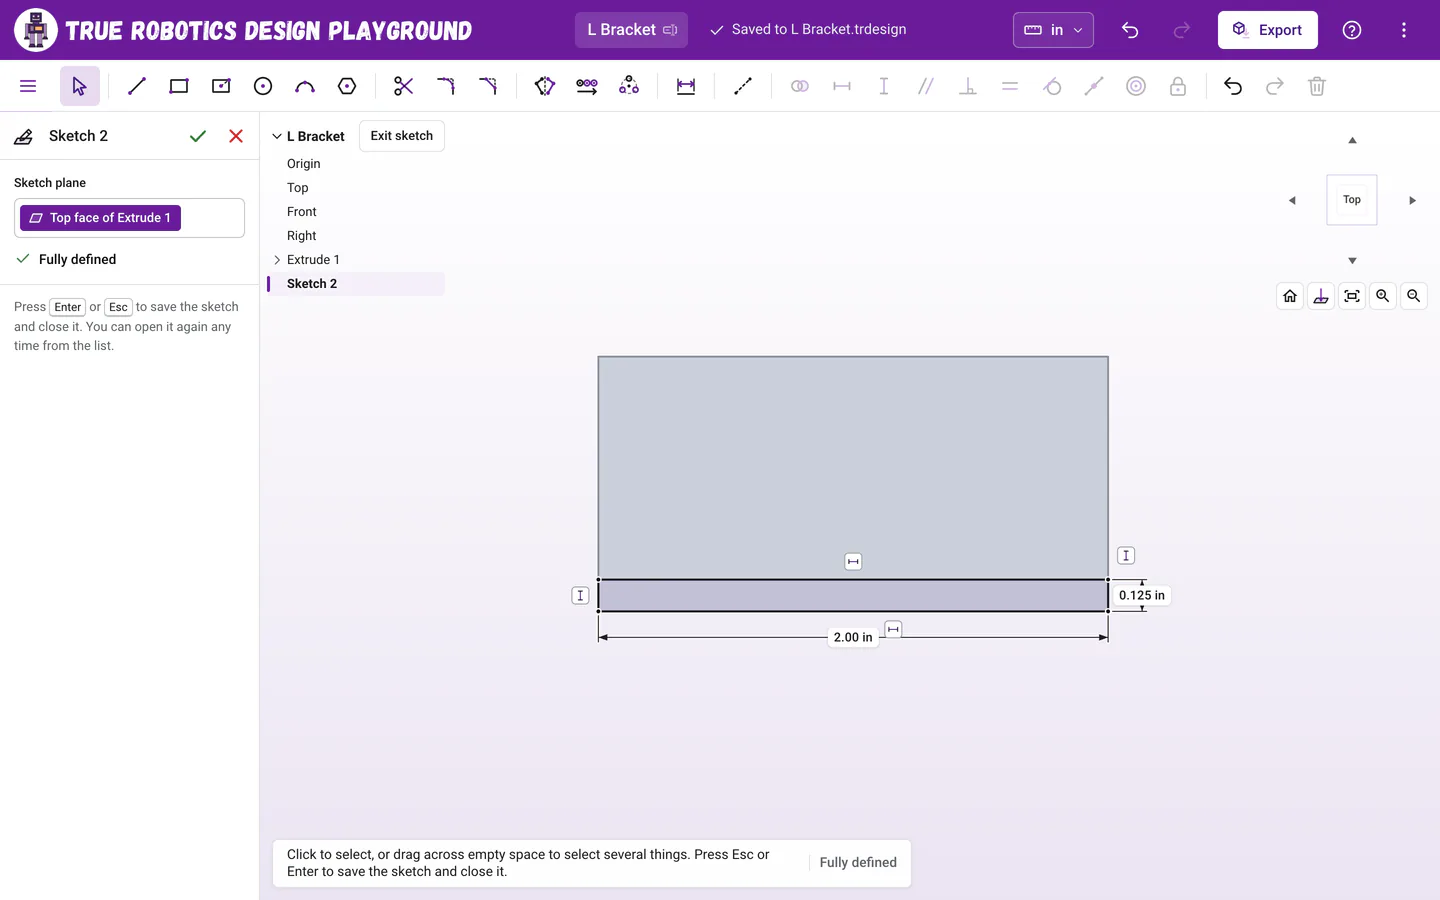
Sketch the wall right on top of the base. Build the wall up Press Enter to finish the sketch, then Shift+E. The Extrude panel starts on Add, because a part is already there. Type
1 1/2and press Enter. The wall rises 1 1/2 inches and joins the base into one L shaped part.Sketch on the front of the wall Click the big flat face on the front of the bracket, then click Sketch. The view turns to look straight at it.
Draw the screw hole Press C, click near the middle of the wall, type
1/4and press Enter. Press Esc to put the Circle tool away.Place the hole exactly Press D. Click the origin at the bracket's front left corner, then the circle, and place the label below the bracket. Type
1and press Enter. Do it again with the label to the left of the bracket, and type1. The hole sits 1 inch across and 1 inch up, everything is black, and the hint bar says Fully defined.Cut the hole Press Enter to finish the sketch, then press Shift+C for Cut. It is already set to Remove and Through all, so press Enter. The hole goes through the wall.
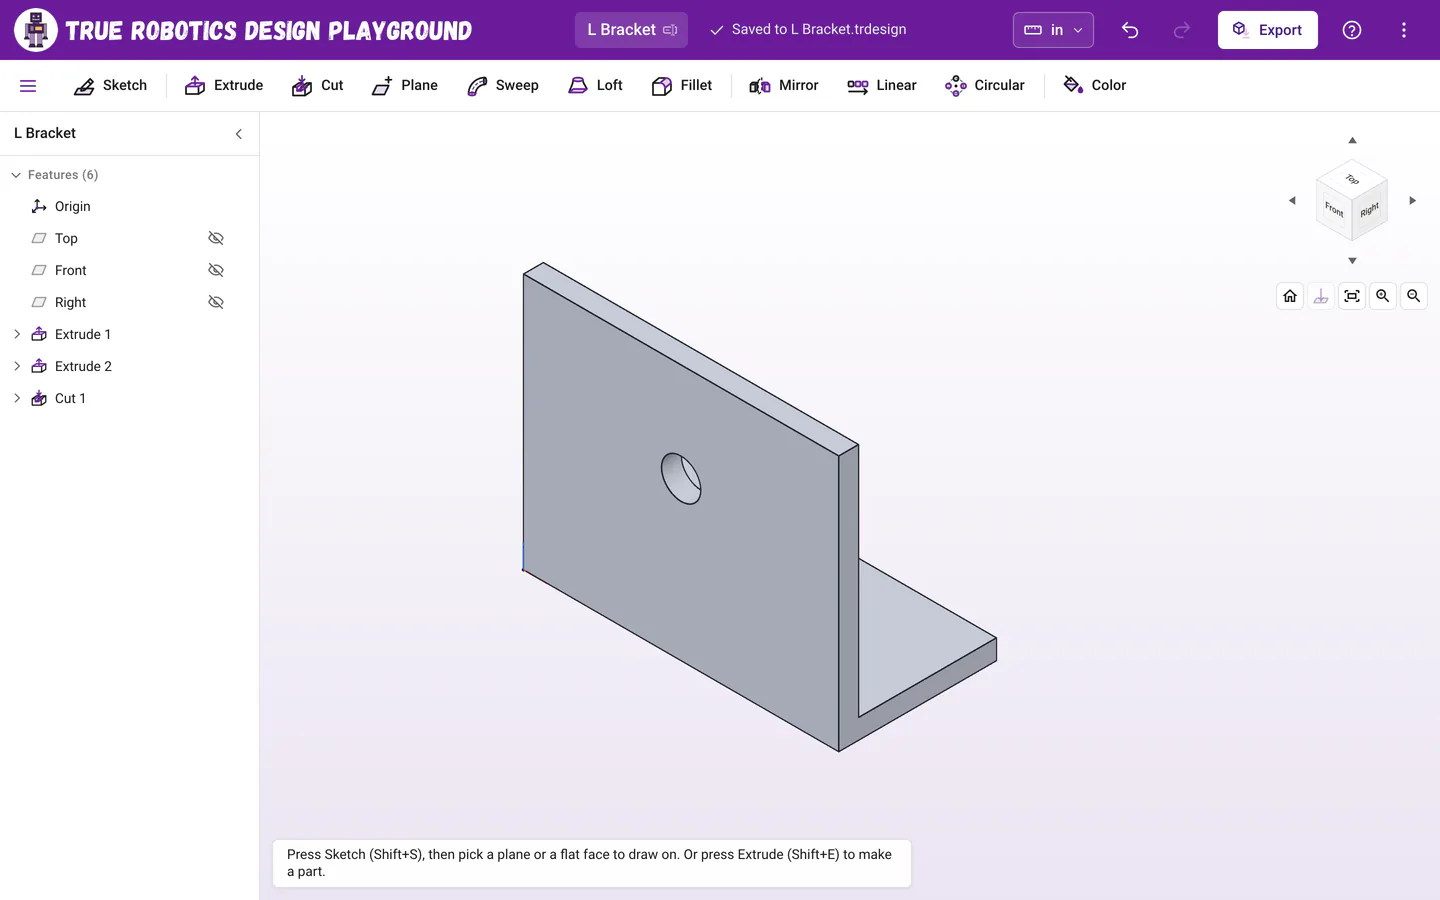
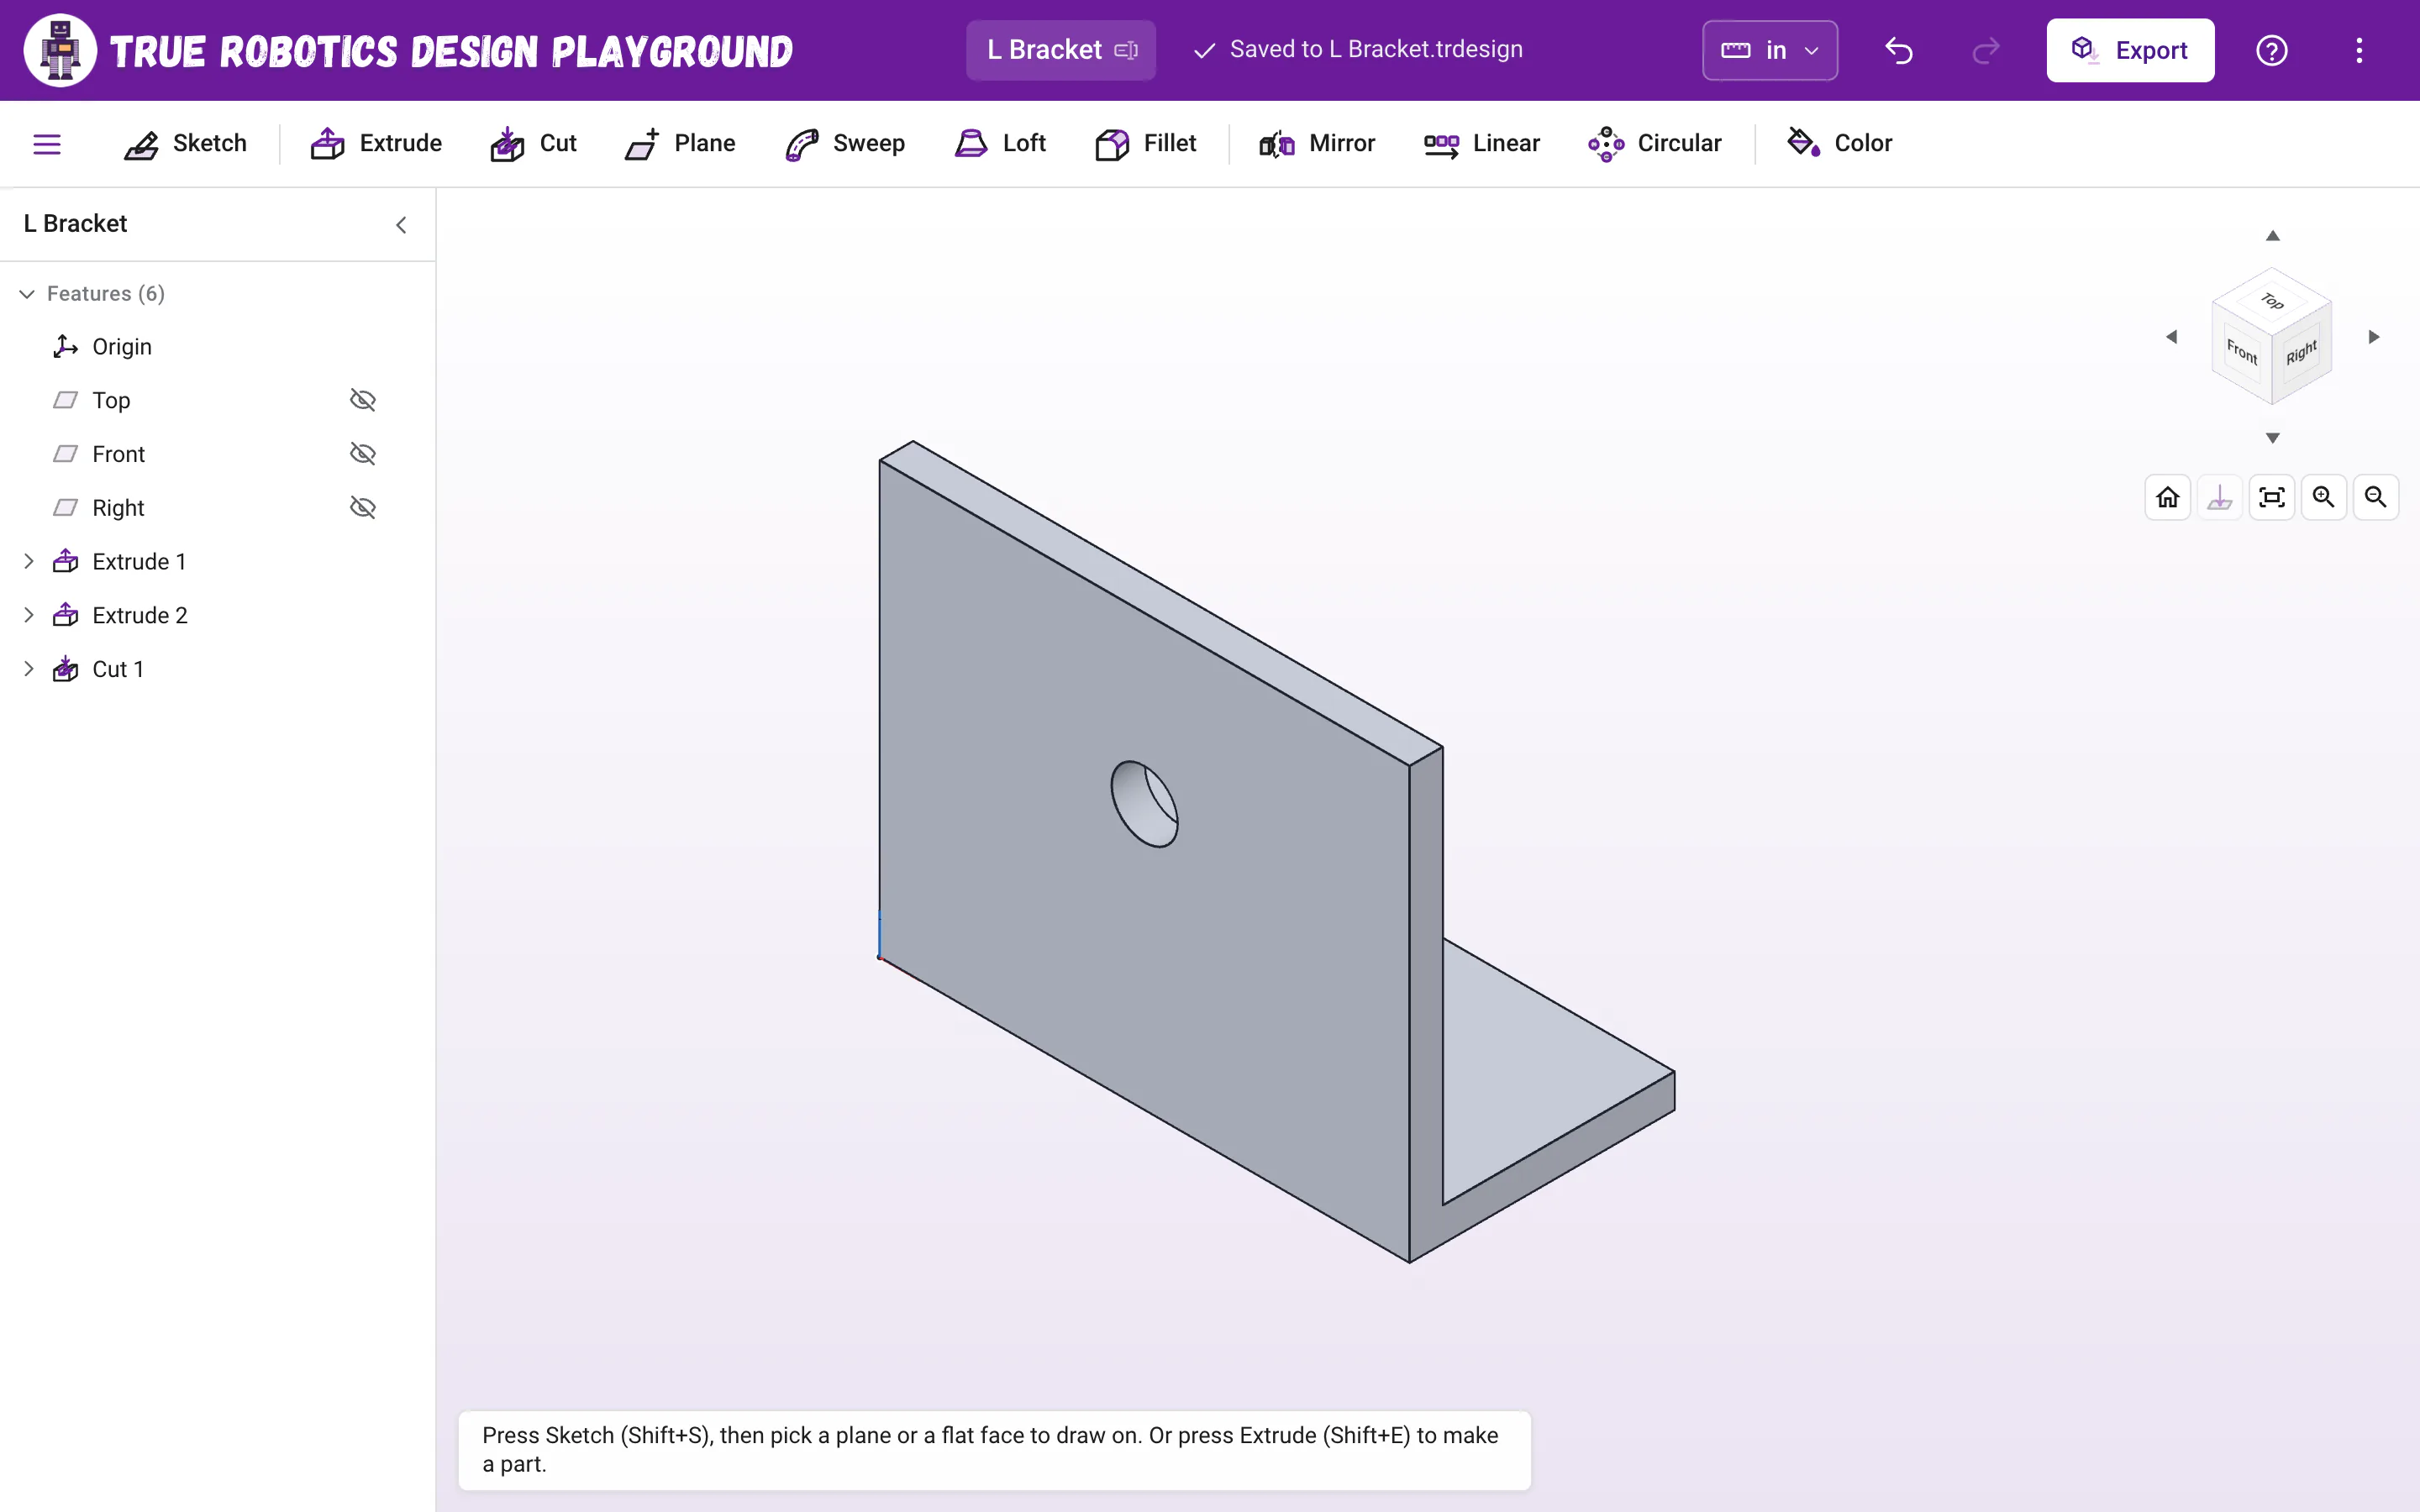
Three features make a sturdy L bracket. Export it Click Export in the purple bar, then Export in the window. Your bracket is ready to print.
Why did the wall join the base?#
Add joins new material to the parts it touches. The wall sits right on the base's top face, so the two become one part, Part 1. If you had chosen New, the wall would be a separate part sitting on top. To check, click Export: the window lists just one part.
What happens if I change the base?#
Try it: double-click Extrude 1 and change the depth from 1/8 to 1/4. The wall's sketch lives on the base's top face, so the wall rides up with it, and the hole is cut again after it, so it still goes straight through. That is the power of building a part one feature at a time. Sketching on faces explains how face sketches follow your changes.
Tip: Add a second hole
Sketch on the top face of the base again, put a circle in front of the wall, and cut it with Cut. Now your bracket can bolt down and hold something up.

Amazing work! Next, try a curved handle with Sweep, or invent a part your robot needs.